Routing Policy Management
Create a Routing Policy
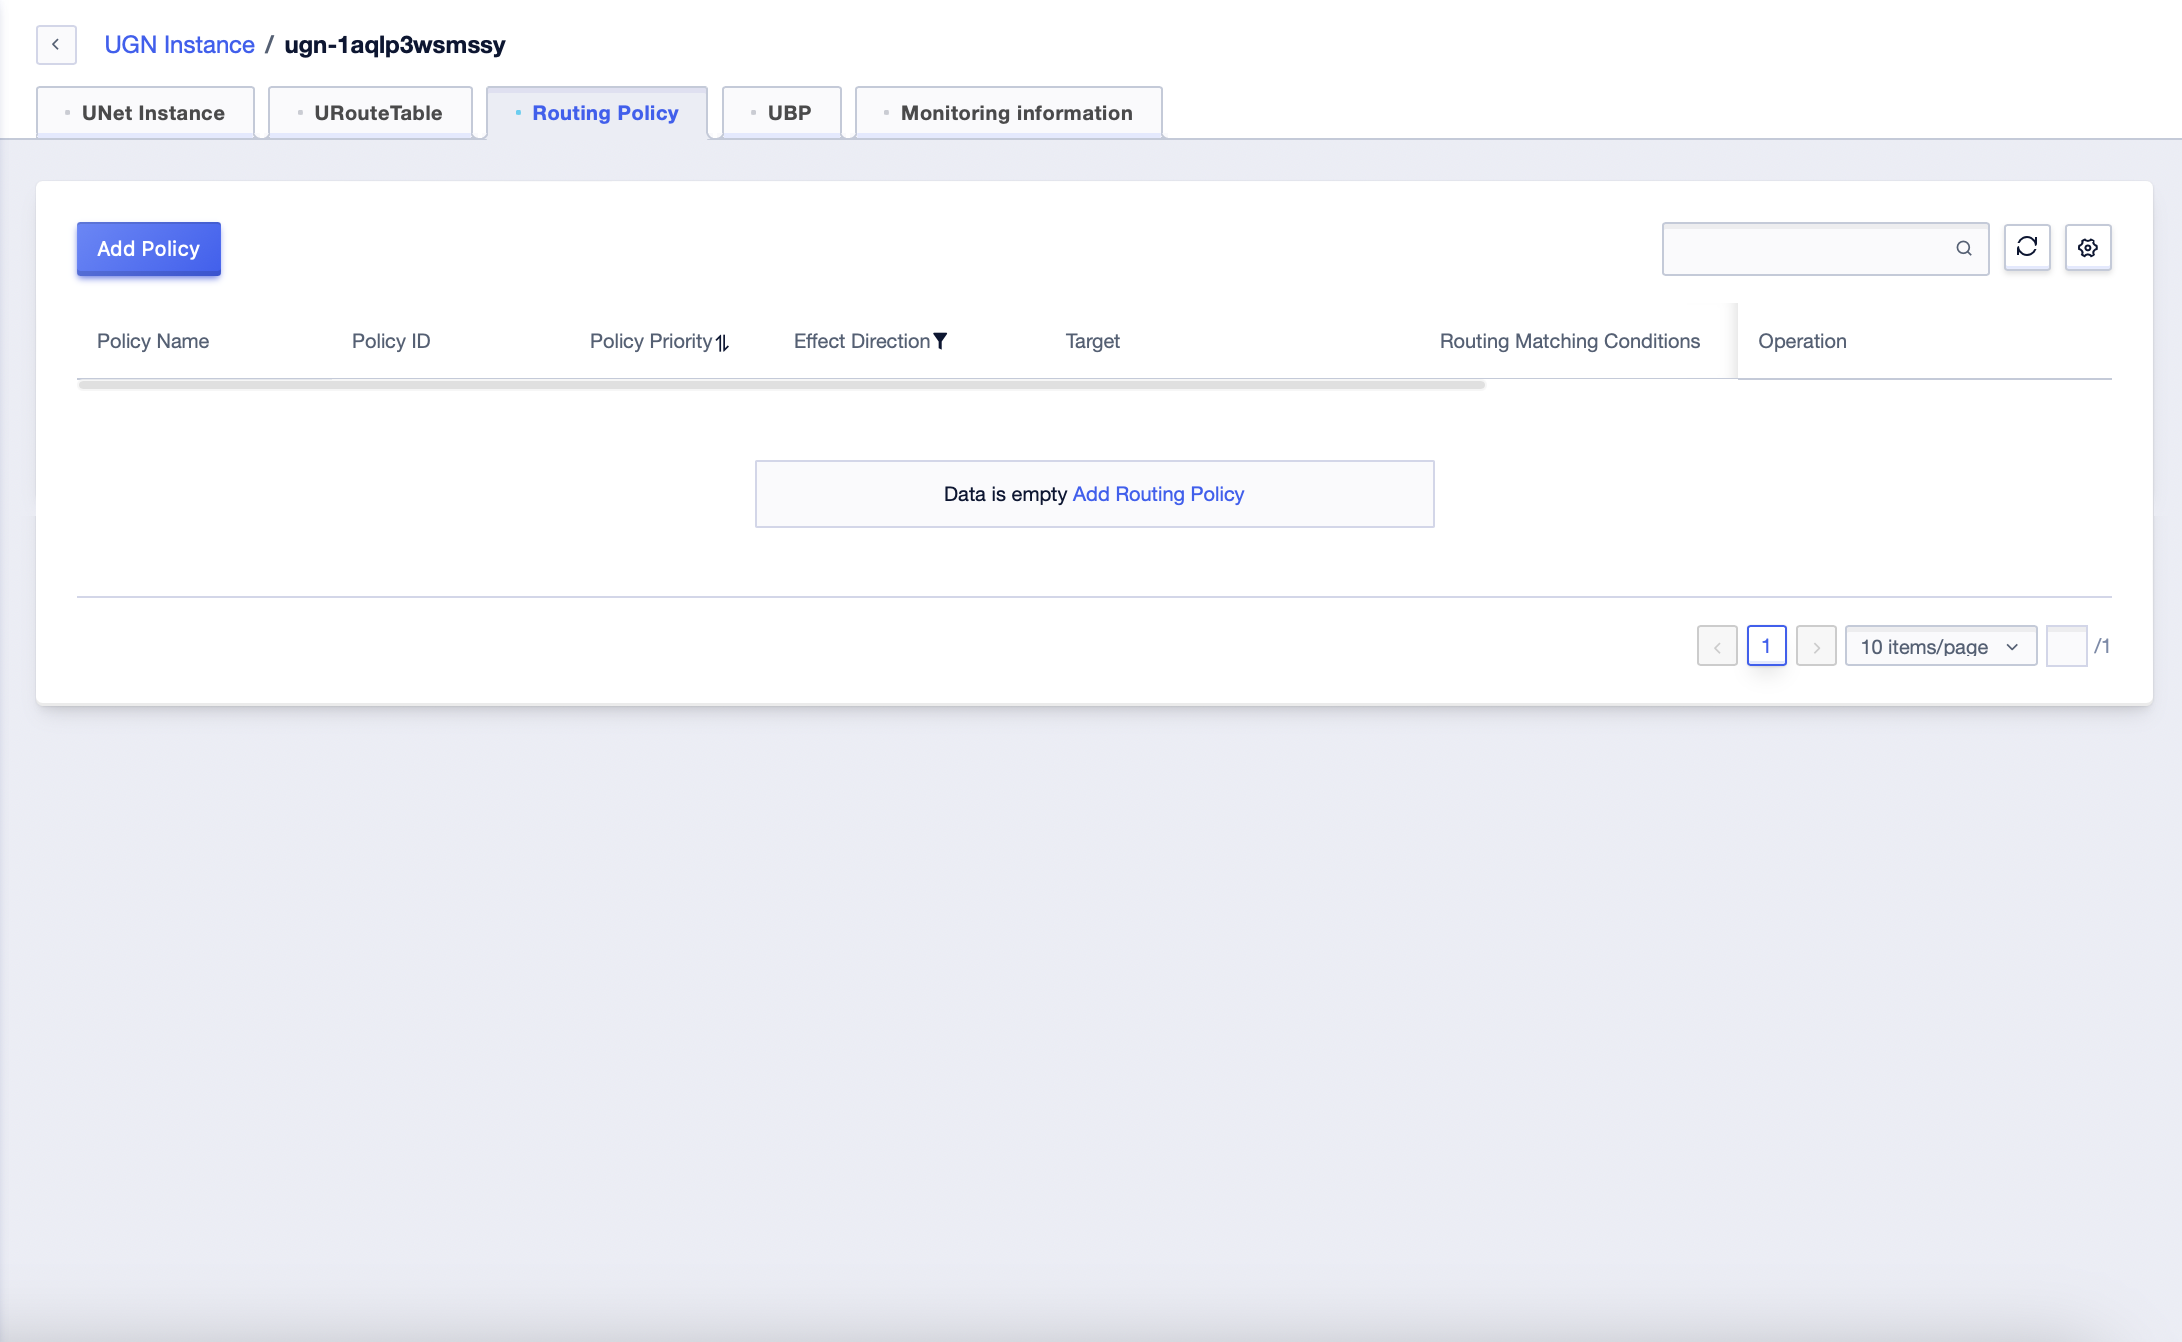
- Click [All Products] - [Network] - [UGN] - [Routing Policy] TAB page on the console to enter the routing policy management interface
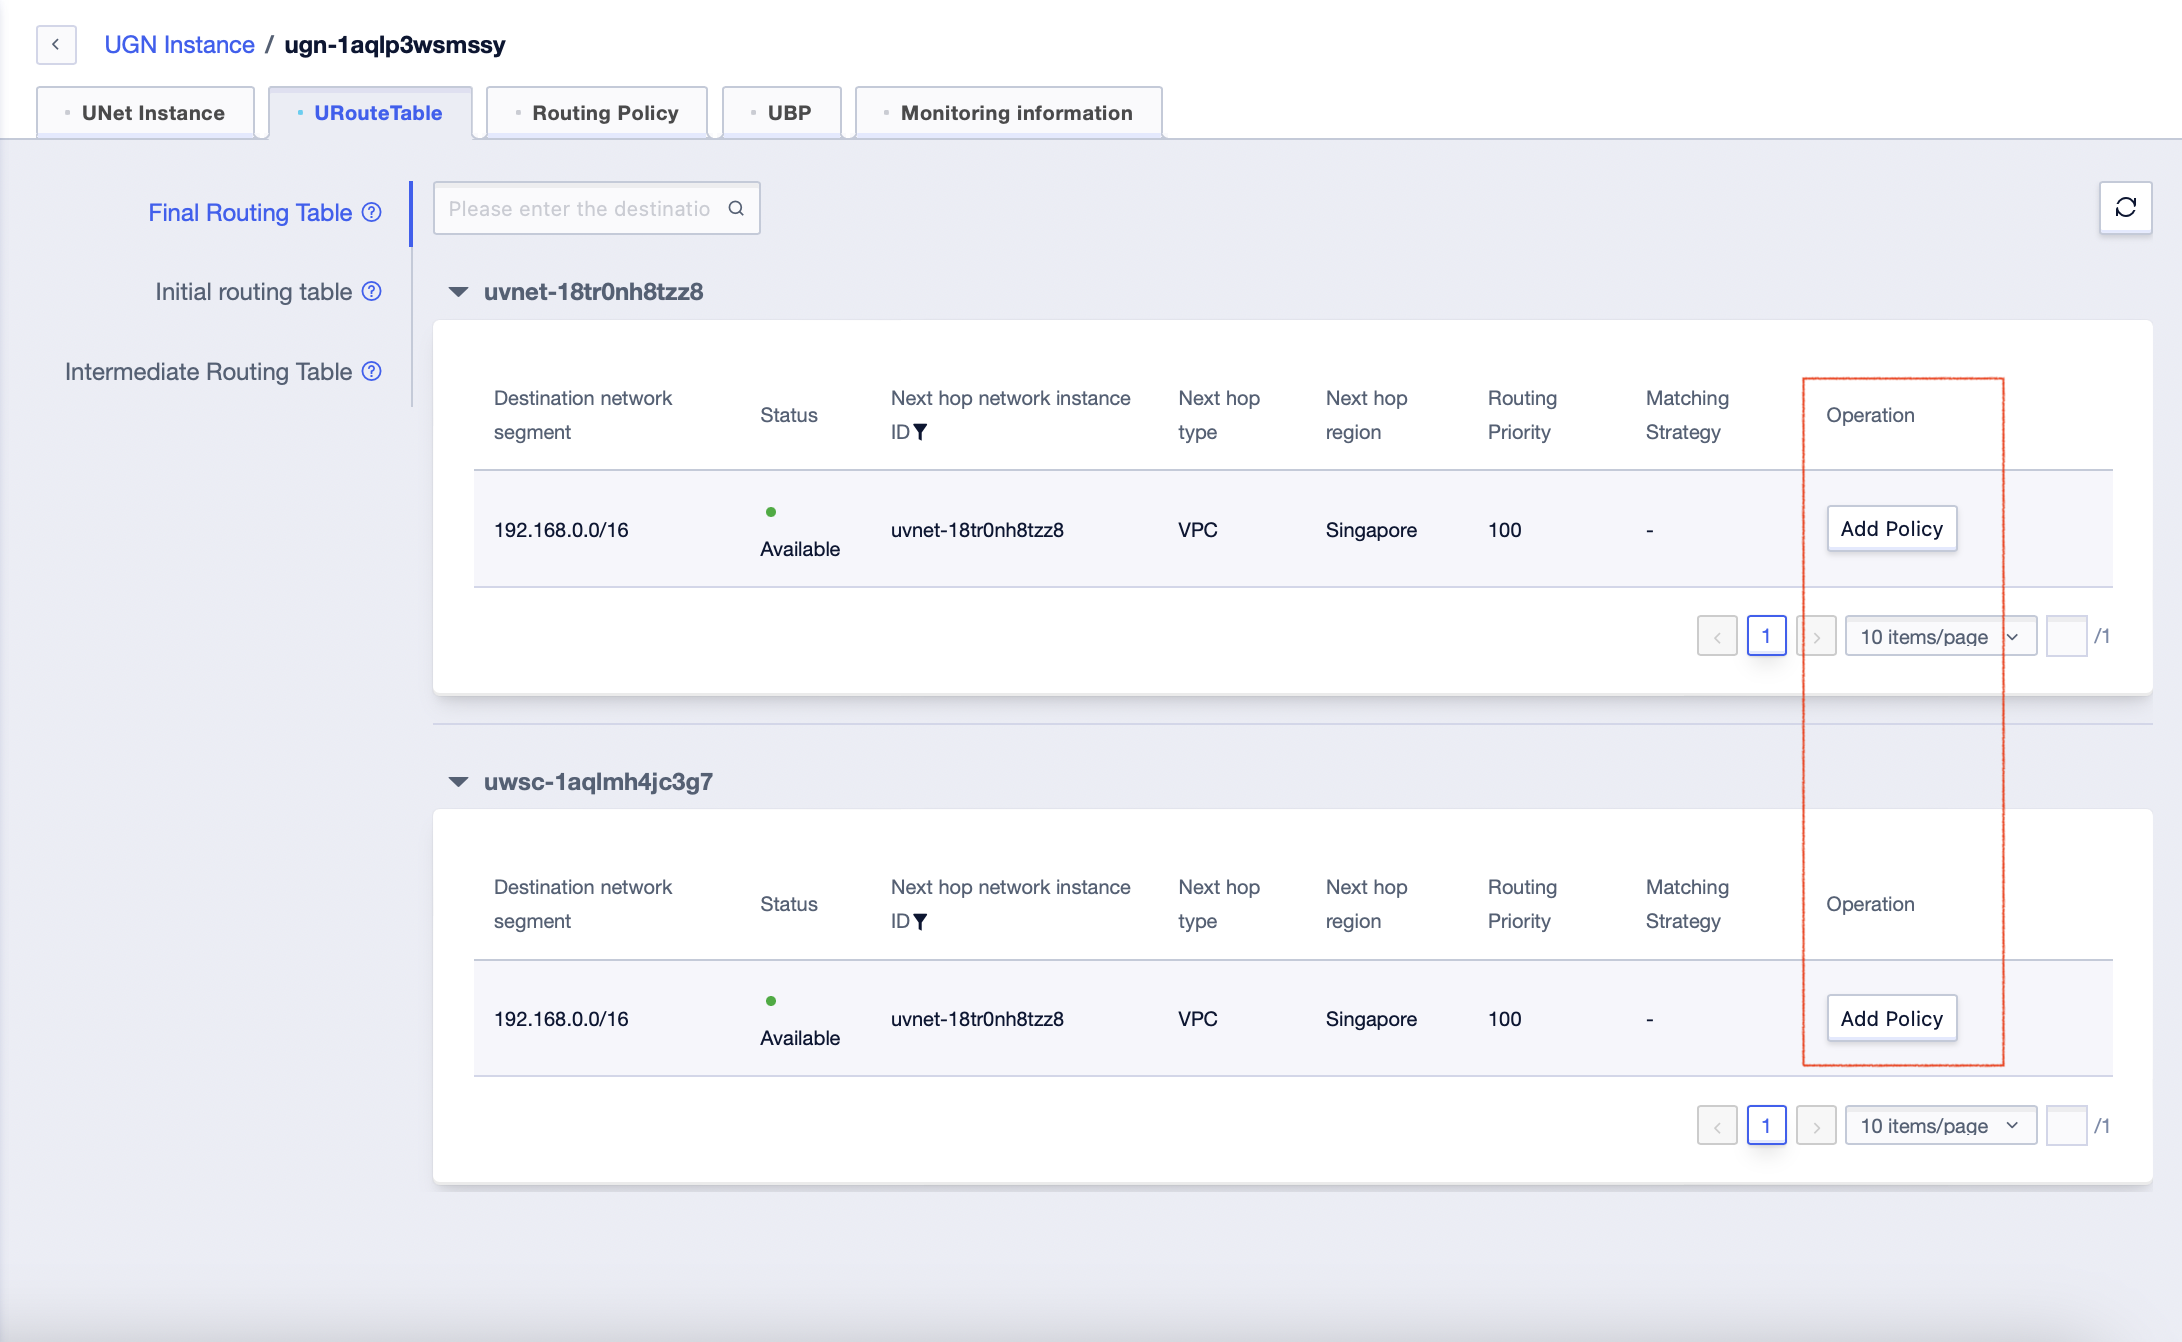
Or, click [Details] in the UGN instance management interface and enter the “URouteTable” TAB page.
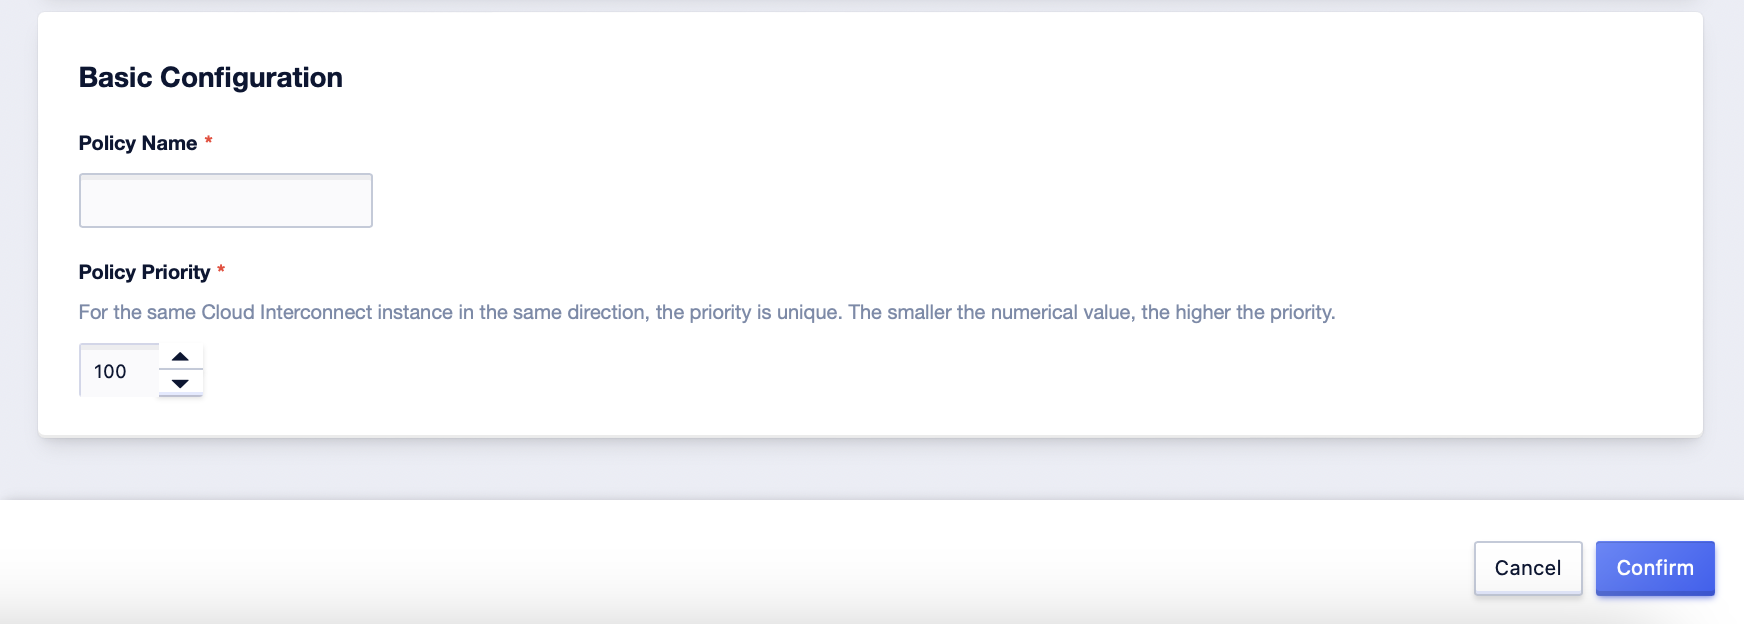
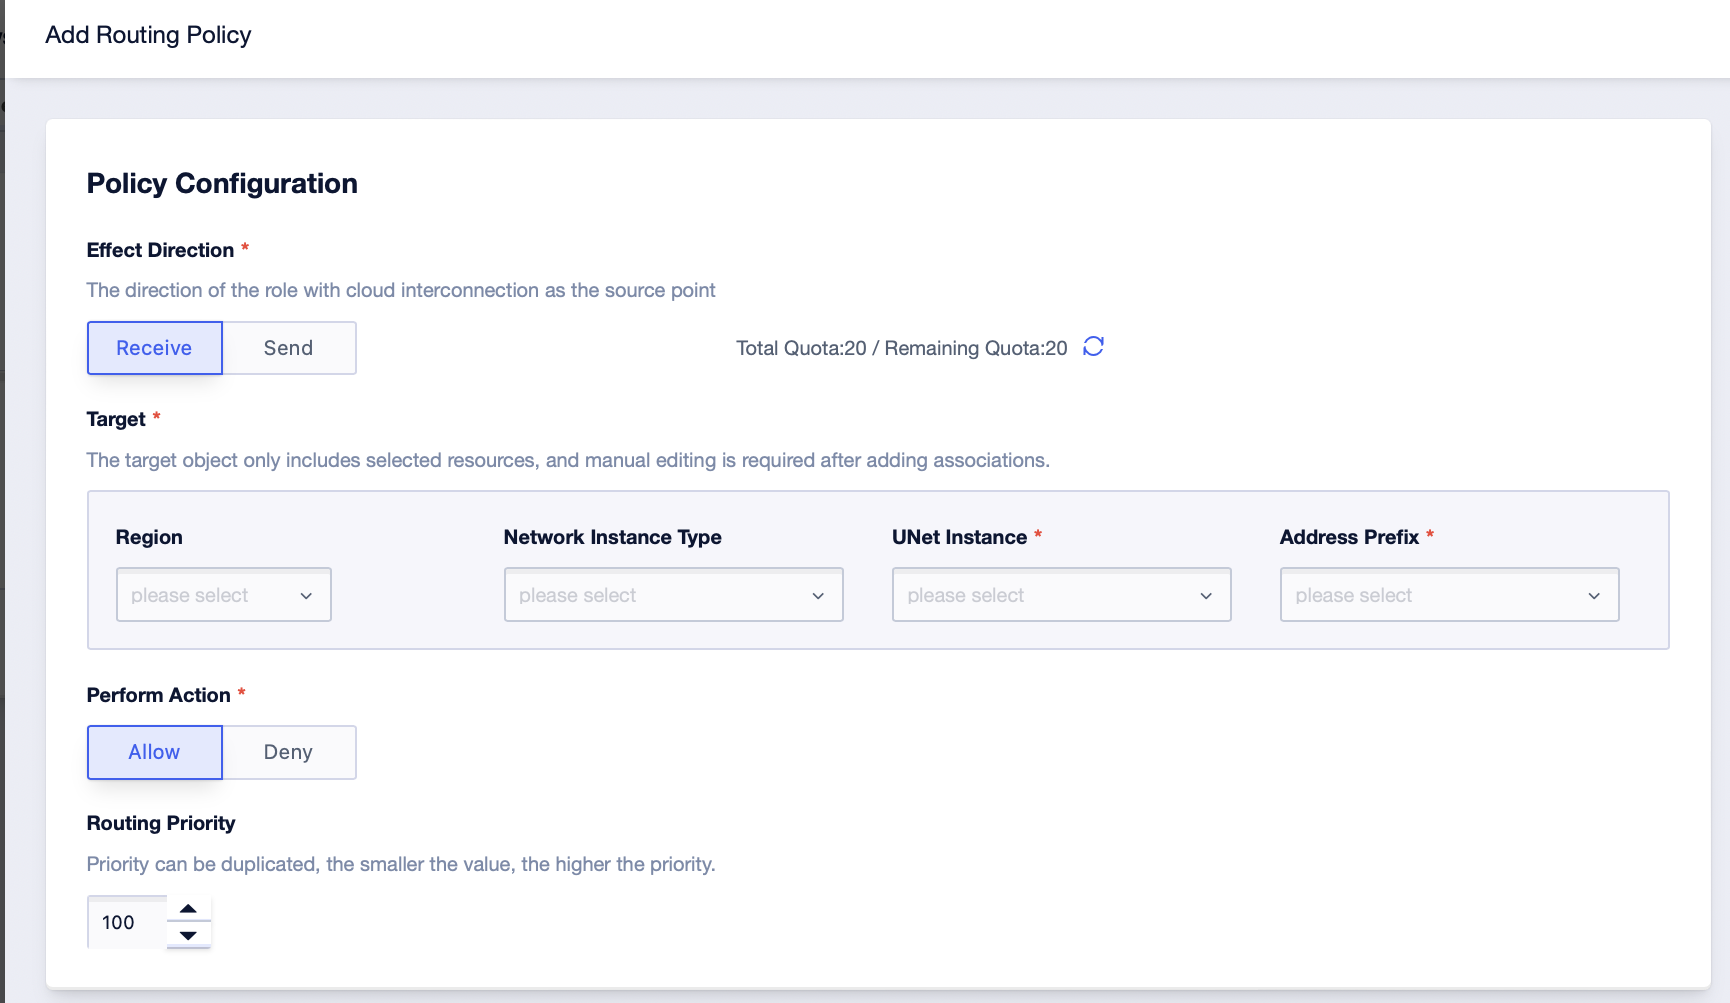
- Click [Add Policy], fill in the effect direction, the target, route matching conditions, the action, routing priority, policy name, and policy priority. Click [Confirm] to generate a routing policy, and the default state is off.
- When the effect direction is “Receiving”, only the target object is selected and it is accurate to the address prefix. When the effect direction is “Sending”, both the target object and the route matching conditions need to be selected. Among them, the route matching conditions can be selected to be accurate to the network instance or the address prefix.
- When the execution action is “Allow”, the routing priority can be adjusted. When the execution action is “Deny”, there is no need to configure the routing priority.
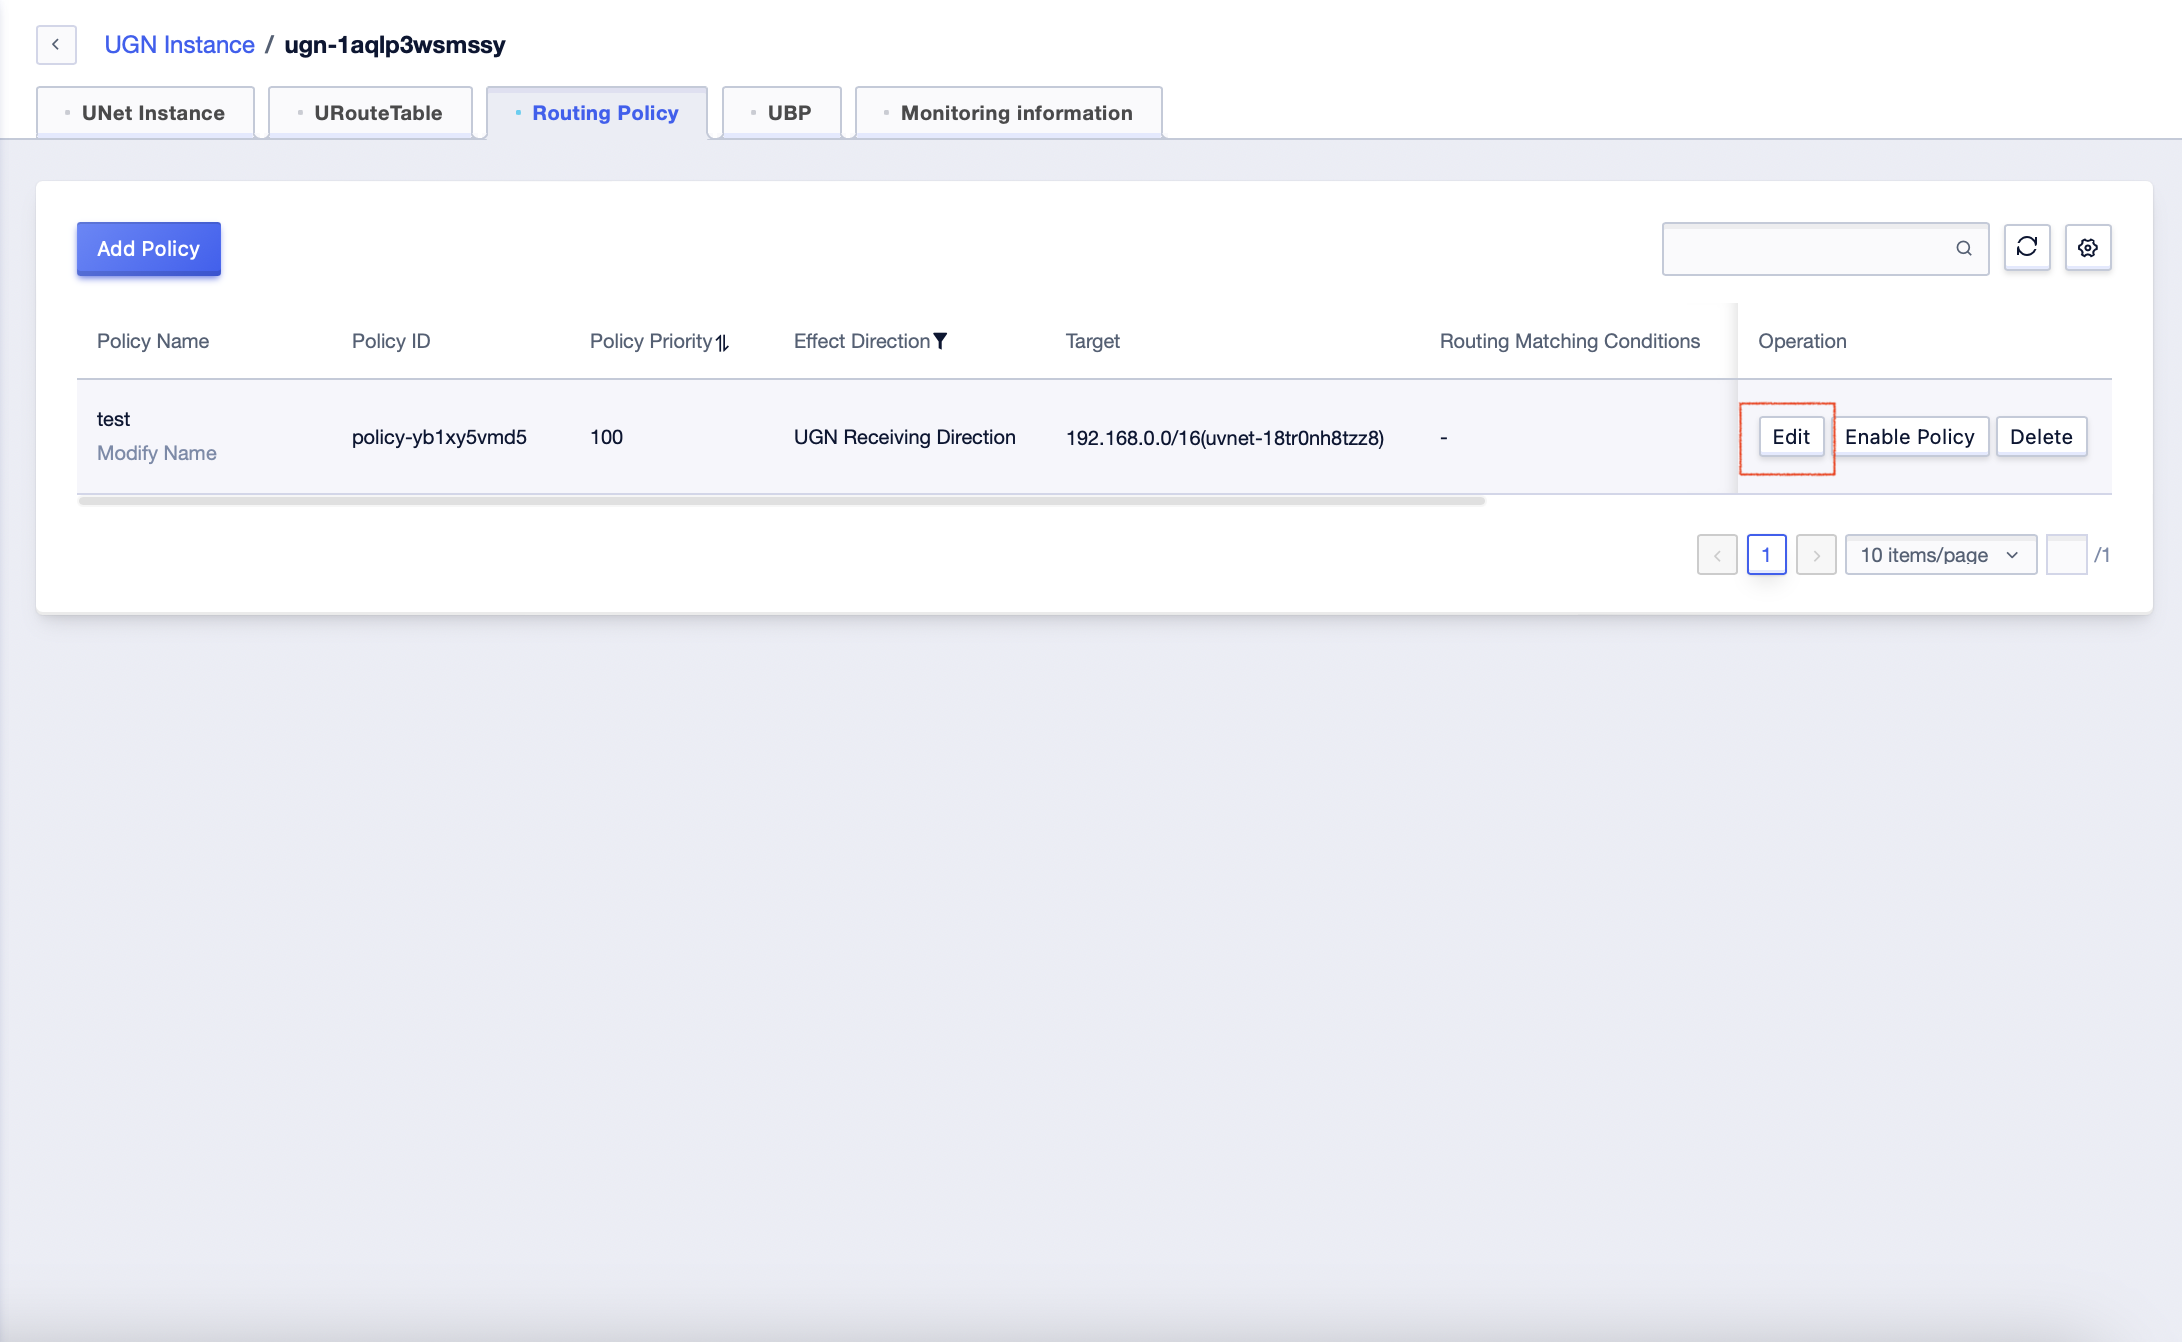
Edit Routing Policy
Click [Edit] of the corresponding policy, and changes can be made in the pop-up window. If the routing policy is already enabled, the changes will take effect immediately.
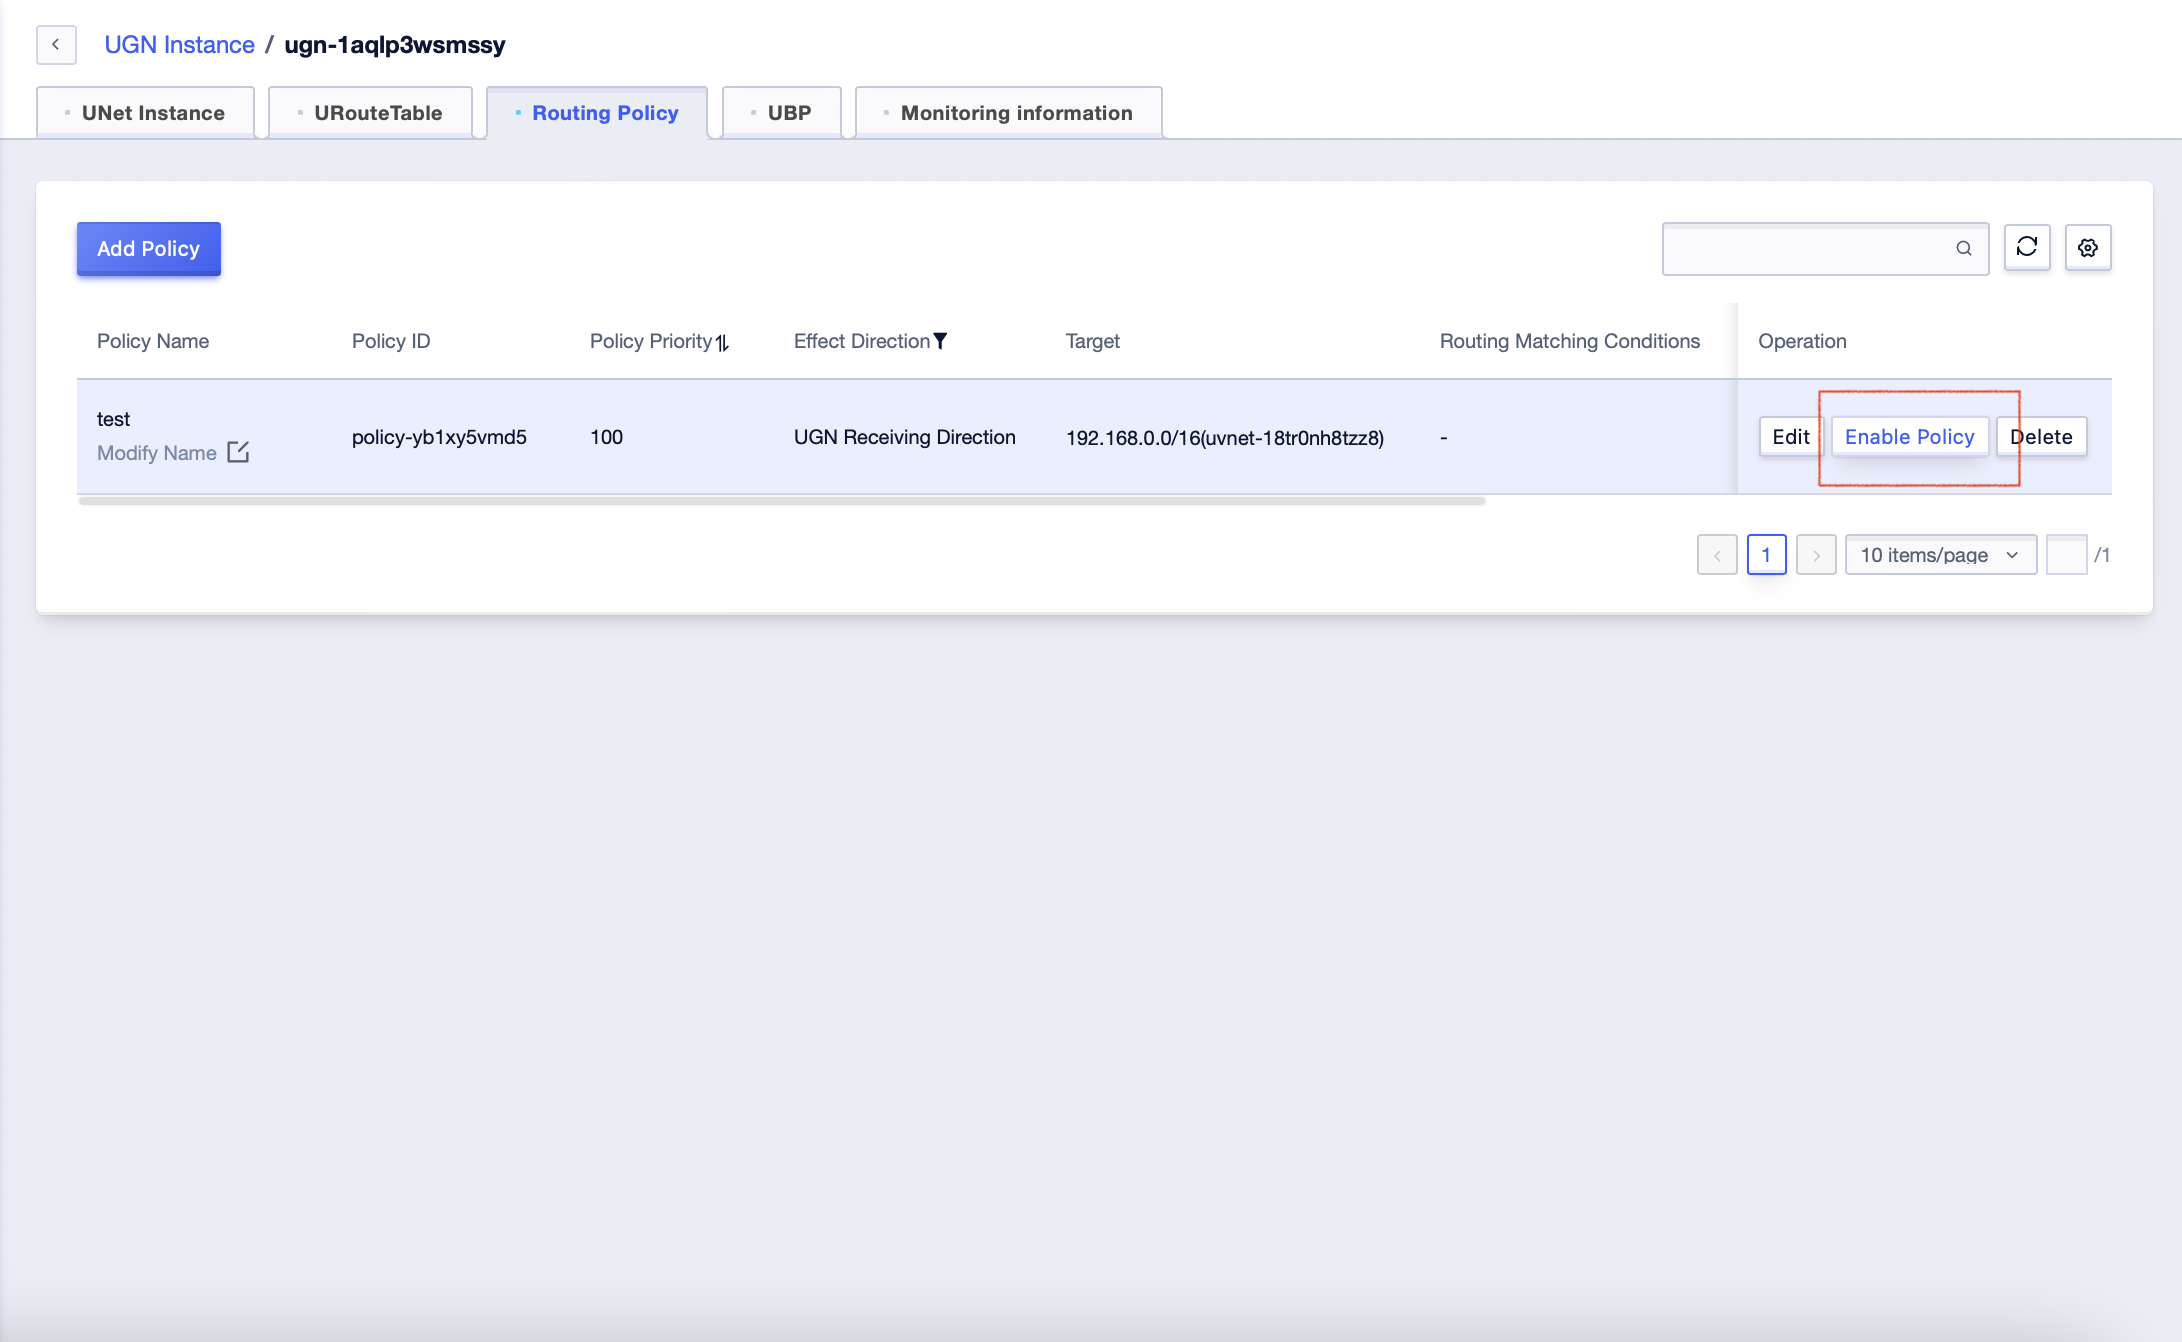
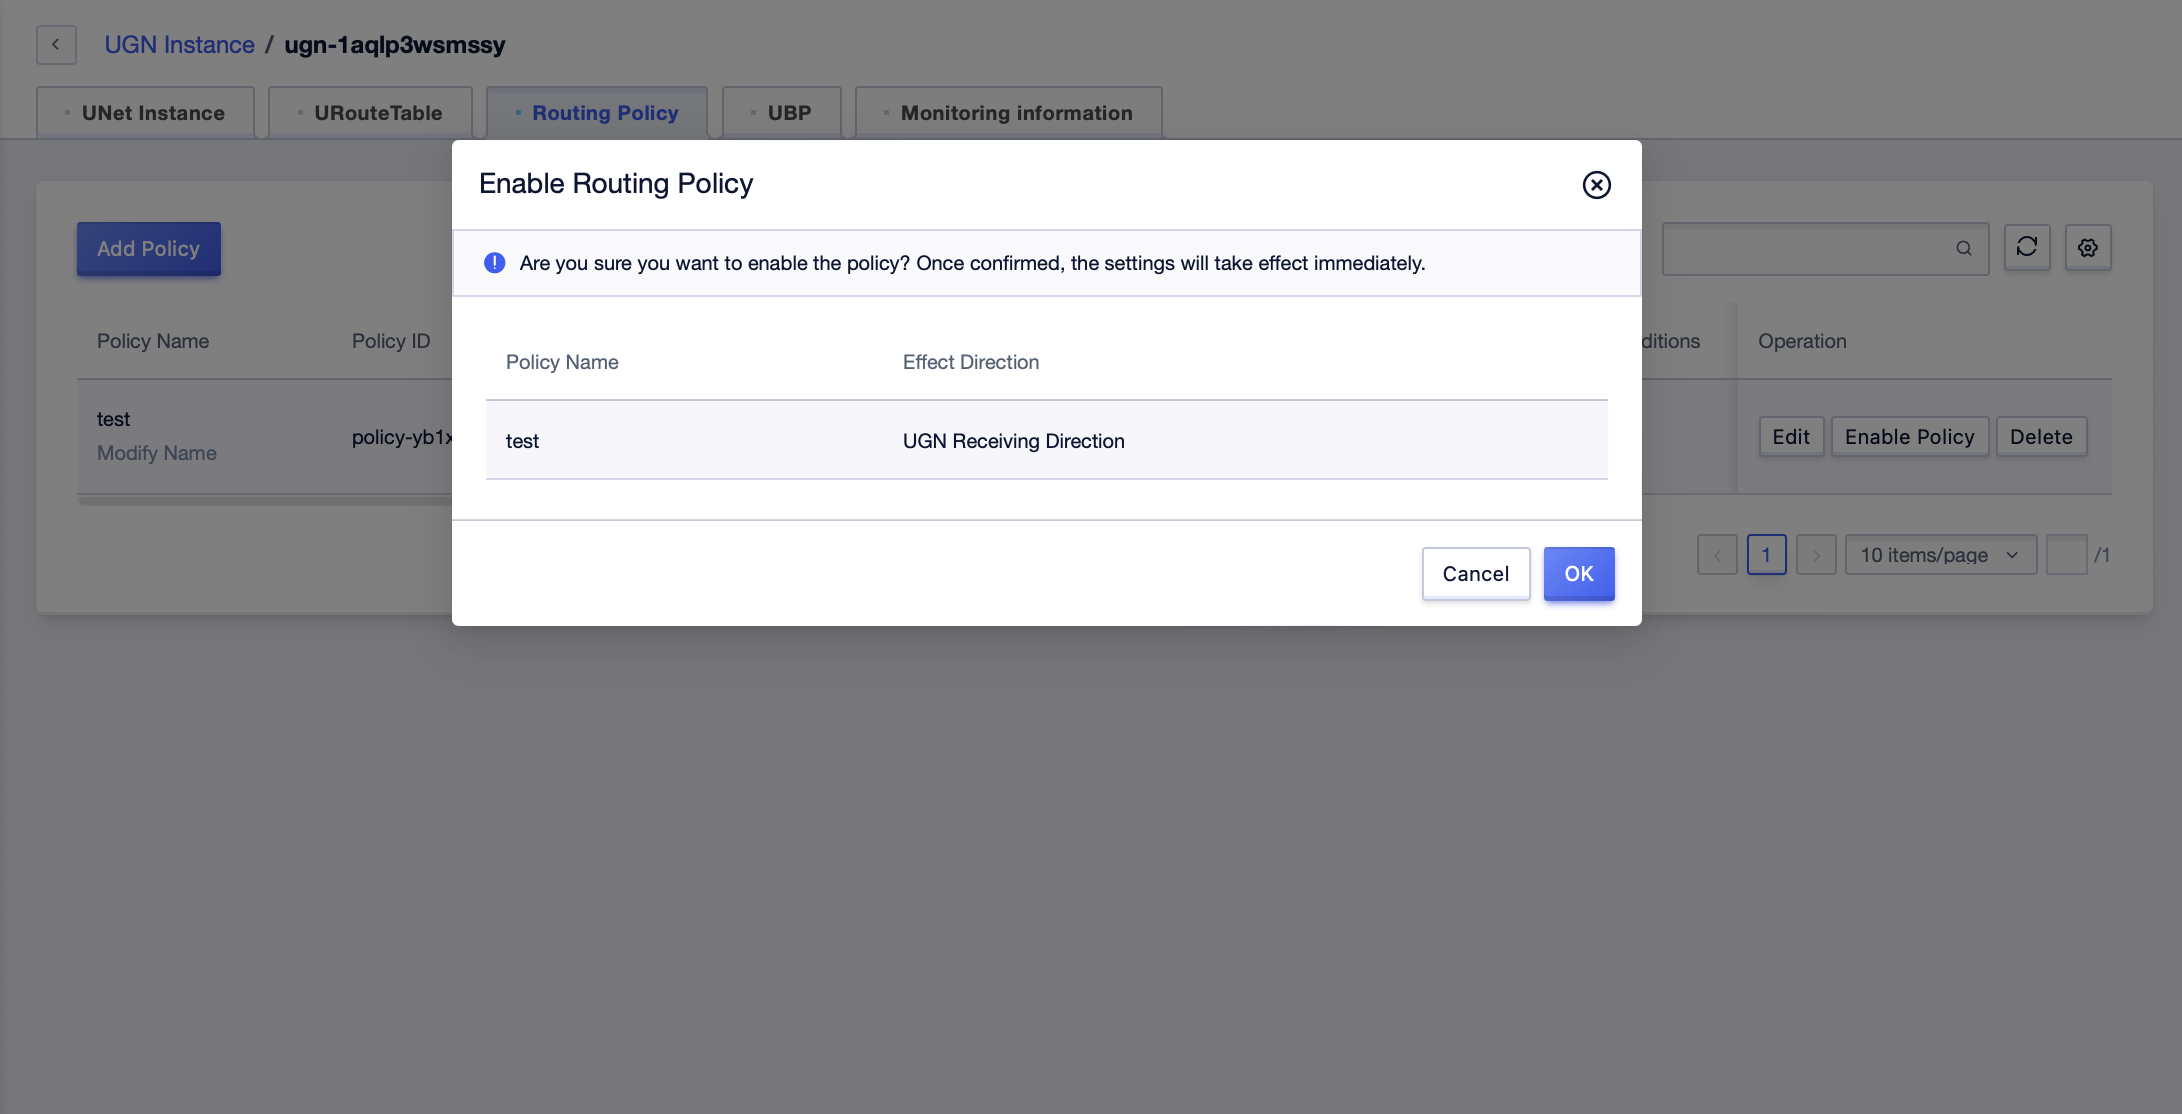
Enable/Disable Policies
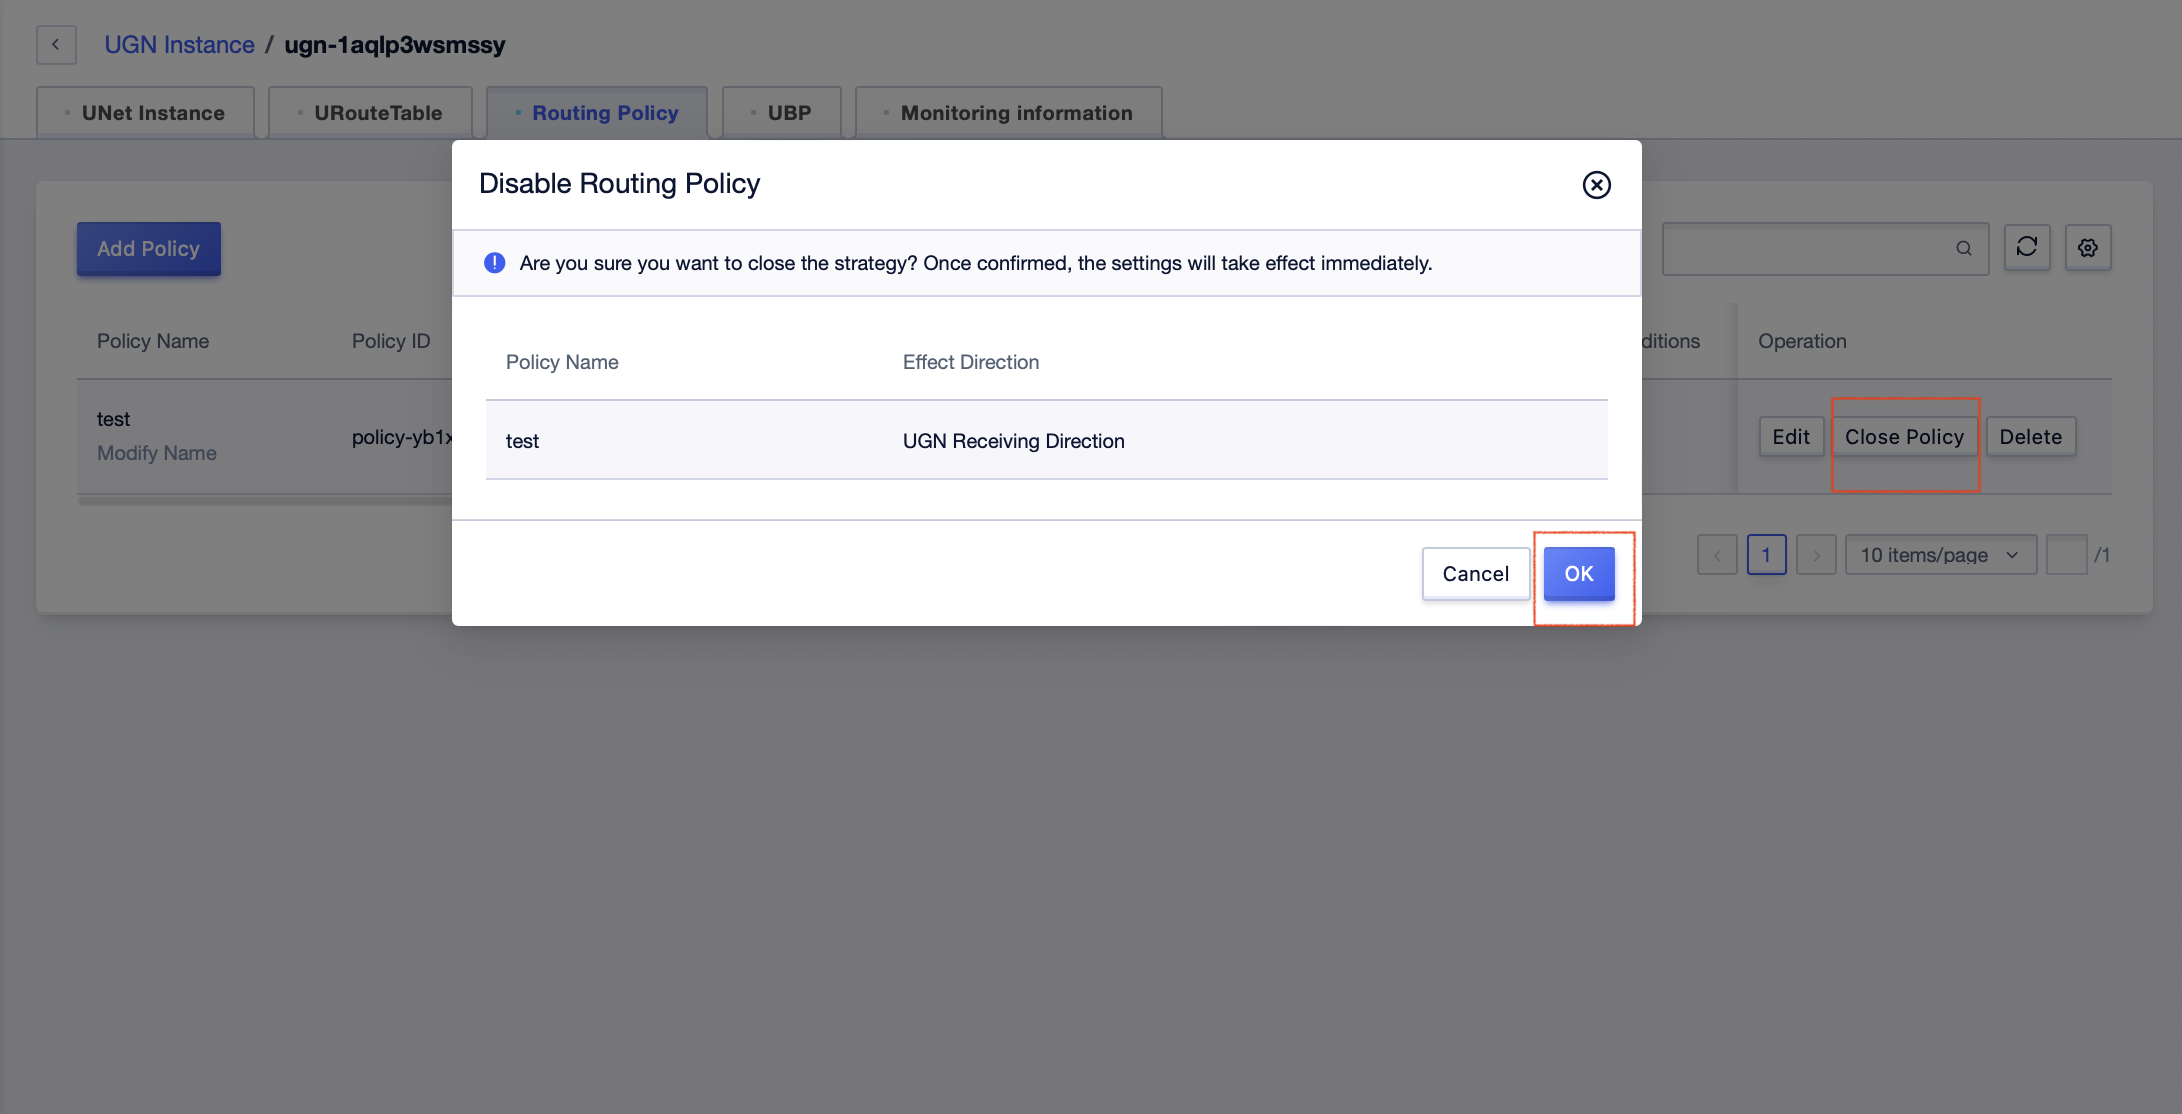
Policies that are not enabled are not actually issued to the UGN. Disabling a policy will withdraw the corresponding content from the UGN, but will retain the policy content to be enabled again.
Click [Enable Policy] or [Disable Policy] of the corresponding policy, and confirm it twice in the pop-up window.
Delete a Routing Policy
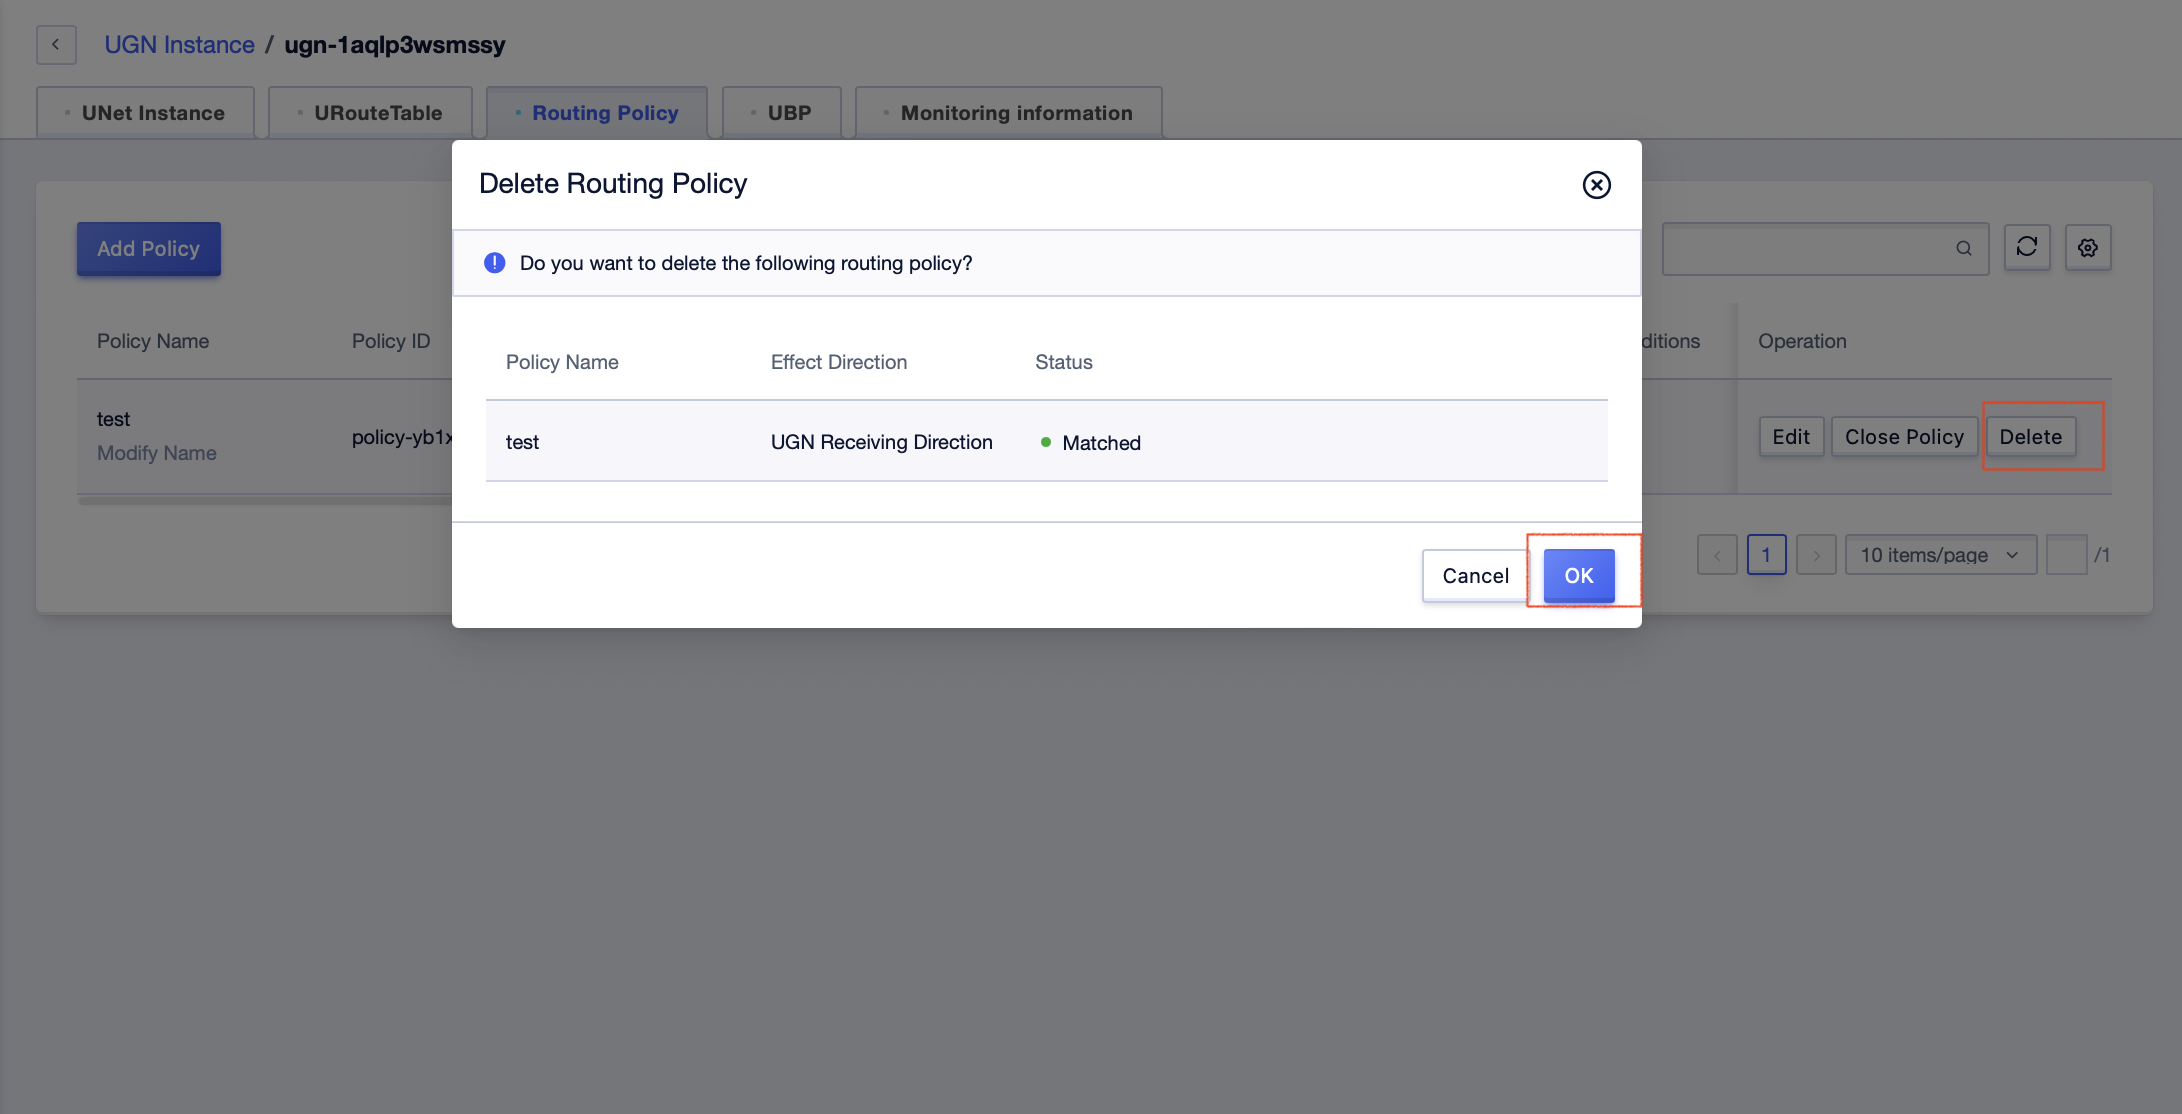
Click [Delete] of the corresponding policy, and confirm in the pop-up window for the second time. For the enabled policy, the relevant content within the UGN will be withdrawn synchronously.
