Quick Start
Introduction Overview
UGN can help you achieve inter-connection and inter-communication among cloud-based VPCs, and between VPCs and on-premise IDCs, enabling you to easily build an enterprise-level global network. The following will introduce how to use UGN in the same-account scenario.
Pre-activation Check
- UGN is used to associate different network instances. If there is no corresponding instance, it needs to be created first.
- If you are about to activate the cross-border UGN bandwidth package, please make sure that the cross-border application has been completed. For details, please refer to the CPLCI.

Interconnection of SameAccount Network Instances
Process

Step 1: Create a UGN Instance
-
Navigate to the UGN management page on the console
Click 【All Products】—【Network】—【UGN】—【UGN Instance】TAB on the console.
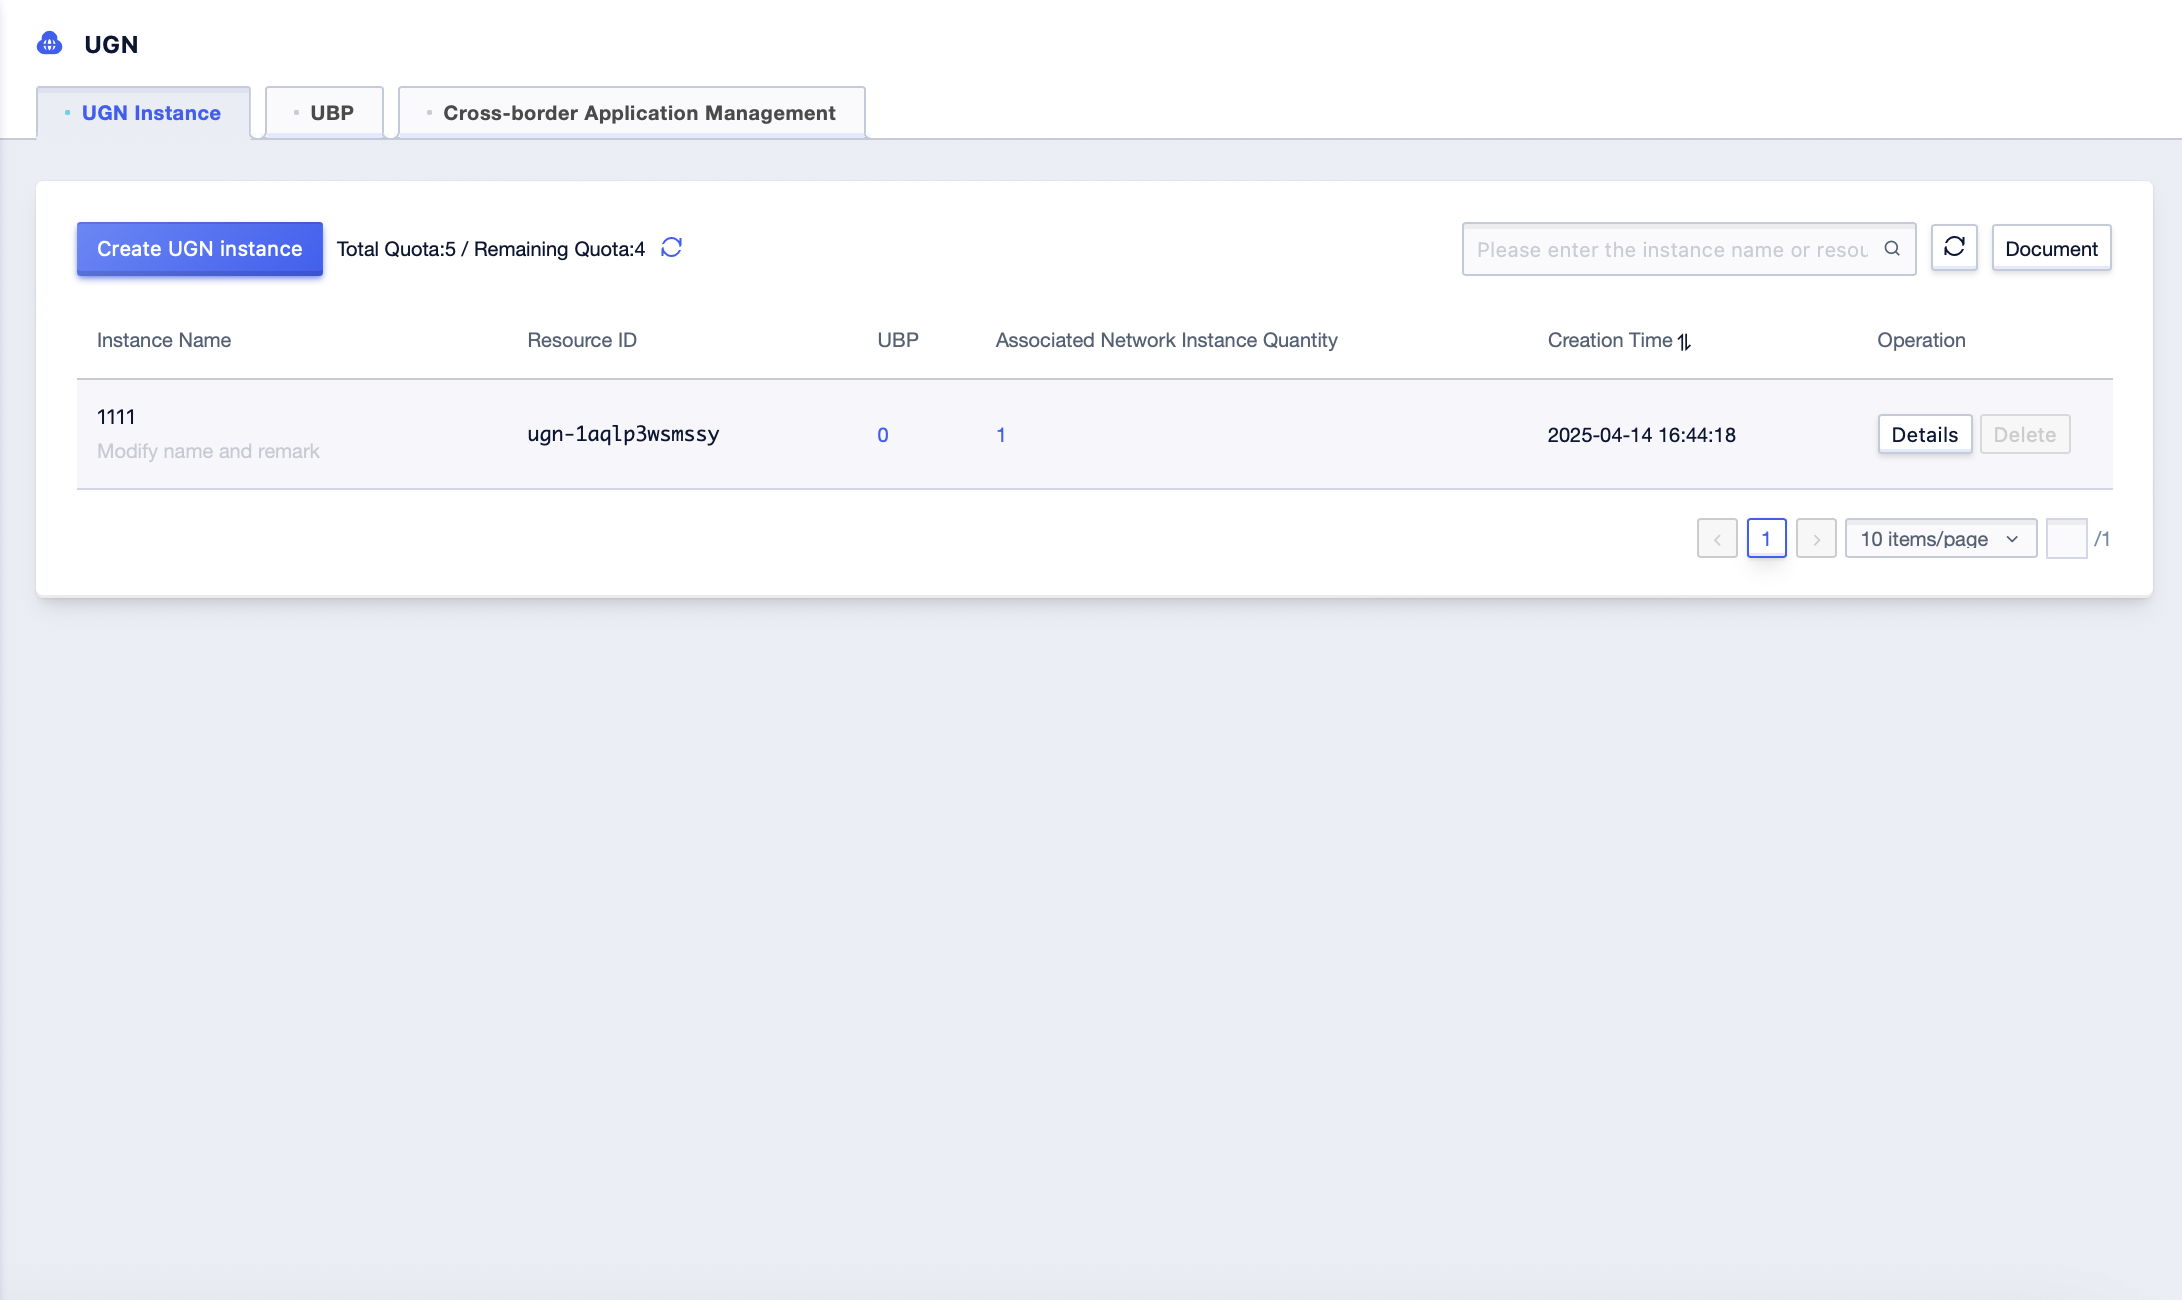
- Create a new UGN instance
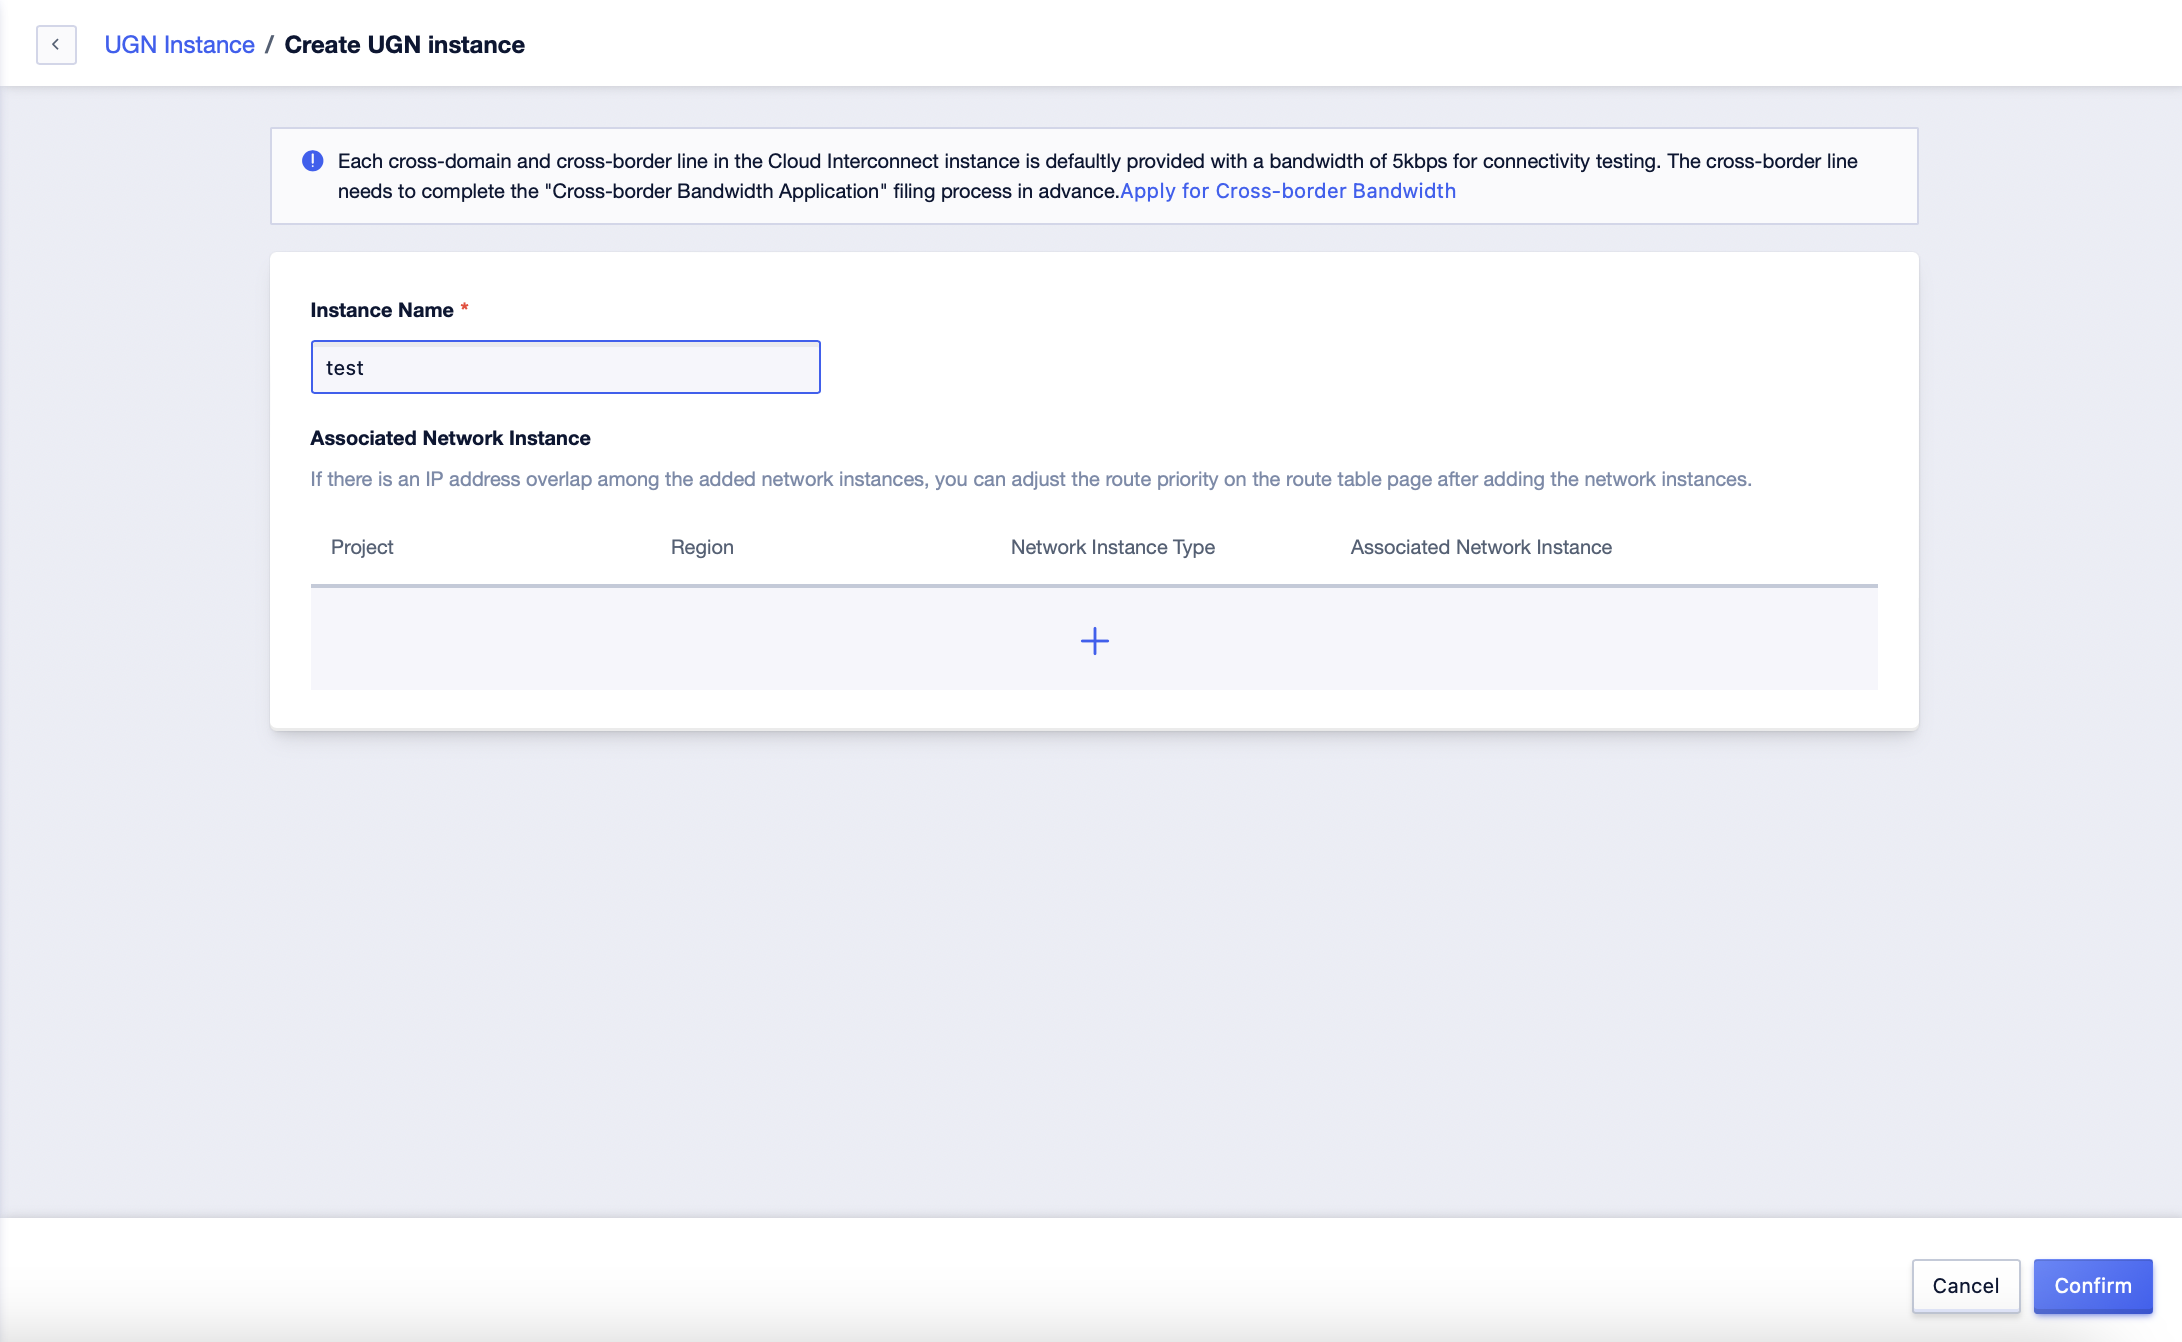
Click 【Create UGN Instance】, enter “Instance Name”, associate related network instances, and click 【Confirm】to complete creation
Step 2: Associate Network Instances
The association of network instances can be completed synchronously when creating the UGN instance, or it can be associated later on the network instance page
- Associate a network instance under the 【Create UGN Instance】 page. If you need to associate multiple instances, you can continue clicking ”+” to add more. Click 【Confirm】 to complete the creation.
- Click 【Details】 on the UGN instance management page, and select and enter the “UNet Instance” TAB page
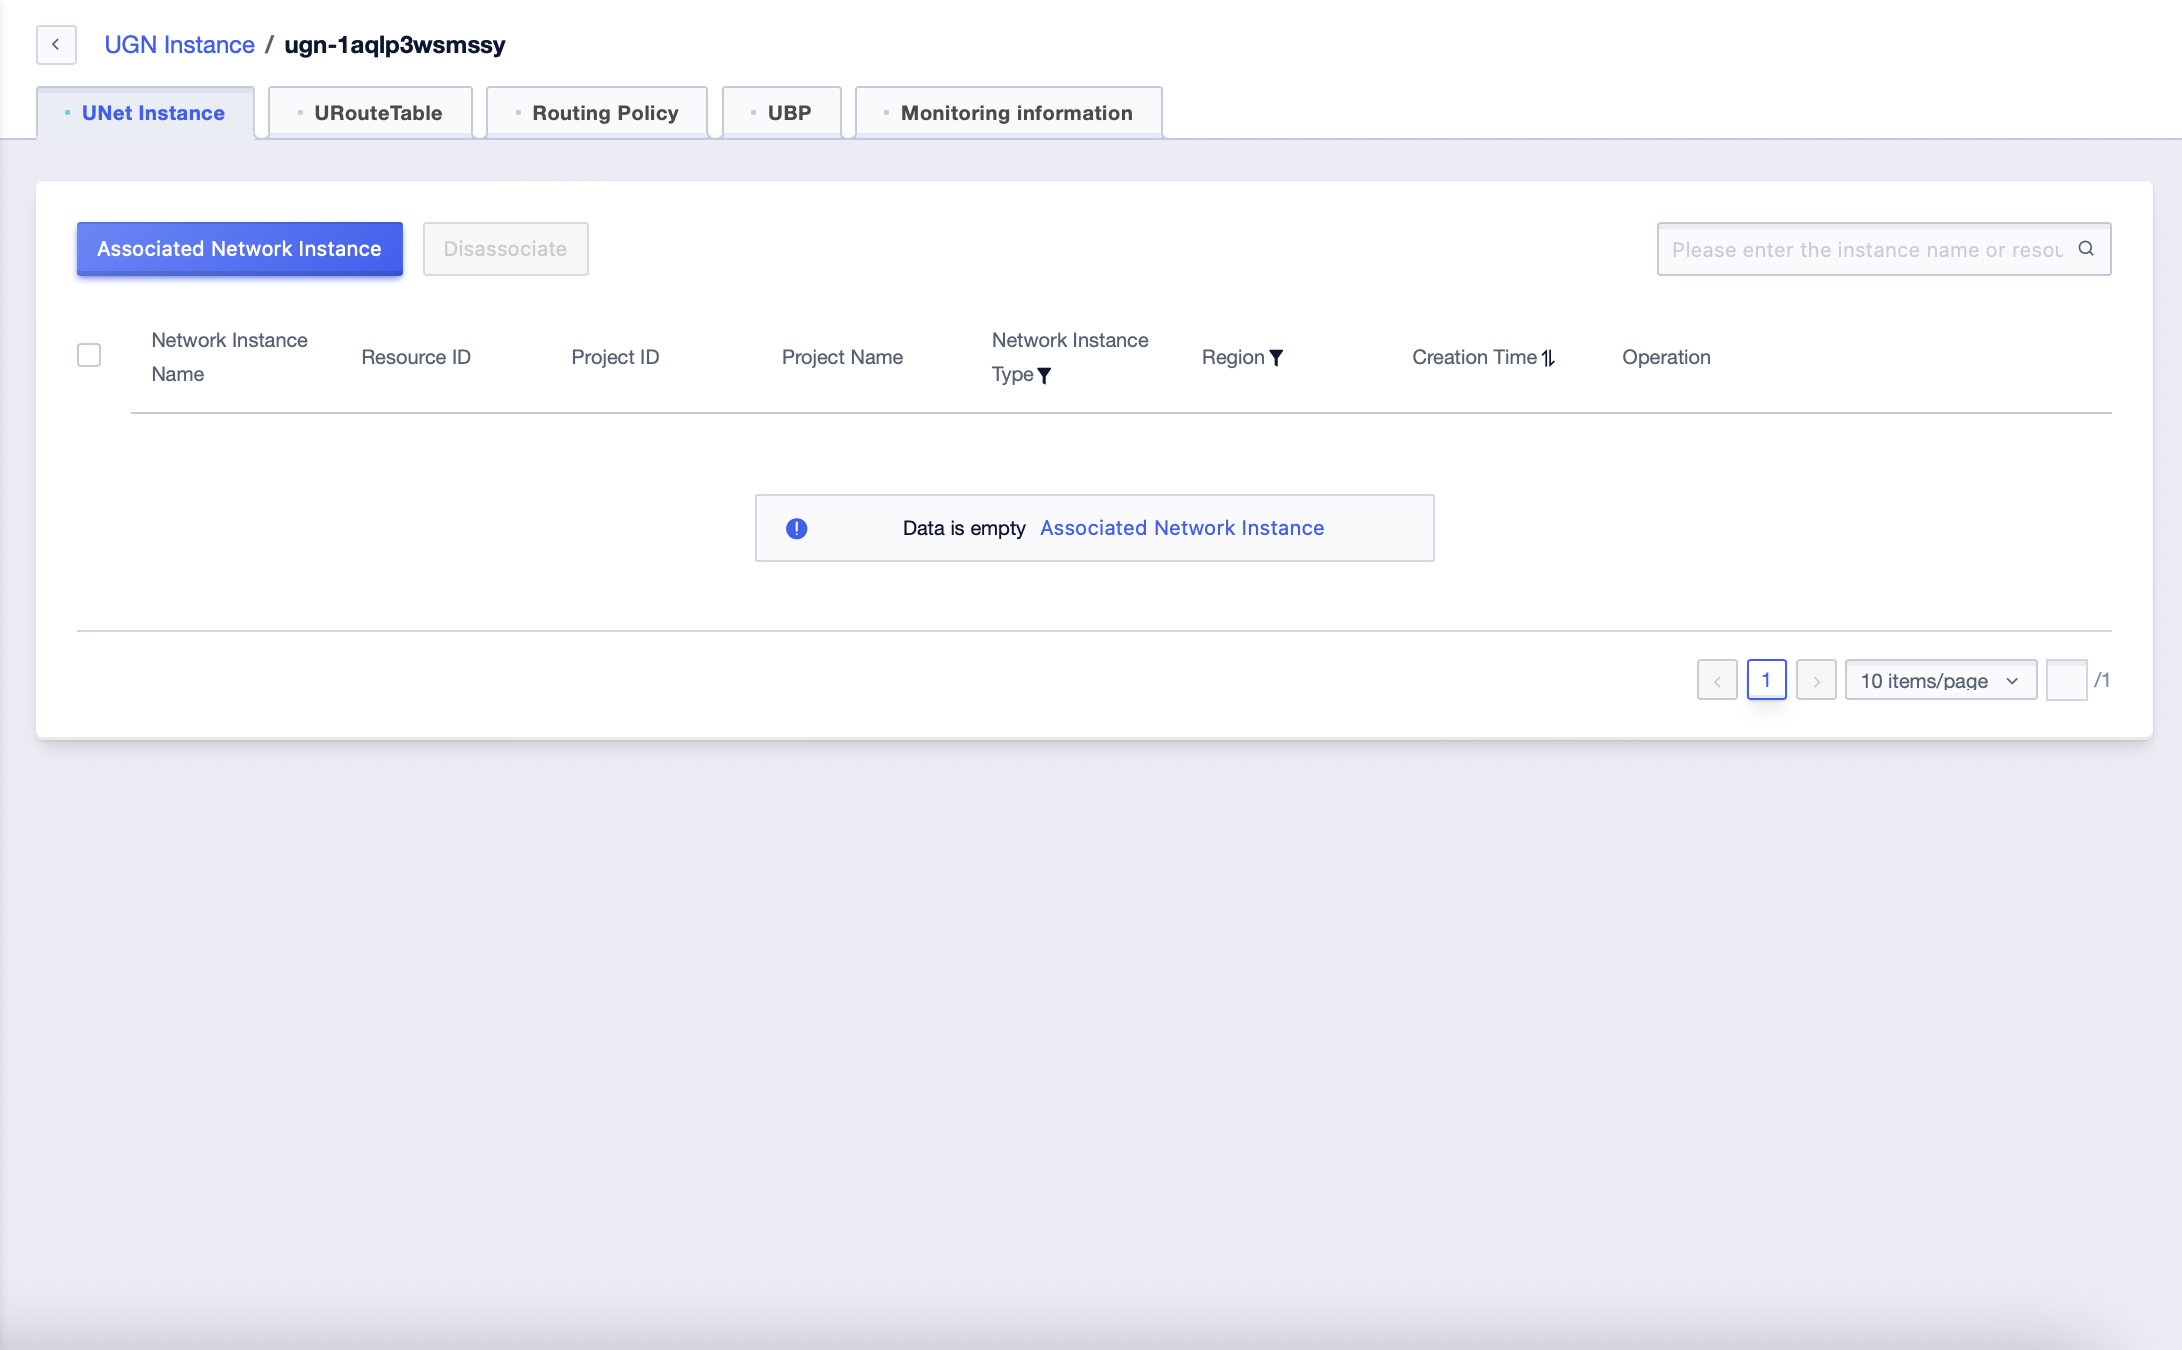
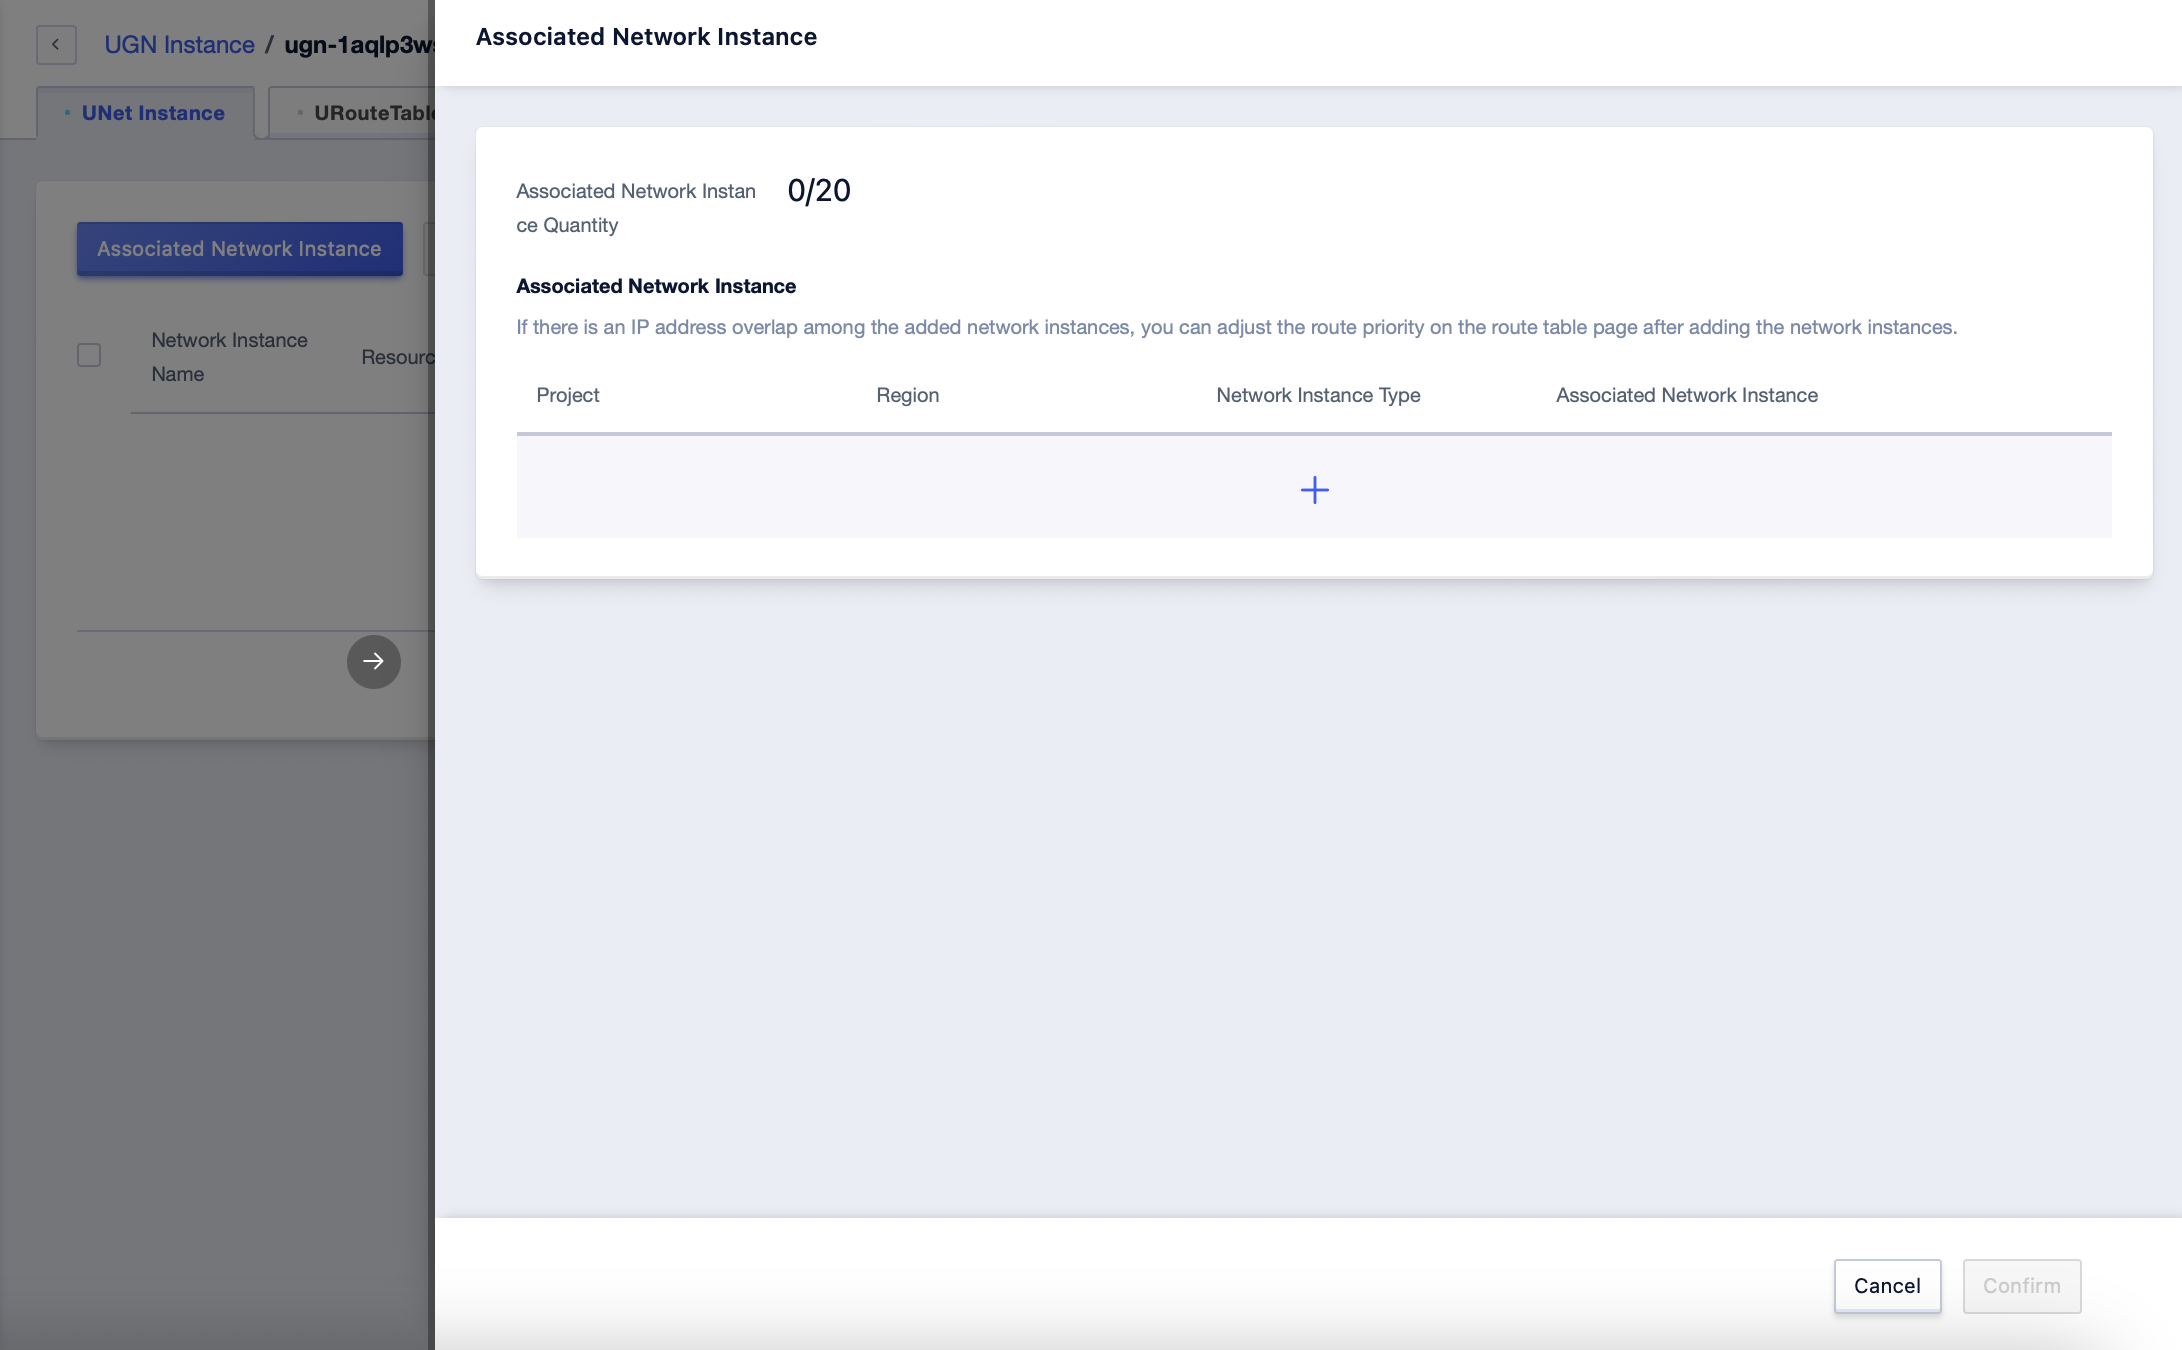
Click 【Associate Network Instance】, select the “Project”, “Region”, and “Network Instance Type” for the network instance to be associated, and select the network instances to be associated. Multiple selections are allowed. Click 【Confirm】 to complete the association.
Step 3: Check the Routing Table
Click 【URouteTable】 on the UGN instance management page. This tab page will show related routing table information.
Duplicate routes can be resolved by adjusting the priority to set an effective route.

Step 4: Create and Bind a Bandwidth Package
Click 【UBP】 on the UGN instance management page. This tab page will show related bandwidth package table information.
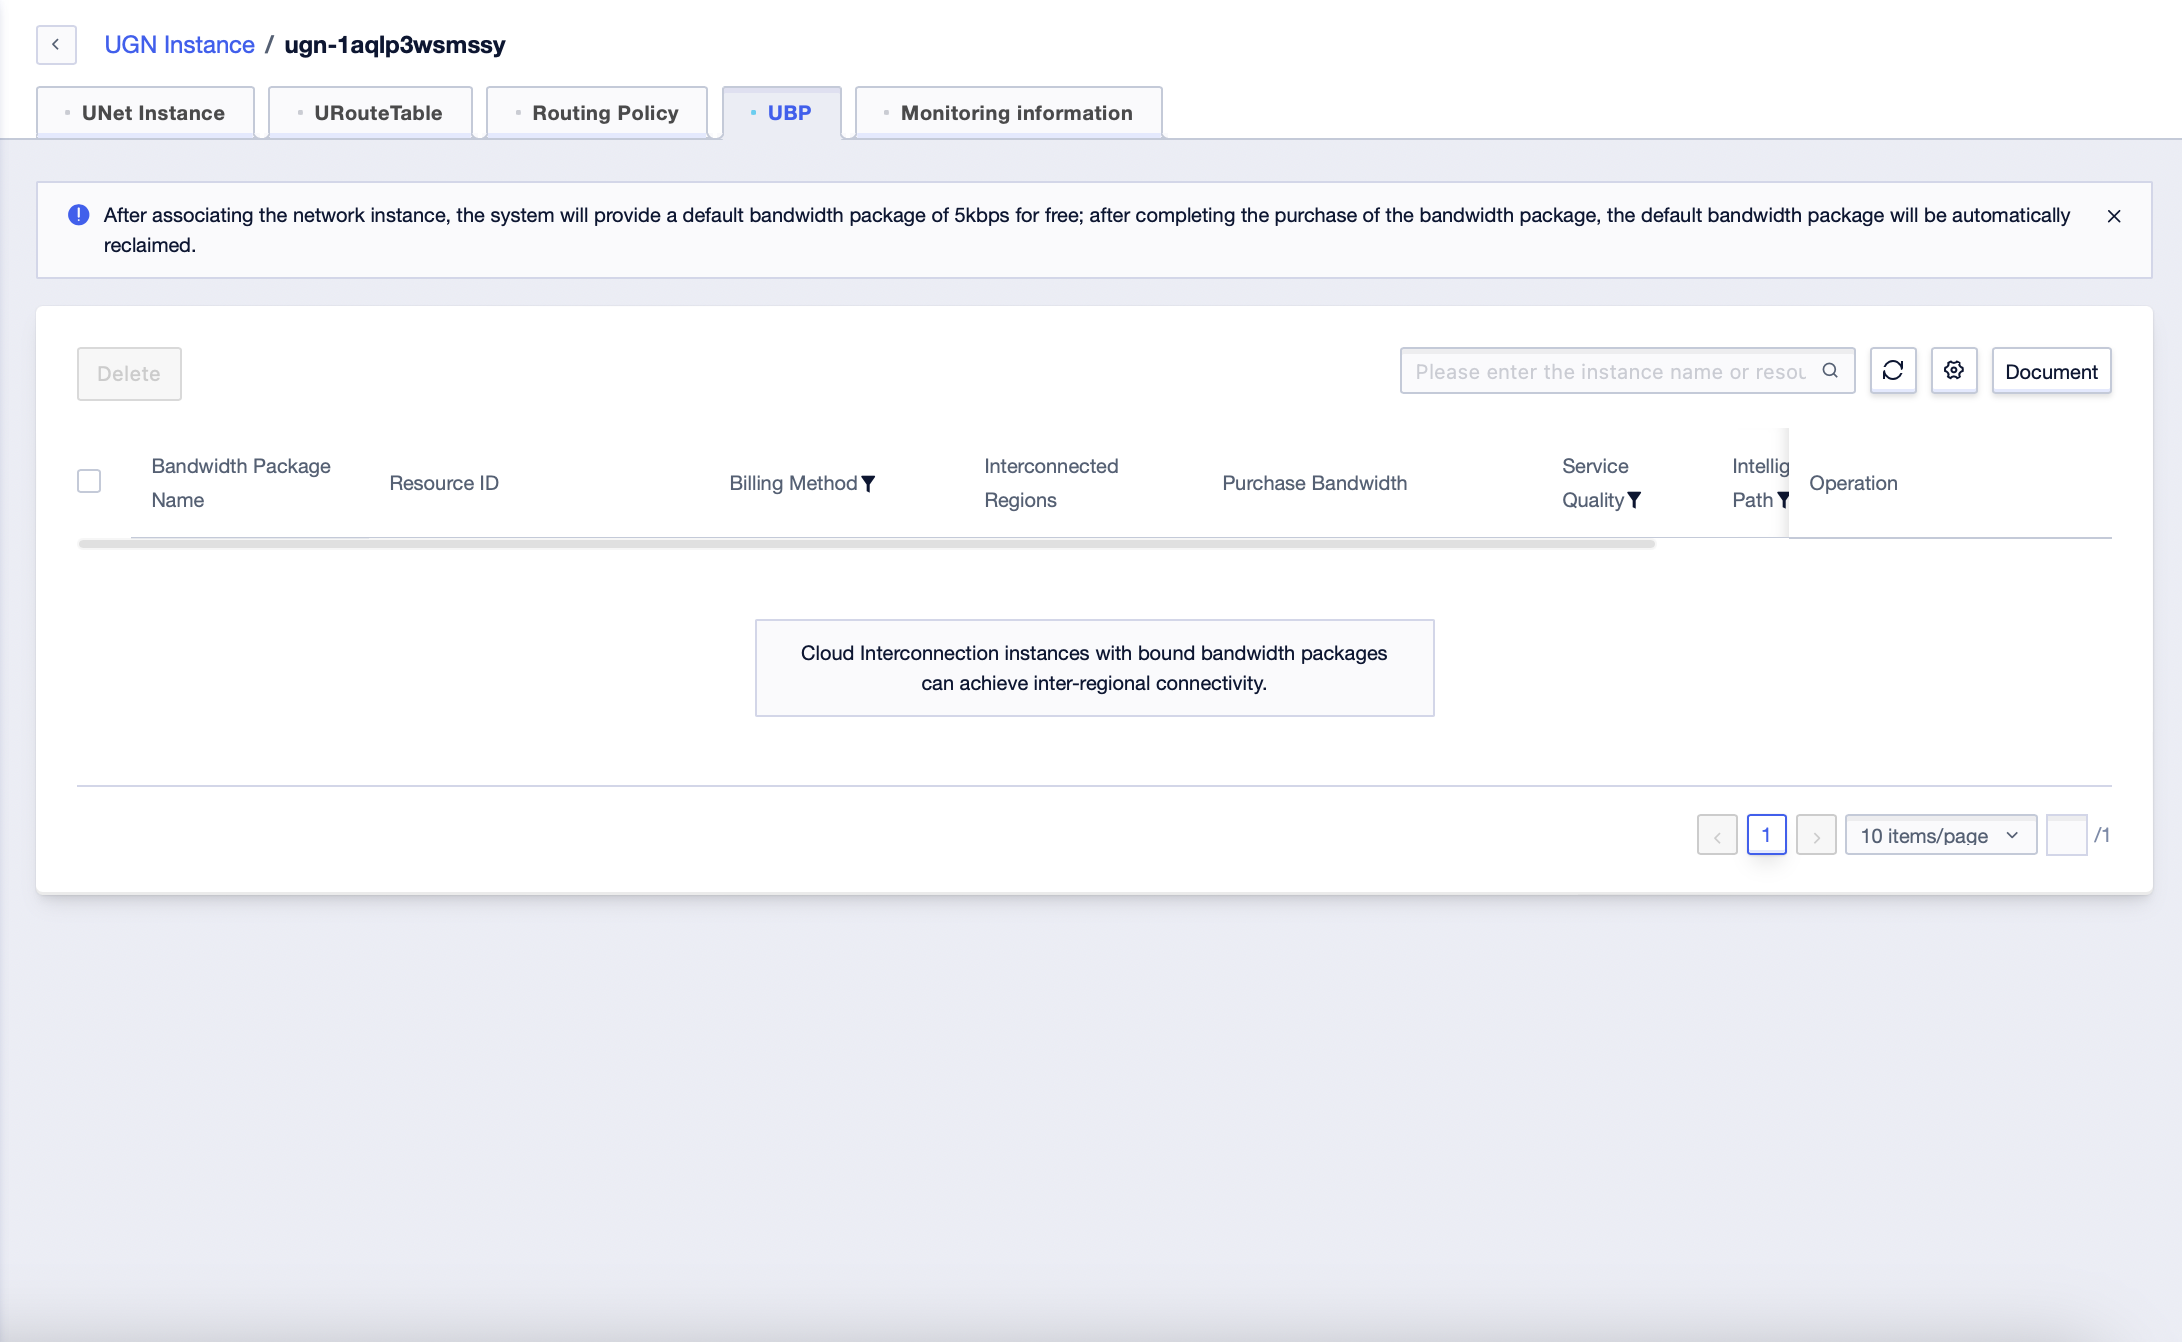
Click 【Purchase Bandwidth Package】, fill in or select related parameters, and complete the purchase.
Step 5: Connectivity Verification
Create a resource instance under each network instance at both ends, and ping each other. If the pinging is successful, the connectivity is normal; otherwise, the connectivity is abnormal;
UDPN Network Upgrade with One Click (Coming Soon)
The cross-region interconnection function of UGN is an upgraded version of the UDPN product. If you need to upgrade the existing UDPN network architecture in advance and experience the better interconnection service between the cloud and on-premise environments as soon as possible, you can contact your account manager first. We will formulate an upgrade plan for you individually. An automated upgrade tool will be launched in the future.