# Virtual Network Interface Cards (vNIC)
This document provides information about the operational functionalities related to the product page like Virtual Network Interface Cards and Auxiliary IPs.
## Glossary
* Default Network Interface Card: The network card that is created by the system by default when the host enables the network card function. The EIP and firewall originally bound to the cloud host will be associated with the default network card.
* Custom Network Interface Card: This is a network card manually created from the console and can be flexibly bound with the virtual machine.
* Auxiliary IP: This is a secondary IP manually applied from the console to use in conjunction with the main IP. It can also be flexibly bound with the virtual machine. The number of Auxiliary IPs that can be applied depends on the configuration of the virtual machine.
Features in Enhanced Network 1.0
| **Serial Number** | **vCPU** | **Number of Elastic Network Interface Cards** | **Number of Private IPs per Interface Card** |
| ----------------- | --------------- | ------------------------------------------ | -------------------------------------- |
| 1 | 1 ≤ vCPU ≤ 2 | 2 | 2 |
| 2 | 2 < vCPU ≤ 4 | 3 | 3 |
| 3 | 4 < vCPU ≤ 8 | 4 | 4 |
| 4 | 8 < vCPU ≤ 32 | 8 | 6 |
| 5 | 32 < vCPU ≤ 64 | 12 | 8 |
| 6 | 64 < vCPU ≤ 128 | 15 | 10 |
| 7 | VCPU > 128 | 15 | 12 |
Features in Enhanced Network 2.0:
| **Serial Number** | **vCPU** | **Number of Elastic Network Interface Cards** | **Number of Private IPs per Interface Card** |
| ----------------- | --------------- | ------------------------------------------ | -------------------------------------- |
| 1 | 1 ≤ vCPU ≤ 2 | 1 | 4 |
| 2 * 2 < vCPU ≤ 4 | 1 | 9 |
| 3 | 4 < vCPU ≤ 8 | 1 | 16 |
| 4 | 8 < vCPU ≤ 32 | 1 | 48 |
| 5 | 32 < vCPU ≤ 64 | 1 | 96 |
| 6 | 64 < vCPU ≤ 128 | 1 | 150 |
| 7 | VCPU > 128 | 1 | 180 |
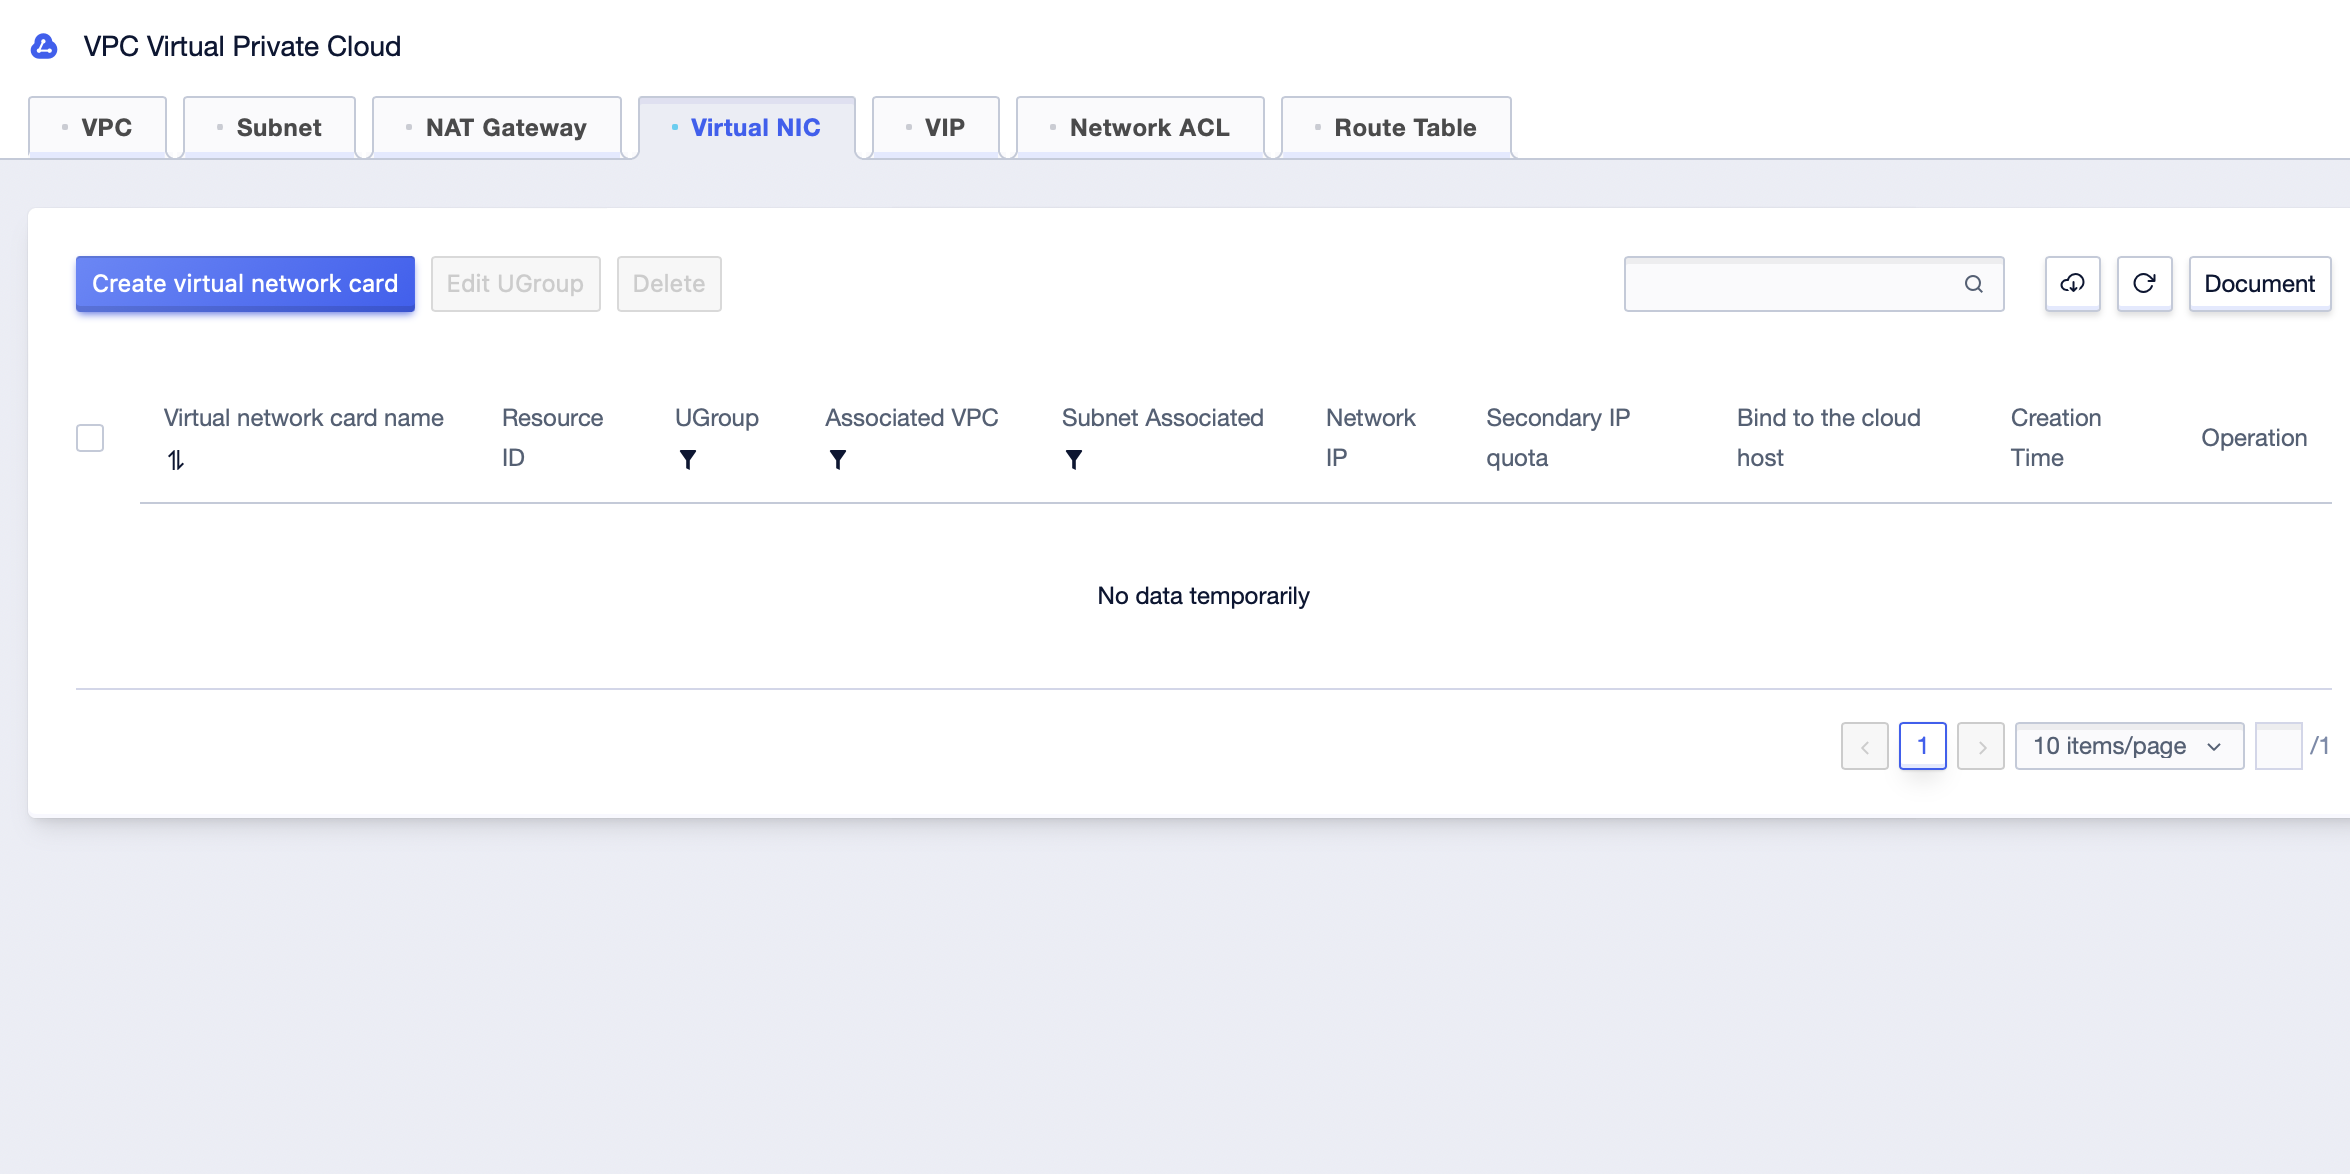
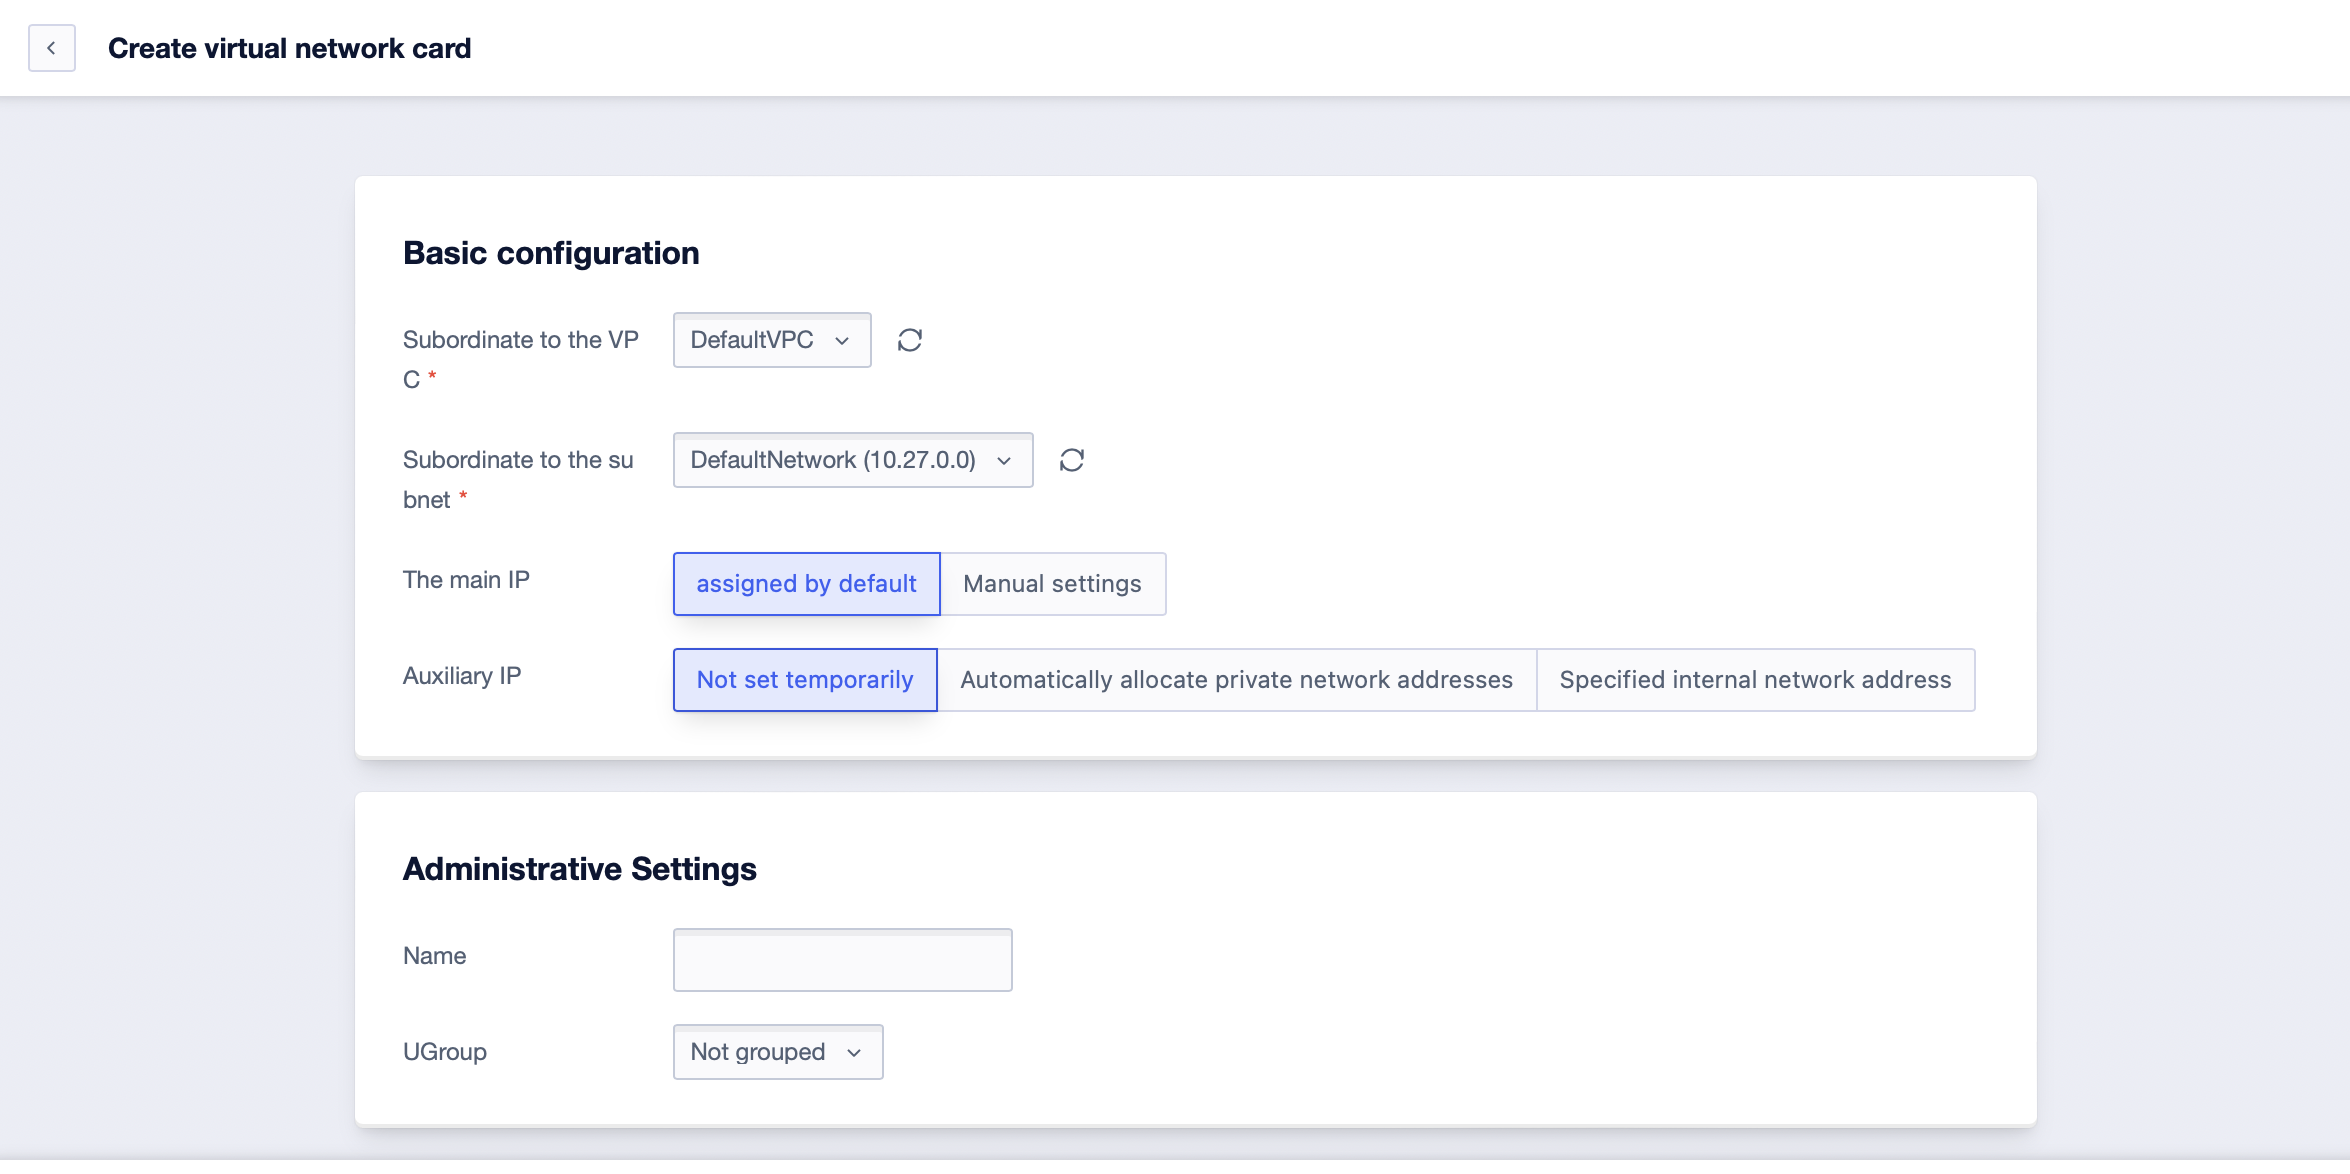
## Creating a Network Interface Card
Login to the console, select "VPC" from "All Products", click "Virtual NIC" and "Create virtual network card".
Notes:
- A new network card will automatically bind to the default web firewall.
- Custom Network Interface Card uniquely has its set of configurations such as Resource Name Remarks, UGroup, EIP, Firewall Configuration, etc. Independent of the host, they can be flexibly bound with the virtual machine.
- The network configuration of the cloud host will automatically be assigned to the default network card. The default network card is strongly bound to the cloud host and has the same lifecycle as the cloud host.
## Using Network Interface Cards
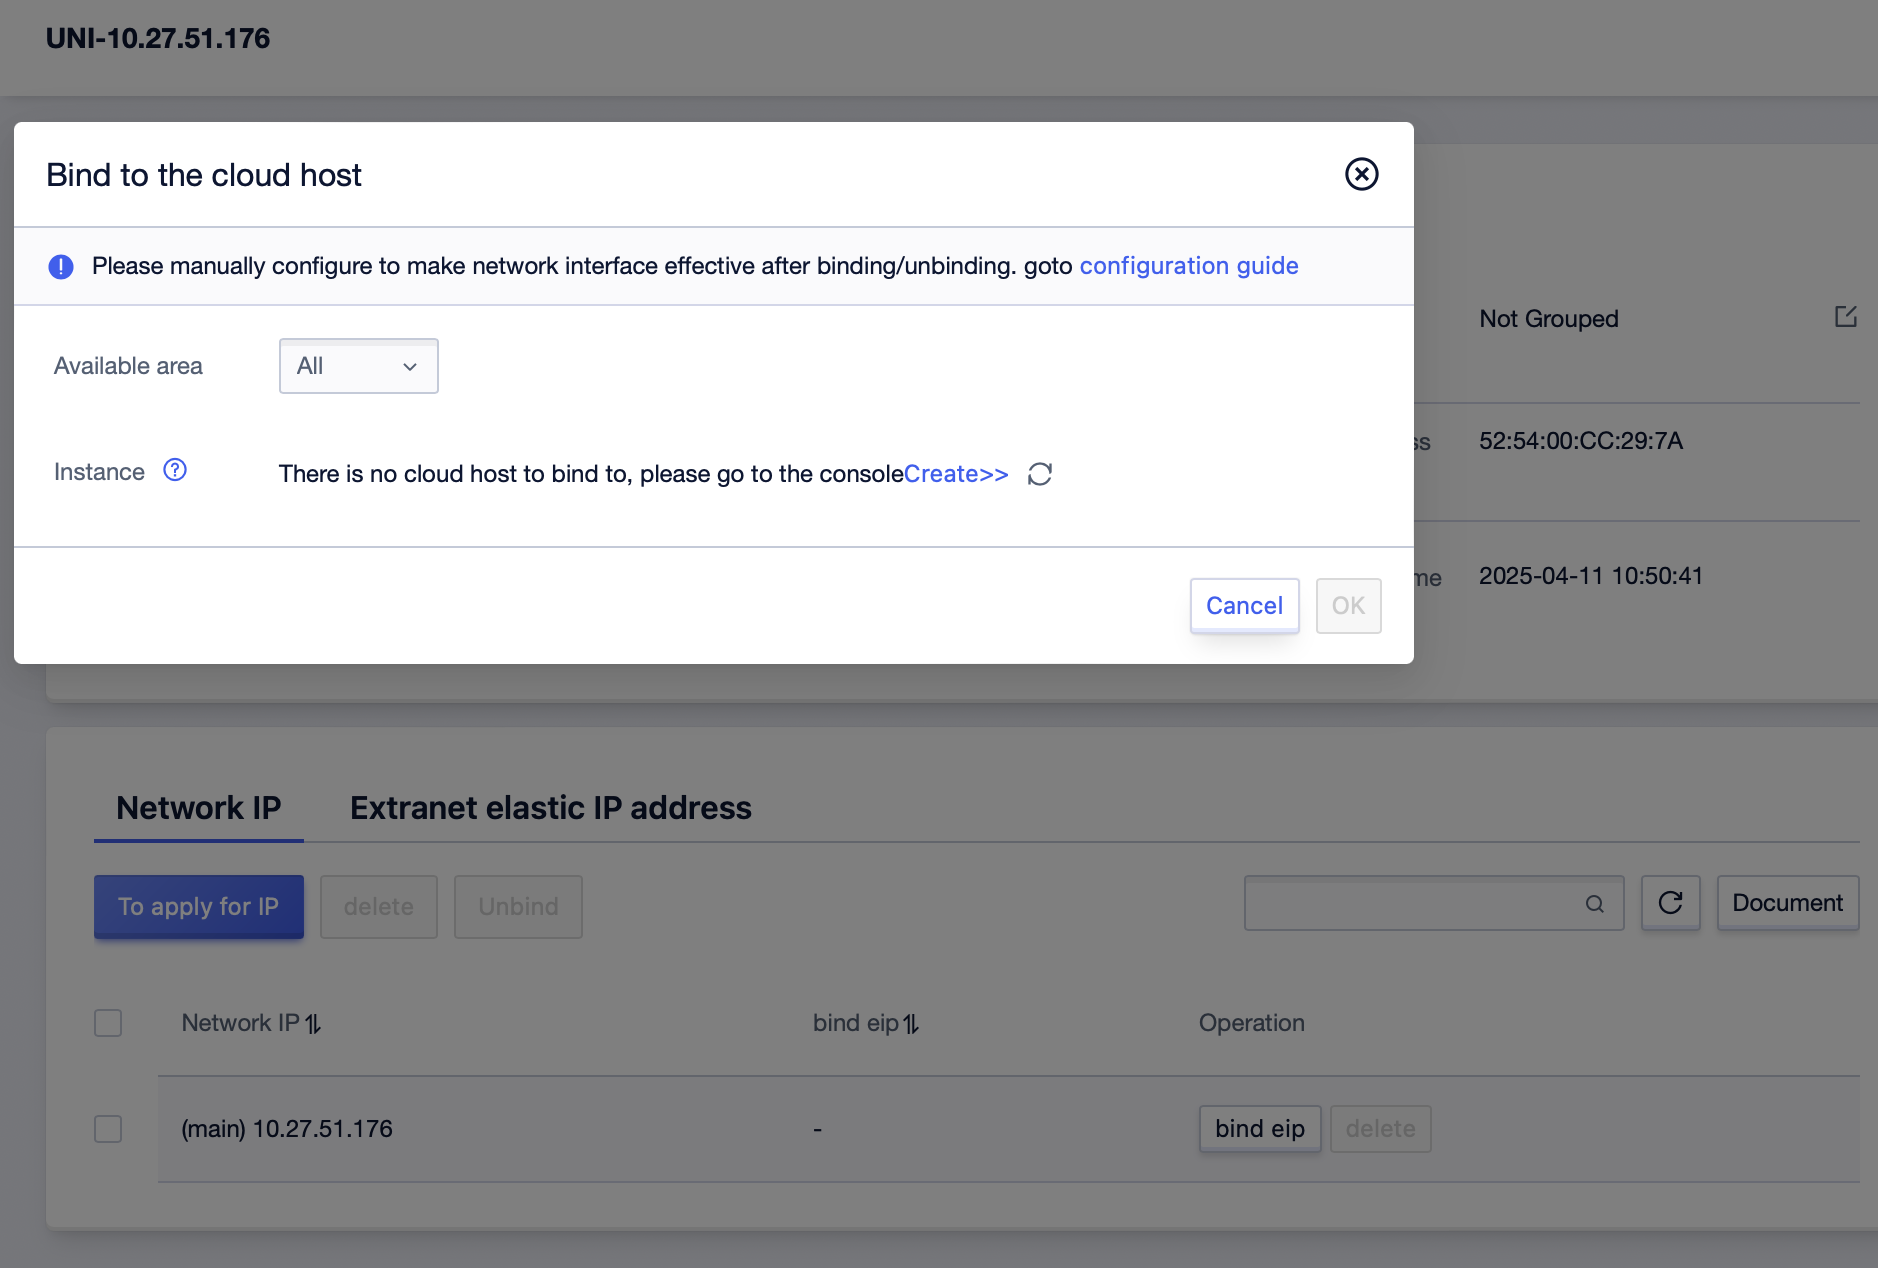
Newly created network cards are not yet bound with any external EIPs, and they need to be bound after the network cards are created. Simultaneously, operations like changing the network resource's name, binding it with the main machine, etc. can be performed on the Virtual NIC list or the details page.
> After a customized network card is bound with the virtual machine, it is necessary to configure the network card information and policy routing to the system on the virtual machine (it is not required for the default network card).
- List Page Operations

- Operations on the Details Page
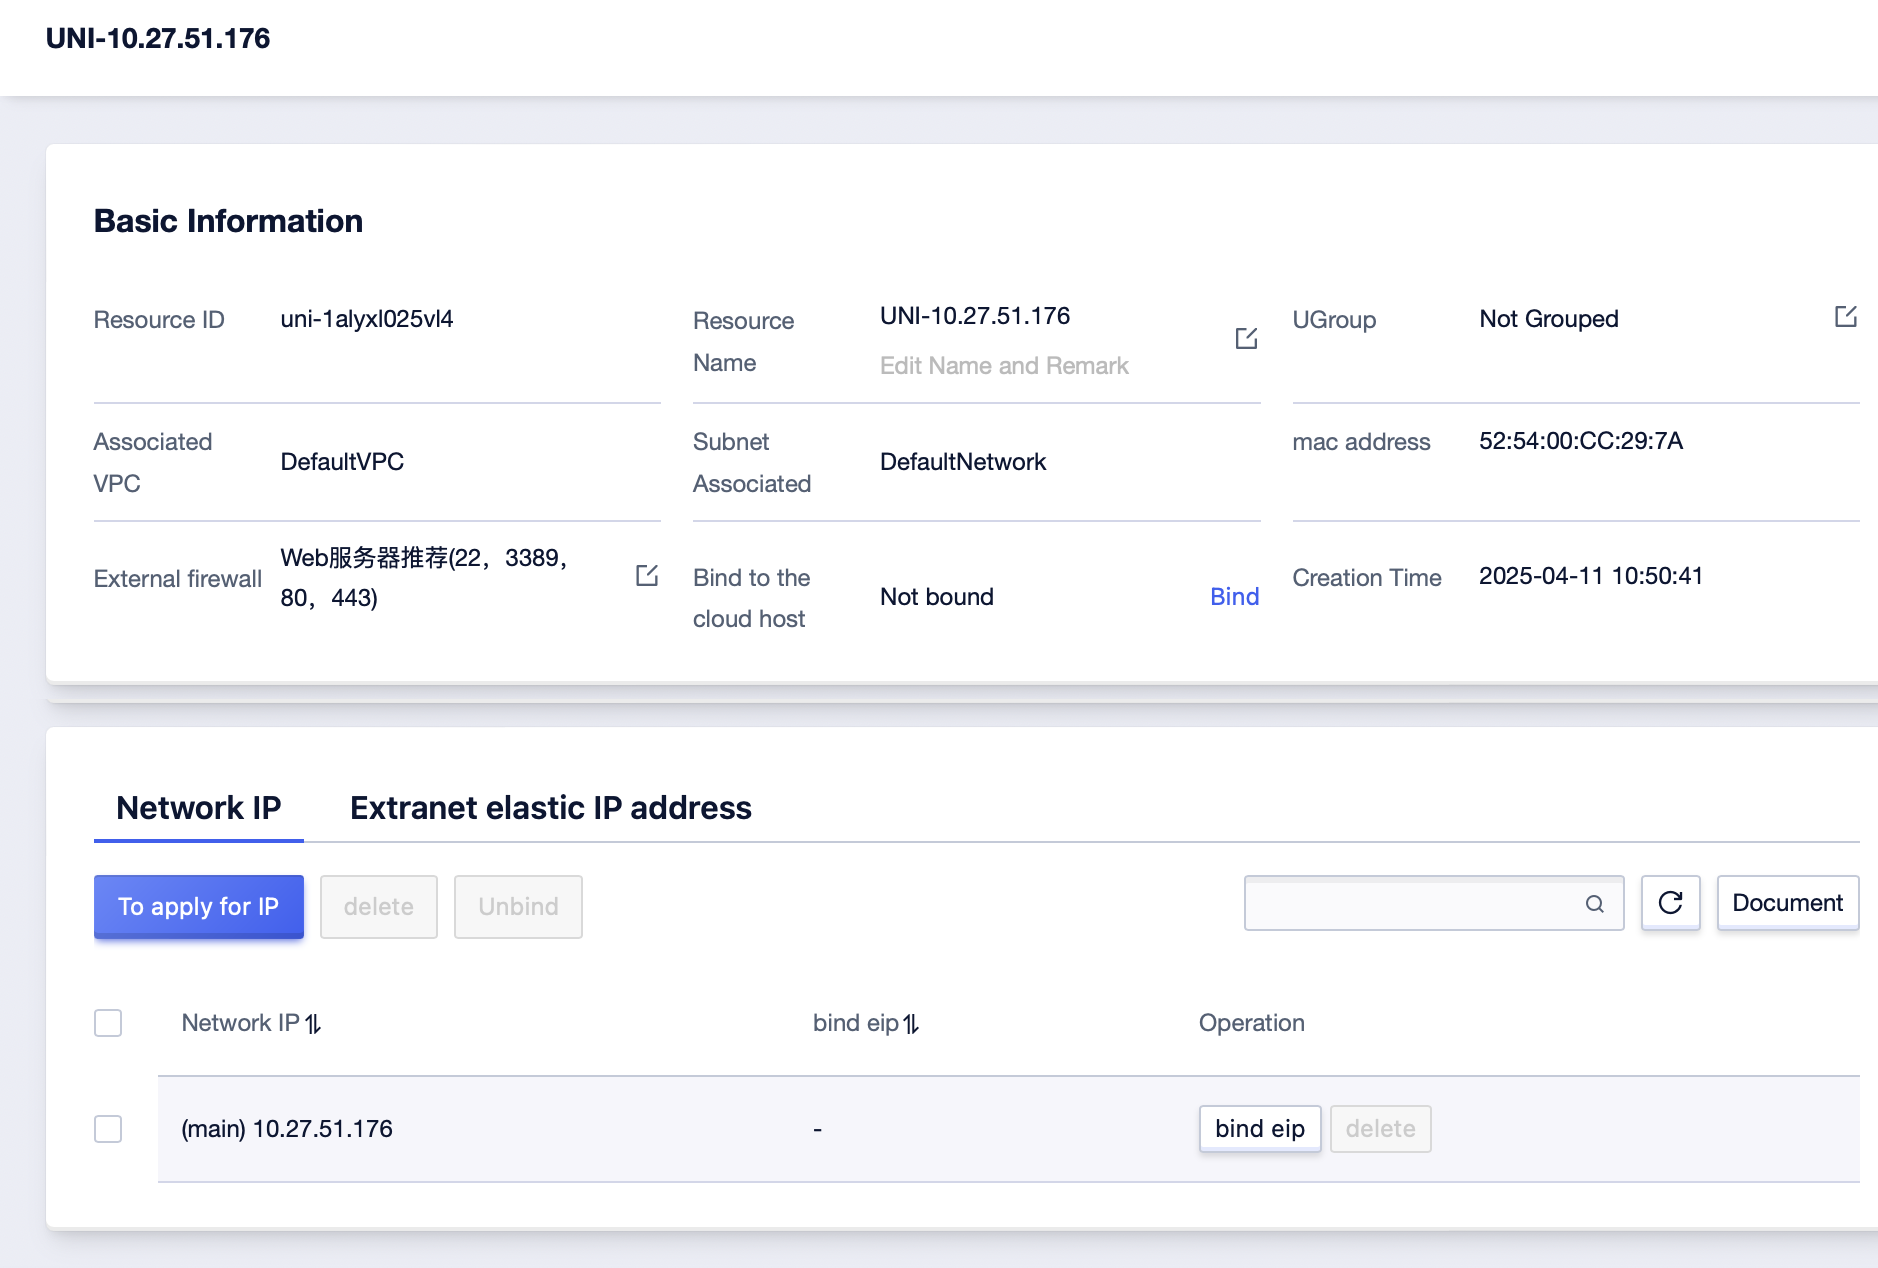
- Binding the Network Card to Virtual Machine
Notes:
- Clicking on the "Resource Name" on the List Page or "**Details**" in the operation column will open the resource's details page.
- On the top-right of the console, network card information display, downloading network resource list, refreshing network resource list information, reading documentation, and other operations are supported.
## Network Card Configuration Guide
After creating a cloud host with a virtual network card, there is no need to configure the primary network card (the default network card of the cloud host). However, the corresponding secondary IP needs to be configured. Currently, for some regional images, the secondary IP of the network card does not need to be configured, and it can be automatically completed after being bound in the console.
### Automated Network Card IP Configuration
Some images are pre-installed with an automatic configuration tool, which can automatically configure the secondary IP of the network card. If you use such images, there is no need to configure the secondary IP of the network card by yourself. This function is currently in the gray testing stage. If you have relevant needs, please contact technical support.
Before performing the operation, please first confirm whether the following information is met:
#### Use Automated Network Card IP Configuration
- Create a cloud host with the virtual network card function enabled
- The cloud host system version is Ubuntu 20.04
- The automated configuration function is enabled
- After adding or deleting an IP in the console, you can make the modified IP information take effect by restarting the cloud host or executing the command line issued:
```
sudo cloud-init init
```
**Precautions:**
- After enabling the EIP network card visible mode, both the EIP and the internal network IP support automated configuration.
- After the operation in the console is completed, it is expected that the configuration distribution will take about 10-30 seconds.
### CentOS 7 Configuration Guide
Assume the configuration of three existing host network cards is as follows, and two custom network cards are already bound to the virtual machine.
```
eth0 (Default Network Interface Card)
(Master IP) 10.42.108.166
(Auxiliary IP) 10.42.107.2
eth1 (Custom Network Interface Card Created)
(Master IP) 10.42.71.137
(Auxiliary IP) 10.42.71.3
eth2 (Custom Network Interface Card Created)
(Master IP) 10.42.175.116
(Auxiliary IP) 10.42.175.3
```
#### First Step: Deactivate RPF
*Temporary Deactivation*
Modify /proc/sys/net/ipv4/conf/all/rp_filter value:
```
echo 0 > /proc/sys/net/ipv4/conf/all/rp_filter
```
Restart Network Service
```
service network restart
```
*Permanent Deactivation*
Edit /etc/sysctl.conf file, modify net.ipv4.conf.all.rp_filter value to 0, and restart the server.
#### Second Step: Configure Custom Network Interface Card
*Configuring eth1*
```
# ifconfig eth1 10.42.71.137 netmask 255.255.0.0
# ifconfig eth1 mtu 1454
# echo "101 net_101 " >> /etc/iproute2/rt_tables
# ip route add default via 10.42.0.1 dev eth1 src 10.42.71.137 table net_101
# ip rule add from 10.42.71.137 table net_101
```
*Configuring eth2*
```
# ifconfig eth2 10.42.175.116 netmask 255.255.0.0
# ifconfig eth2 mtu 1454
# echo "102 net_102 " >> /etc/iproute2/rt_tables
# ip route add default via 10.42.0.1 dev eth2 src 10.42.175.116 table net_102
# ip rule add from 10.42.175.116 table net_102
```
*Configuring Persistence*
Create configuration files for eth1 and eth2
```
Create Configuration File
# cp /etc/sysconfig/network-scripts/ifcfg-eth0 /etc/sysconfig/network-scripts/ifcfg-eth1
# cp /etc/sysconfig/network-scripts/ifcfg-eth0 /etc/sysconfig/network-scripts/ifcfg-eth2
Modify the -
- DEVICE=Network Card Name of Virtual NIC
- HWADDR= MAC address of Virtual NIC
- IPADDR= IP address of Virtual NIC
```
Write Policy Routing Configuration File
```
# cat /etc/sysconfig/network-scripts/route-eth1
default via 10.42.0.1 dev eth1 src 10.42.71.137 table net_101
# cat /etc/sysconfig/network-scripts/rule-eth1
from 10.42.71.137 table net_101
# cat /etc/sysconfig/network-scripts/route-eth2
default via 10.42.0.1 dev eth2 src 10.42.175.116 table net_102
# cat /etc/sysconfig/network-scripts/rule-eth2
from 10.42.175.116 table net_102
```
#### Third Step: Configure Auxiliary IP
```
ip addr add 10.42.107.2 dev eth0
ip addr add 10.42.71.3 dev eth1
ip addr add 10.42.175.3 dev eth2
Replace the IP address with the Auxiliary IP to be bound, to configure the Auxiliary IP for the default network card, just change the network card name to eth0 et cetera
```
Configuration is complete when the primary IP and Auxiliary IP that are added to the Virtual Network Card can be pinged;
#### Fourth Step: After the Auxiliary IP is bound to EIP, follow these steps to configure strategy routing
Create a new Strategy Routing Table
```
echo '101 net_101' >> /etc/iproute2/rt_tables
```
Configure Strategy Matching Rules
```
ip rule add from X.X.X.X(Auxiliary IP) table net_101
ip rule add from X.X.X.X(Auxiliary IP) table net_102
```
Configure Strategy Routing
```
ip route add default via X.X.X.X(Gateway IP) dev eth1 table net_101
ip route add default via X.X.X.X(Gateway IP) dev eth2 table net_102
```
### CentOS 8 Configuration Guide
According to your needs, you can purchase a 2C2G cloud machine, which can be bound with two virtual network cards, and six auxiliary IPs can be applied for each card.
The configuration of two network cards of the existing host machine is as follows, and one custom network card has already been bound to the cloud host.
```
eth0 (Default Network Card)
(Main IP) 10.40.121.96
(Auxiliary IP) 10.40.4.124
(Auxiliary IP) 10.40.91.199
...
(Auxiliary IP) 10.40.47.171
eth1 (Custom Network Card Created)
(Main IP) 10.40.54.131
(Auxiliary IP) 10.40.33.188
(Auxiliary IP) 10.40.134.89
...
(Auxiliary IP) 10.40.44.17
```
#### First Step: Deactivate RPF
*Temporary Deactivation*
Modify /proc/sys/net/ipv4/conf/all/rp_filter value:
```
echo 0 > /proc/sys/net/ipv4/conf/all/rp_filter
```
Restart network service
```
nmcli c reload
```
#### Second Step: Configure Custom Network Card eth1
Write a configuration file for eth1. Here, only configure the Master IP.
```bash
# cp -f /etc/sysconfig/network-scripts/ifcfg-eth0 /etc/sysconfig/network-scripts/ifcfg-eth1
# vim /etc/sysconfig/network-scripts/ifcfg-eth1
Edit the configuration in the file -
- DEVICE=Network Card Name of Virtual NIC
- HWADDR= MAC address of Virtual NIC
- IPADDR= IP address of Virtual NIC
Example:
DEVICE=eth1
HWADDR=52:54:00:1B:5E:57
IPADDR=10.40.54.131
```
Configure the policy routing of the primary network card eth1 through nmc.
Create a new policy routing table.
```bash
# nmcli c modify System\ eth1 +ipv4.route-table 101
```
Configure policy routing
```bash
# ip rule
0: from all lookup local
32766: from all lookup main
32767: from all lookup defaul
// No policy routing has been configured earlier, and the priority starts decreasing from 32765
# nmcli c modify System\ eth1 +ipv4.routing-rules "priority 32765 from 10.40.54.131 table 101"
# nmcli c show System\ eth1 | grep -E 'ipv4.route-table|ipv4.routing-rules'
ipv4.route-table: 101
ipv4.routing-rules: priority 32765 from 10.40.54.131 table 101
```
Restart network service and verify policy routing rule
```bash
#nmcli c reload
#nmcli c up System\ eth1
Connection successfully activated (D-Bus active path: /org/freedesktop/NetworkManager/ActiveConnection/...)
#ip rule
...
32765: from 10.40.54.131 lookup 101
...
```
Configuration is complete when the primary IP of the added Virtual NIC can be pinged after the firewall rule of the external EIP is enabled
#### Third Step: Configure the Auxiliary IP of eth1
Verify the subnet mask of the Auxiliary IP. It should be identical to the Primary IP.
Replace the IP address with the Auxiliary IP to be bound to. To configure the Auxiliary IP for the default network card, all you need to do is change the network card name to eth0 that it is bound to, and so on.
```bash
# nmcli c modify System\ eth1 +ipv4.addresses X.X.X.X(Auxiliary IP)/Subnet Mask
# nmcli c show System\ eth1 | grep ipv4.addresses
ipv4.addresses: 10.40.54.131/16, $X.X.X.X(Auxiliary IP)/Subnet Mask
```
Configure the policy route of the auxiliary IP of eth1 through nmcli
```bash
# nmcli c modify System\ eth1 +ipv4.routing-rules "priority 32764 from X.X.X.X(Auxiliary IP) table 101"
# nmcli c show System\ eth1 | grep ipv4.routing-rules
ipv4.routing-rules: priority 32765 from 10.40.54.131 table 101, priority 32764 from X.X.X.X(Auxiliary IP) table 101
```
Restart network service, and verify the policy routing rules
```bash
# nmcli c reload
# nmcli c up System\ eth1
#ip rule
...
32764: from X.X.X.X(Auxiliary IP) lookup 101
32765: from 10.40.54.131 lookup 101
...
```
Configuration is complete when the primary IP of the added Virtual NIC can be pinged.
### Ubuntu 20.04 Configuration Guide
**1. Deactivate RPF and Restart Networking Service**
Temporary Deactivation
```
echo 0 > /proc/sys/net/ipv4/conf/all/rp_filter
sudo apt-get install network-manager (Install network-manager tools)
sudo service network-manager restart
```
**Permanent Deactivation**
Edit /etc/sysctl.conf file. Modify the value of net.ipv4.conf.all.rp_filter to 0 and then restart the server
**2. Configure the newly bound Virtual Network Card**
Assume the new network card bound is eth1. All the following operations are based on eth1.
sudo ifconfig eth1 up
Edit /etc/netplan/50-cloud-init.yaml
vim /etc/netplan/50-cloud-init.yaml. The configuration of the newly bound network card is shown as below. Make modifications according to the actual scenario.
sudo netplan apply
**3. Temporary configuration of policy routing (ineffective once the host is restarted.)**
```
ip route add default via 10.0.0.1 dev eth1 table 2000
ip rule add from 10.0.0.222 table 2000
```
**4. Temporary configuration of Auxiliary IPs (Perform this setting when using Auxiliary IP)**
1) Bind the Auxiliary IP to the corresponding Network Card (eth1 in this example). Temporary Configuration (ineffective once the host is restarted)
```
ip addr add 10.0.0.101/24 dev eth1 # Do this setting when using Auxiliary IP
ip addr add 10.0.0.102/24 dev eth1 # Do this setting when using Auxiliary IP
```
2) Configure the policy routing for Auxiliary IP. Temporary Configuration (ineffective once the host is restarted)
```
ip rule add from 10.0.0.101 table 2000
ip rule add from 10.0.0.102 table 2000
```
**5. Permanent configuration of policy routing and auxiliary IP**
Carry out the configuration via rc.local. Take ubuntu20.04 as an example. The following configuration steps are performed when using Auxiliary IPs together. If you are not using Auxiliary IPs, just remove the related configurations of Auxiliary IP.
1) sudo vim /lib/systemd/system/rc-local.service
2) Add the below content to the file:
```
[Install]
WantedBy=multi-user.target
Alias=rc-local.service
```
3) Create rc.local
sudo touch /etc/rc.local
4) Edit rc.local
```
#!/bin/sh
ip route add default via 10.0.0.1 dev eth1 table 2000 # Configure Policy Routing
ip rule add from 10.0.0.222 table 2000 # Master IP of Virtual Network Card
ip addr add 10.0.0.101/24 dev eth1 # Add Auxiliary IP. Do this setting when using Auxiliary IP
ip addr add 10.0.0.102/24 dev eth1 # Add Auxiliary IP. Do this setting when using Auxiliary IP
ip rule add from 10.0.0.101 table 2000 # Configure Auxiliary IP Policy Routing. Do this setting when using Auxiliary IP
ip rule add from 10.0.0.102 table 2000 # Configure Auxiliary IP Policy Routing. Do this setting when using Auxiliary IP
exit 0
```
5) Change File Permissions
```
sudo chmod +x /etc/rc.local
```
6) Create Soft Link
```
ln -s /lib/systemd/system/rc.local.service /etc/systemd/system/
```
7) Check the configuration of Policy Routing
Reboot the host
**root@xx-xx-xx-xx:/home/ubuntu# ip route show table 2000**
default via 10.0.0.1 dev eth1
**root@xx-xx-xx-xx:/home/ubuntu# ip rule show**
0: from all lookup local
32760: from 10.0.0.101 lookup 2000
32761: from 10.0.0.102 lookup 2000
32762: from 10.0.0.222 lookup 2000
32763: from all lookup main
32764: from all lookup default
If the Primary IP and Auxiliary IP of the added Virtual NIC can be pinged, the configuration is complete.
#### 6. After the Auxiliary IP is bound to EIP, follow these steps to configure policy routing
Create a new Policy Routing Table
```
echo '2001 ROUTER_IP_T' >> /etc/iproute2/rt_tables
```
Configure Policy Matching Rules
```
ip rule add from X.X.X.X(Auxiliary IP) table ROUTER_IP_T
ip rule add from X.X.X.X(Auxiliary IP) table ROUTER_IP_T
```
Configure Policy Routing
```
ip route add default via X.X.X.X(Gateway IP) dev eth1 table ROUTER_IP_T
```
## Visible Mode of EIP Network Card
The EIP is bound to the virtual network card in the visible mode of the EIP network card. You can view the EIP information in the network card information of the operating system. Take the CentOS 7.X system as an example.
Before performing the operation, please first confirm whether the following information is met:
### Enable the visibility of the EIP network card
- You have created a cloud host with the virtual network card function enabled.
- You have enabled the visibility function of the EIP network card in the console.
#### Precautions
- After enabling the visible mode of the EIP network card, separate configuration needs to be carried out on the cloud host before this capability can be used normally.
- After a network card enables the visibility function of the EIP network card, it can be bound with both an internal network IP and an external network IP at the same time. If the internal network IP wants to access the public network, it needs to be bound to a NAT gateway to have this function.
#### Turn off RPF
Edit the /etc/sysctl.conf file, change the value of net.ipv4.conf.all.rp_filter to 0, and then restart the server.
```
vi /etc/sysctl.conf
net.ipv4.conf.all.rp_filter = 0
```
#### Configure a custom network card
```
ifconfig eth1 EIP address netmask 255.255.0.0
ifconfig eth1 mtu 1454
echo "101 net_101 " >> /etc/iproute2/rt_tables
ip r gateway address query
ip r add default via gateway address dev eth1 src EIP address onlink table 101
ip rule add from EIP address table net_101
```
#### Write the configuration file for policy routing
```
vi /etc/sysconfig/network-scripts/route-eth1
default via gateway address dev eth1 src EIP address onlink table net_101
vi /etc/sysconfig/network-scripts/rule-eth1
from EIP address table net_101
```
#### Set the default egress
After enabling the visibility of the EIP network card, the default egress of the cloud host is the internal IP of the primary network card. When sending requests to the Internet without specifying the source IP, network connectivity issues will occur.
Method 1: Modify the routing file to specify the source IP
```
ip route add default via 10.50.0.1 dev eth0 src 【default EIP for outbound Internet access]】
```
Method 2: Specify the default egress. On the details page of the virtual network card, select the specified IP as the default egress. Then, restart the cloud host or run the following command to complete the setup. (Currently, only virtual network cards with the host image of Ubuntu 20.04 support this setting method.)
```
sudo cloud-init init
```
## Frequently Asked Questions (FAQ)
### 1. Why is the multi-network card configuration not working?
In general, the issue is due to the configuration of the network card. Here's how you can check:
1. Check if the network card is bound to the cloud host and if the network card has been configured on the cloud host.
2. Check if RPF is deactivated.
3. Verify if the network card has been correctly routed.
If the issue persists after checking the above configurations, please provide:
- Five-element tuples from source IP to target IP and information about each hop
- Binding relationships between the network card and the host
- Information about the subnet the resources belong to
- Network card routing configuration
You can use [After-Sales Consultation](https://spt.ucloud.cn/) for assistance.
### 2. How can I enable the second network card if the cloud host did not enable the network card function?
If the cloud host did not enable the network card function during creation, it cannot be enabled later. It is recommended to create a new host to use the network card function.
### 3. Why can't I access IPs in the same network segment in the visible mode of EIP network card?
If you have enabled the visible mode, when configuring the network card file, you must configure it with a /32 address. Otherwise, it will cause problems when accessing IPs in the same network segment.