# NAT Gateway
NAT Gateway is an enterprise-level VPC public network gateway that allows cloud resources in the subnet that are not bound with EIP to access the external network. It can also configure port forwarding rules to enable cloud resources to provide services to the external network.
## Create NAT Gateway
- Log in to the console, select "VPC Virtual Private Cloud" in [All Products], enter the private network page, and choose the NAT Gateway tab.
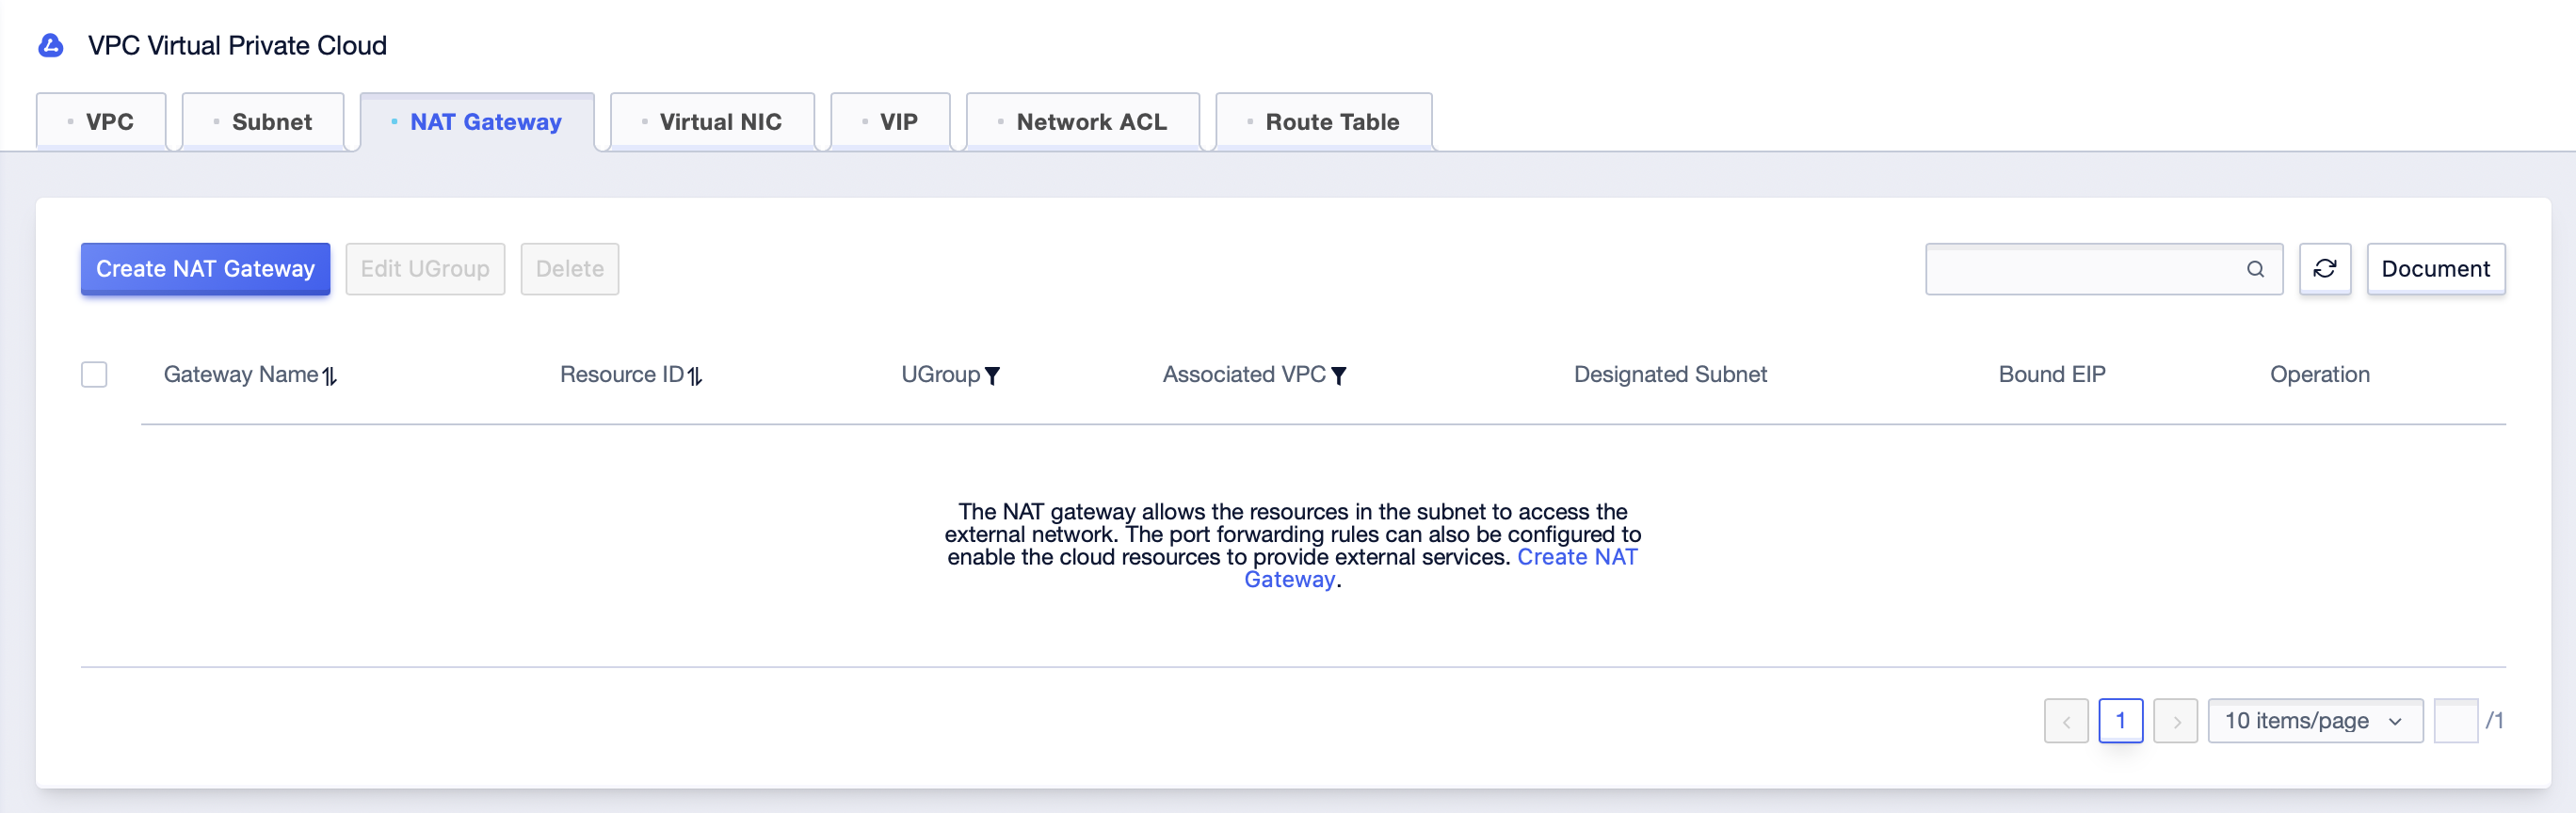
- Click "Create NAT Gateway", a new window will pop up.
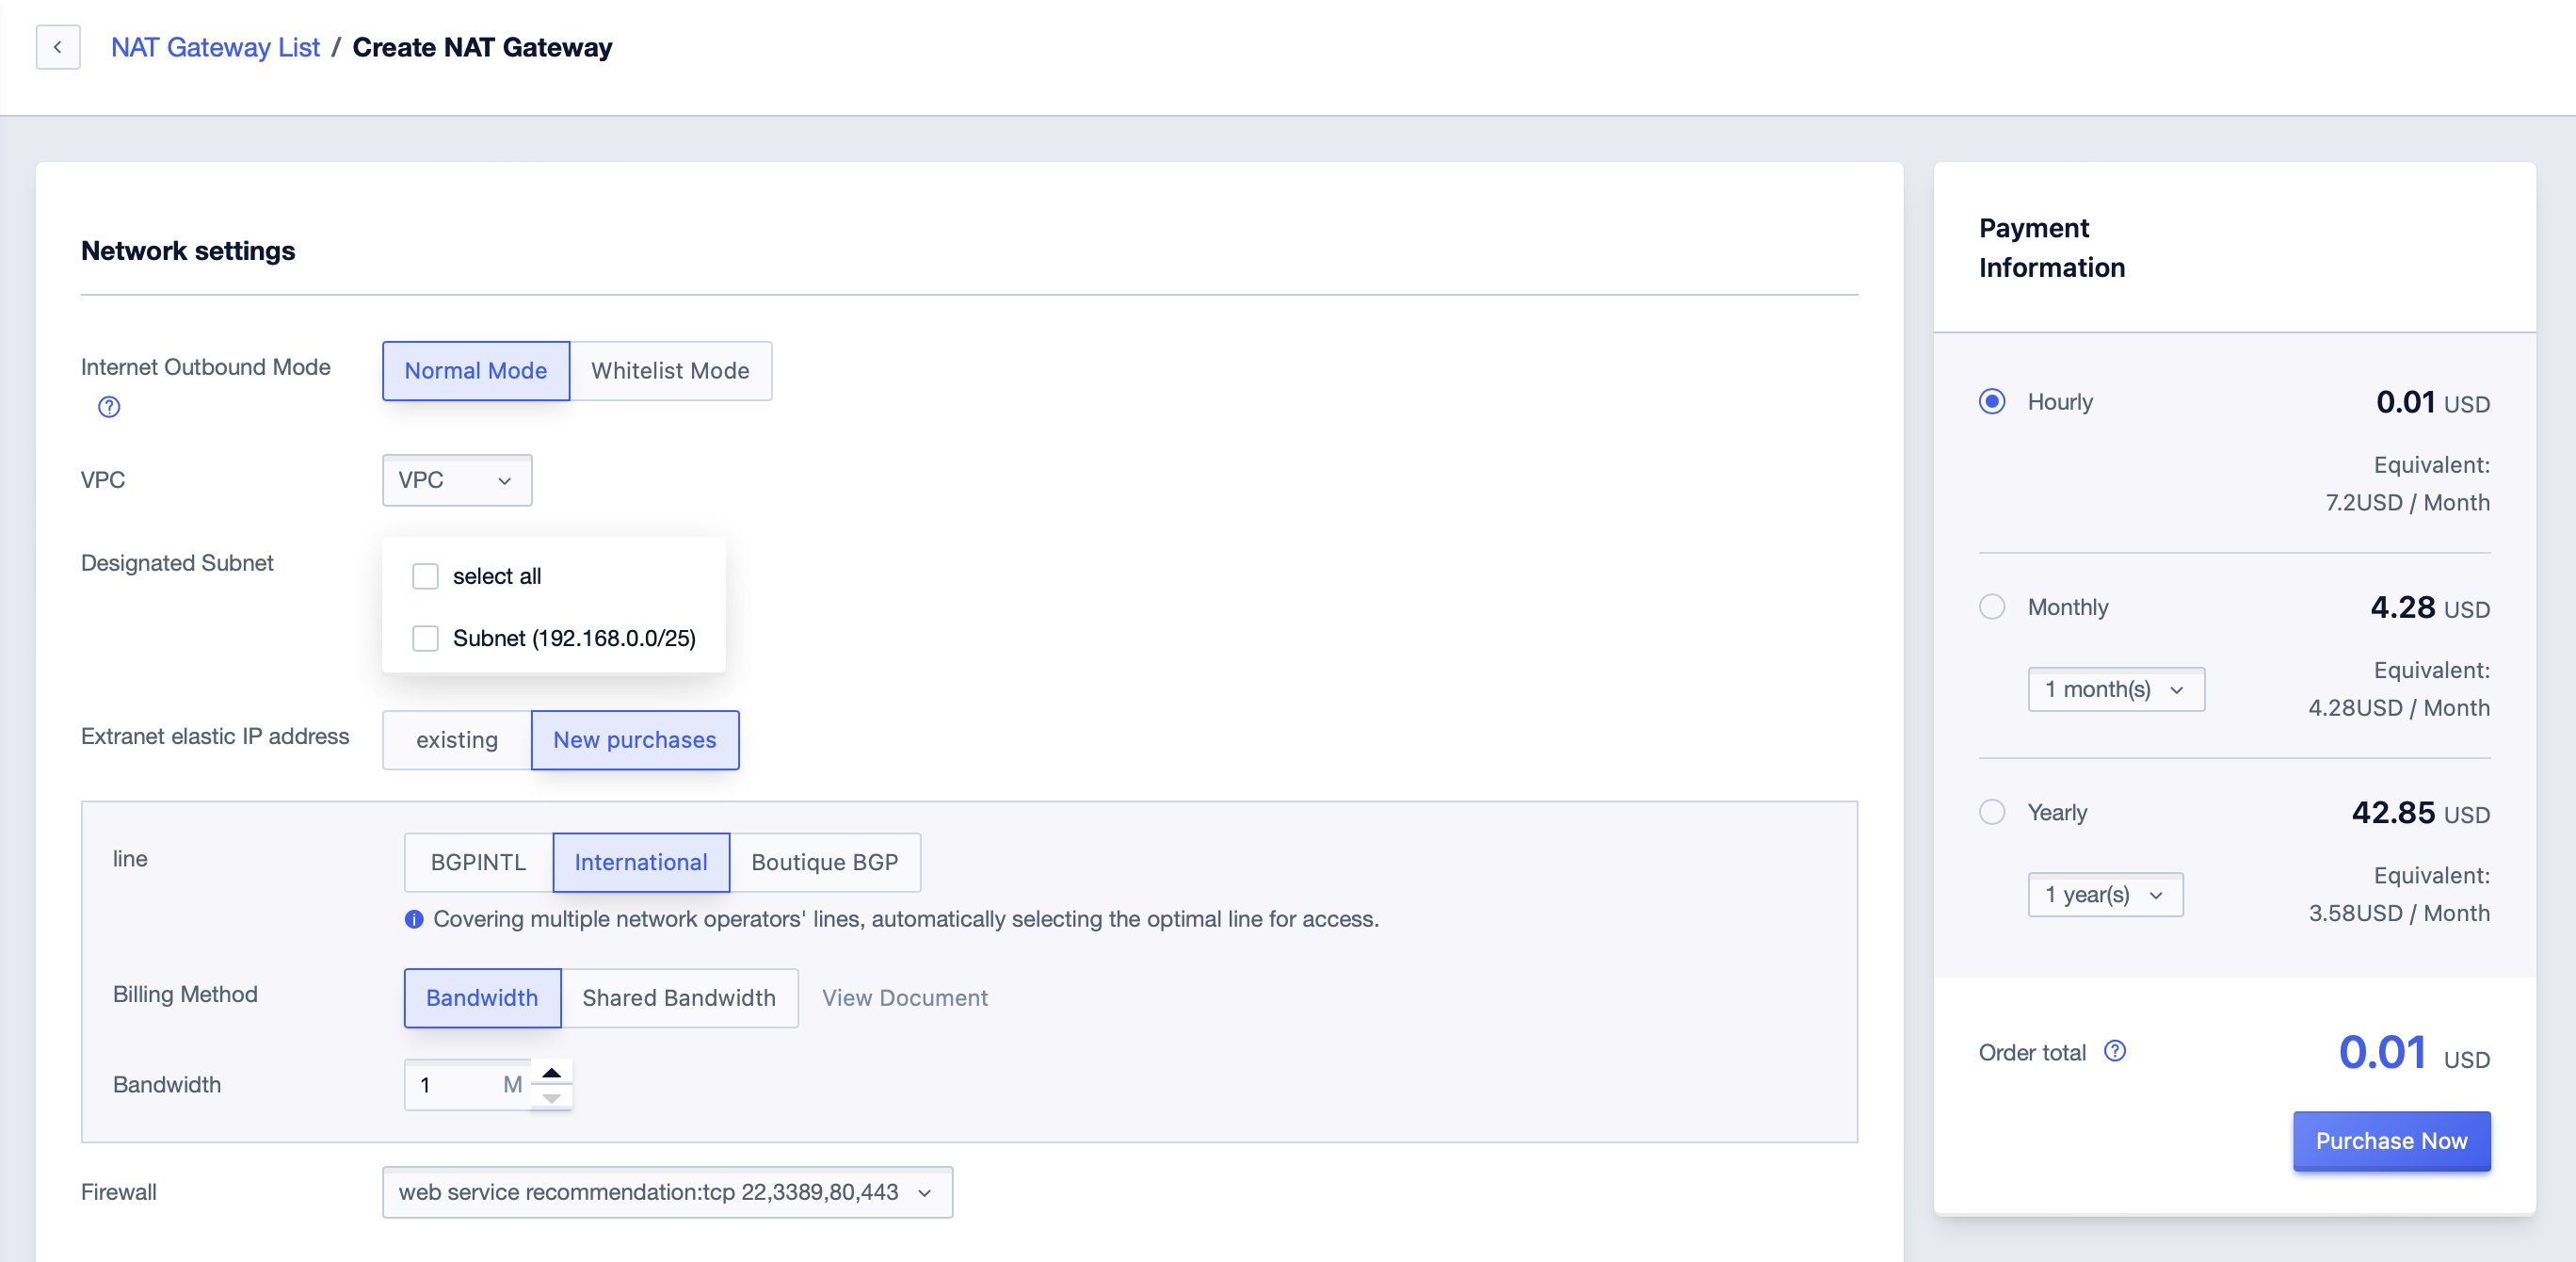
- In the new window, select VPC and subnet, select 'Normal Mode' for Internet Outbound Mode, select the external network IP, bandwidth and firewall required by NAT Gateway, and then click 'OK'.
- After creation, you can see the information of NAT Gateway in the list.
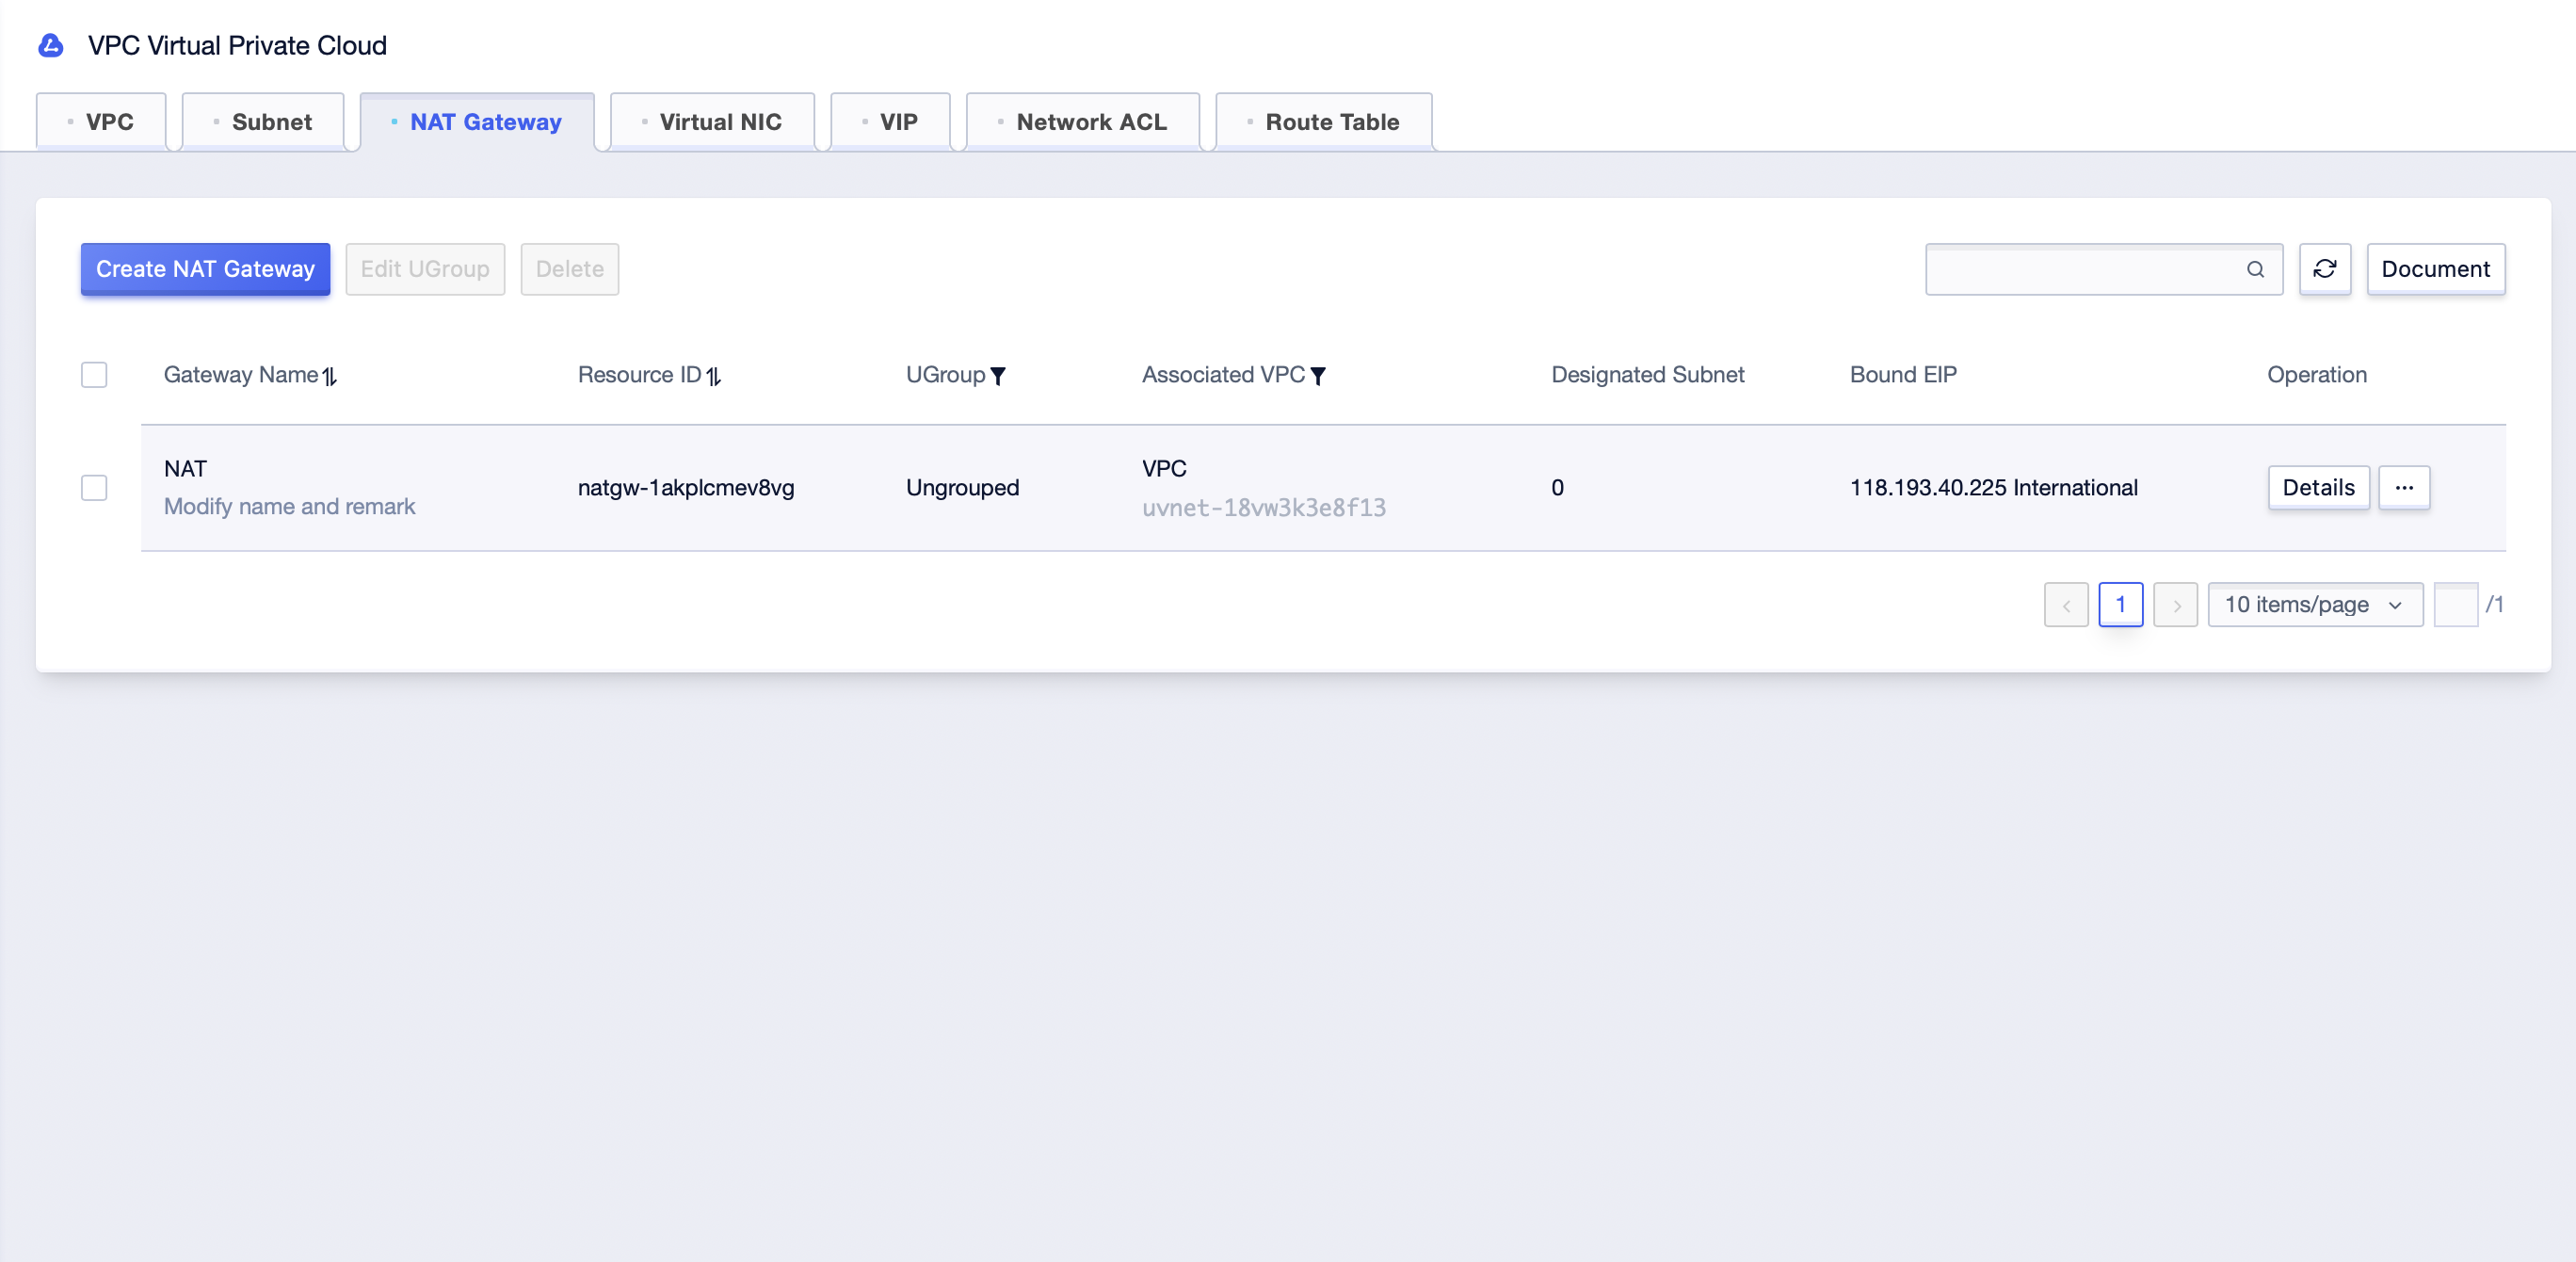
- After the NAT Gateway is created, specify the cloud resources in the subnet that are not bound with EIP, and they can use NAT Gateway to access the external network.
## Whitelist Mode
NAT Gateway also provides whitelist mode.
In whitelist mode, only the cloud resources in specified NAT Gateway subnets and defined in the whitelist can access the external network through the NAT Gateway.
- To create a NAT Gateway, select 'Whitelist Mode', and the rest is the same as 'Normal Mode'.
- The newly created NAT Gateway has an empty whitelist, so none of the cloud resources can access the external network. The whitelist needs to be configured. Click the 'Manage' button in the list to enter the NAT Gateway details page.

- Click the 'Mode Setting’ tab to manage the whitelist.
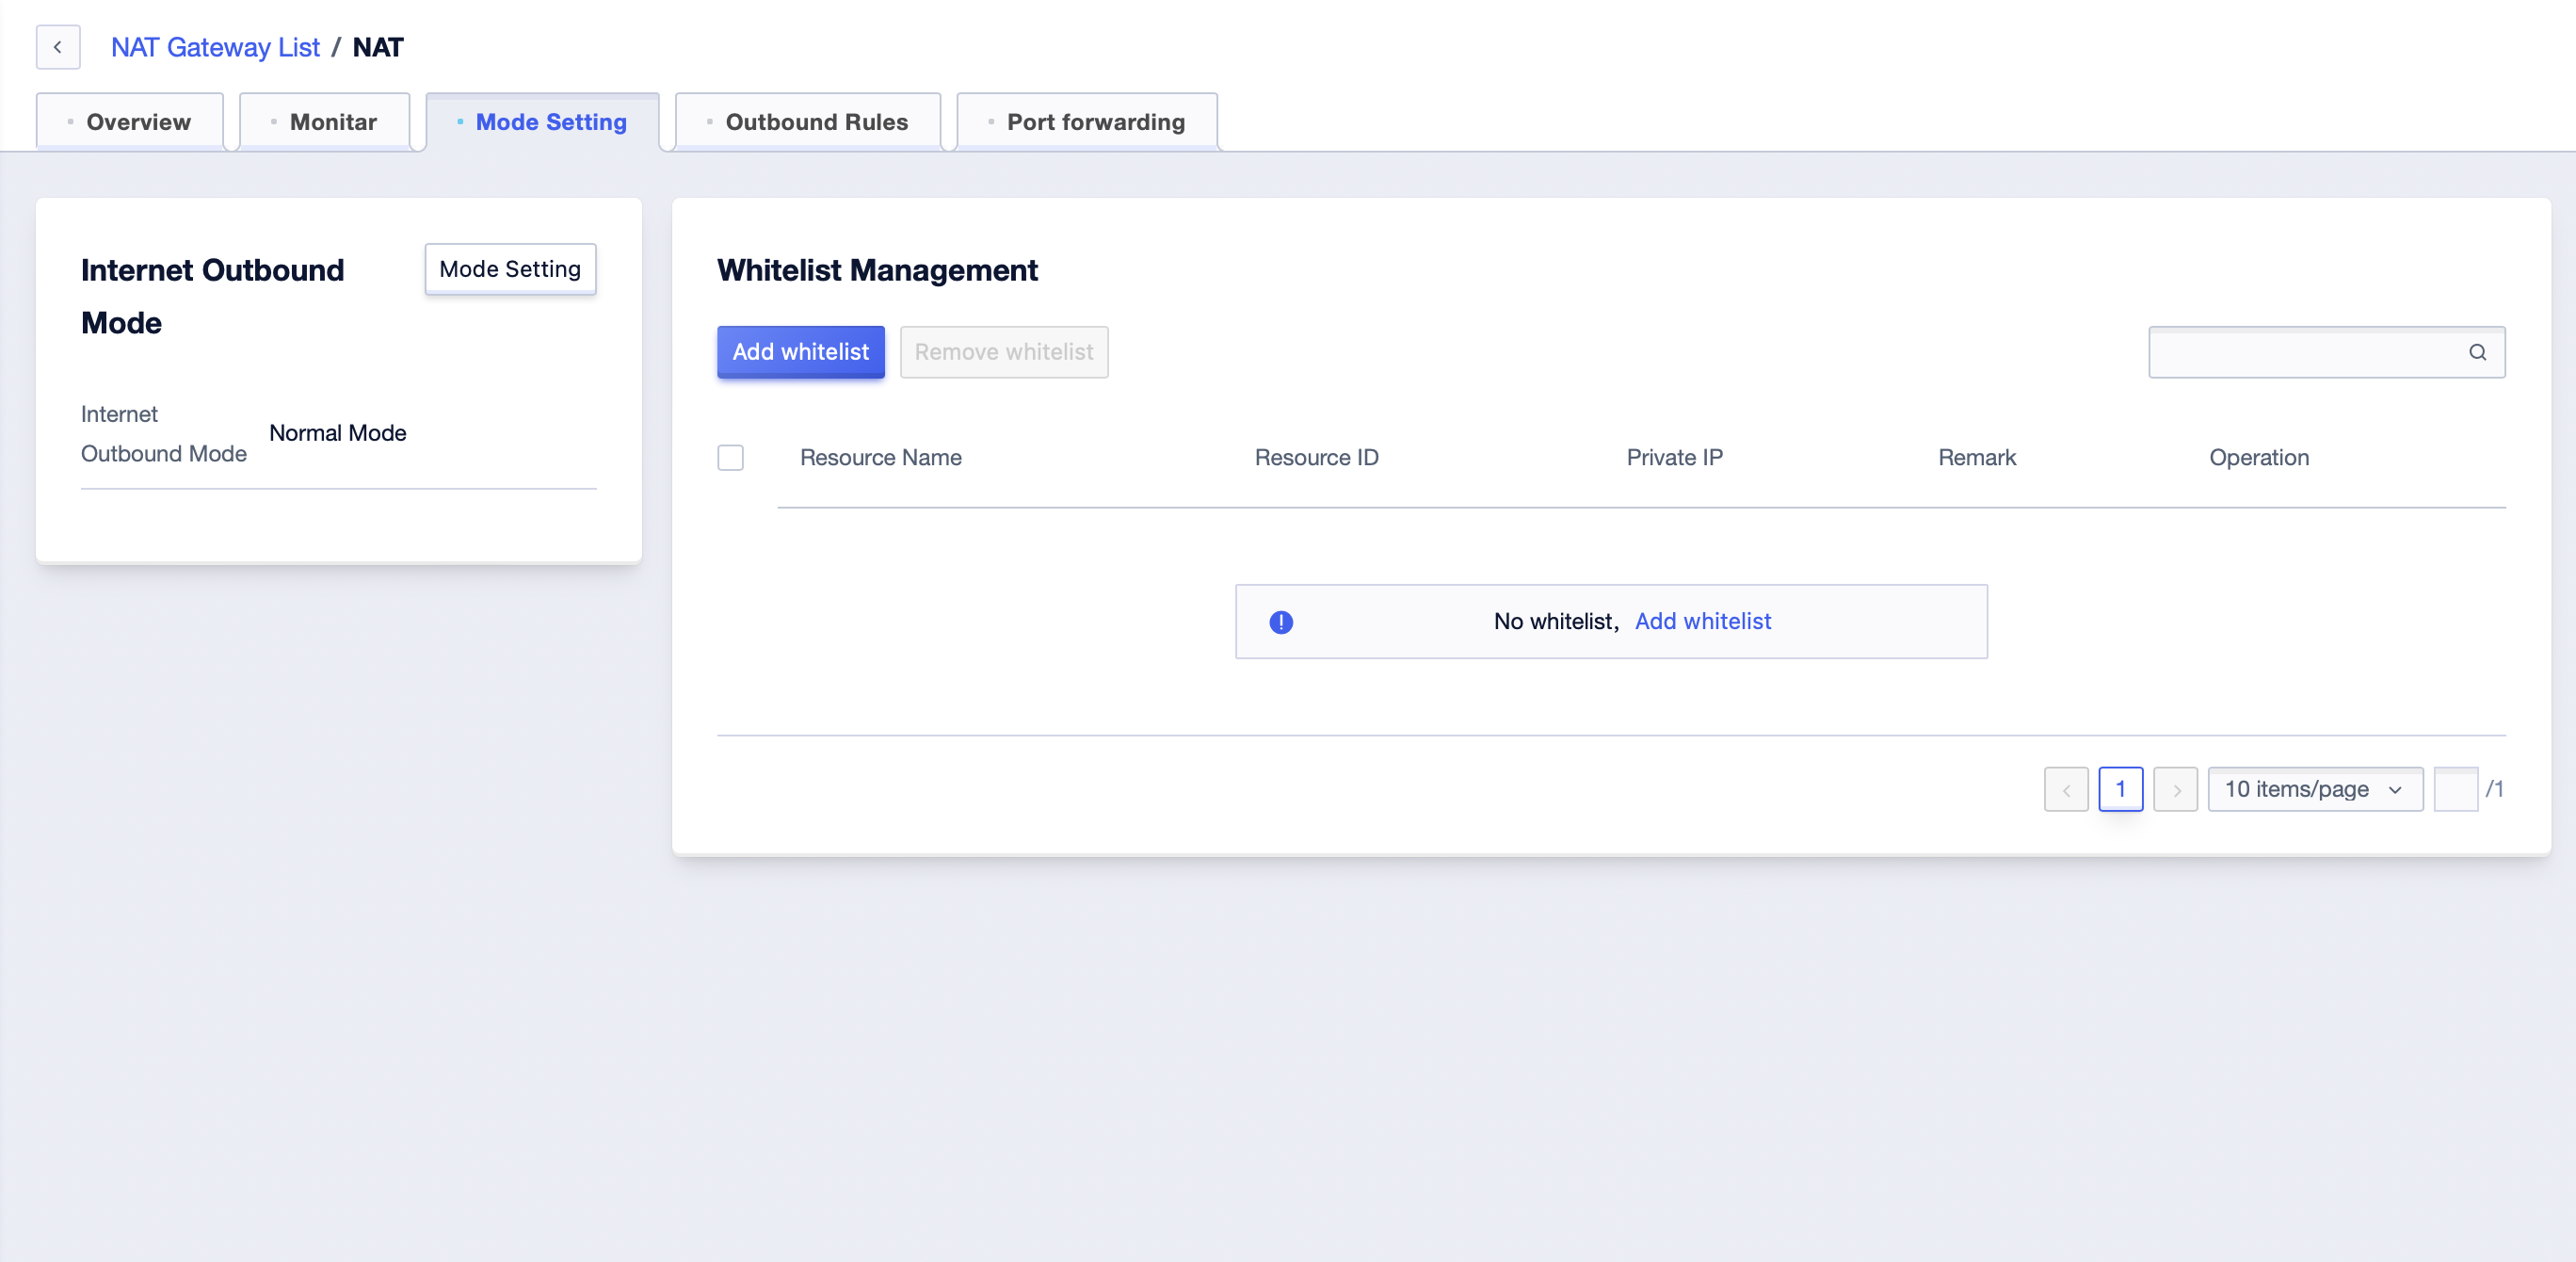
- Click 'Add Whitelist' to add the desired master resources.
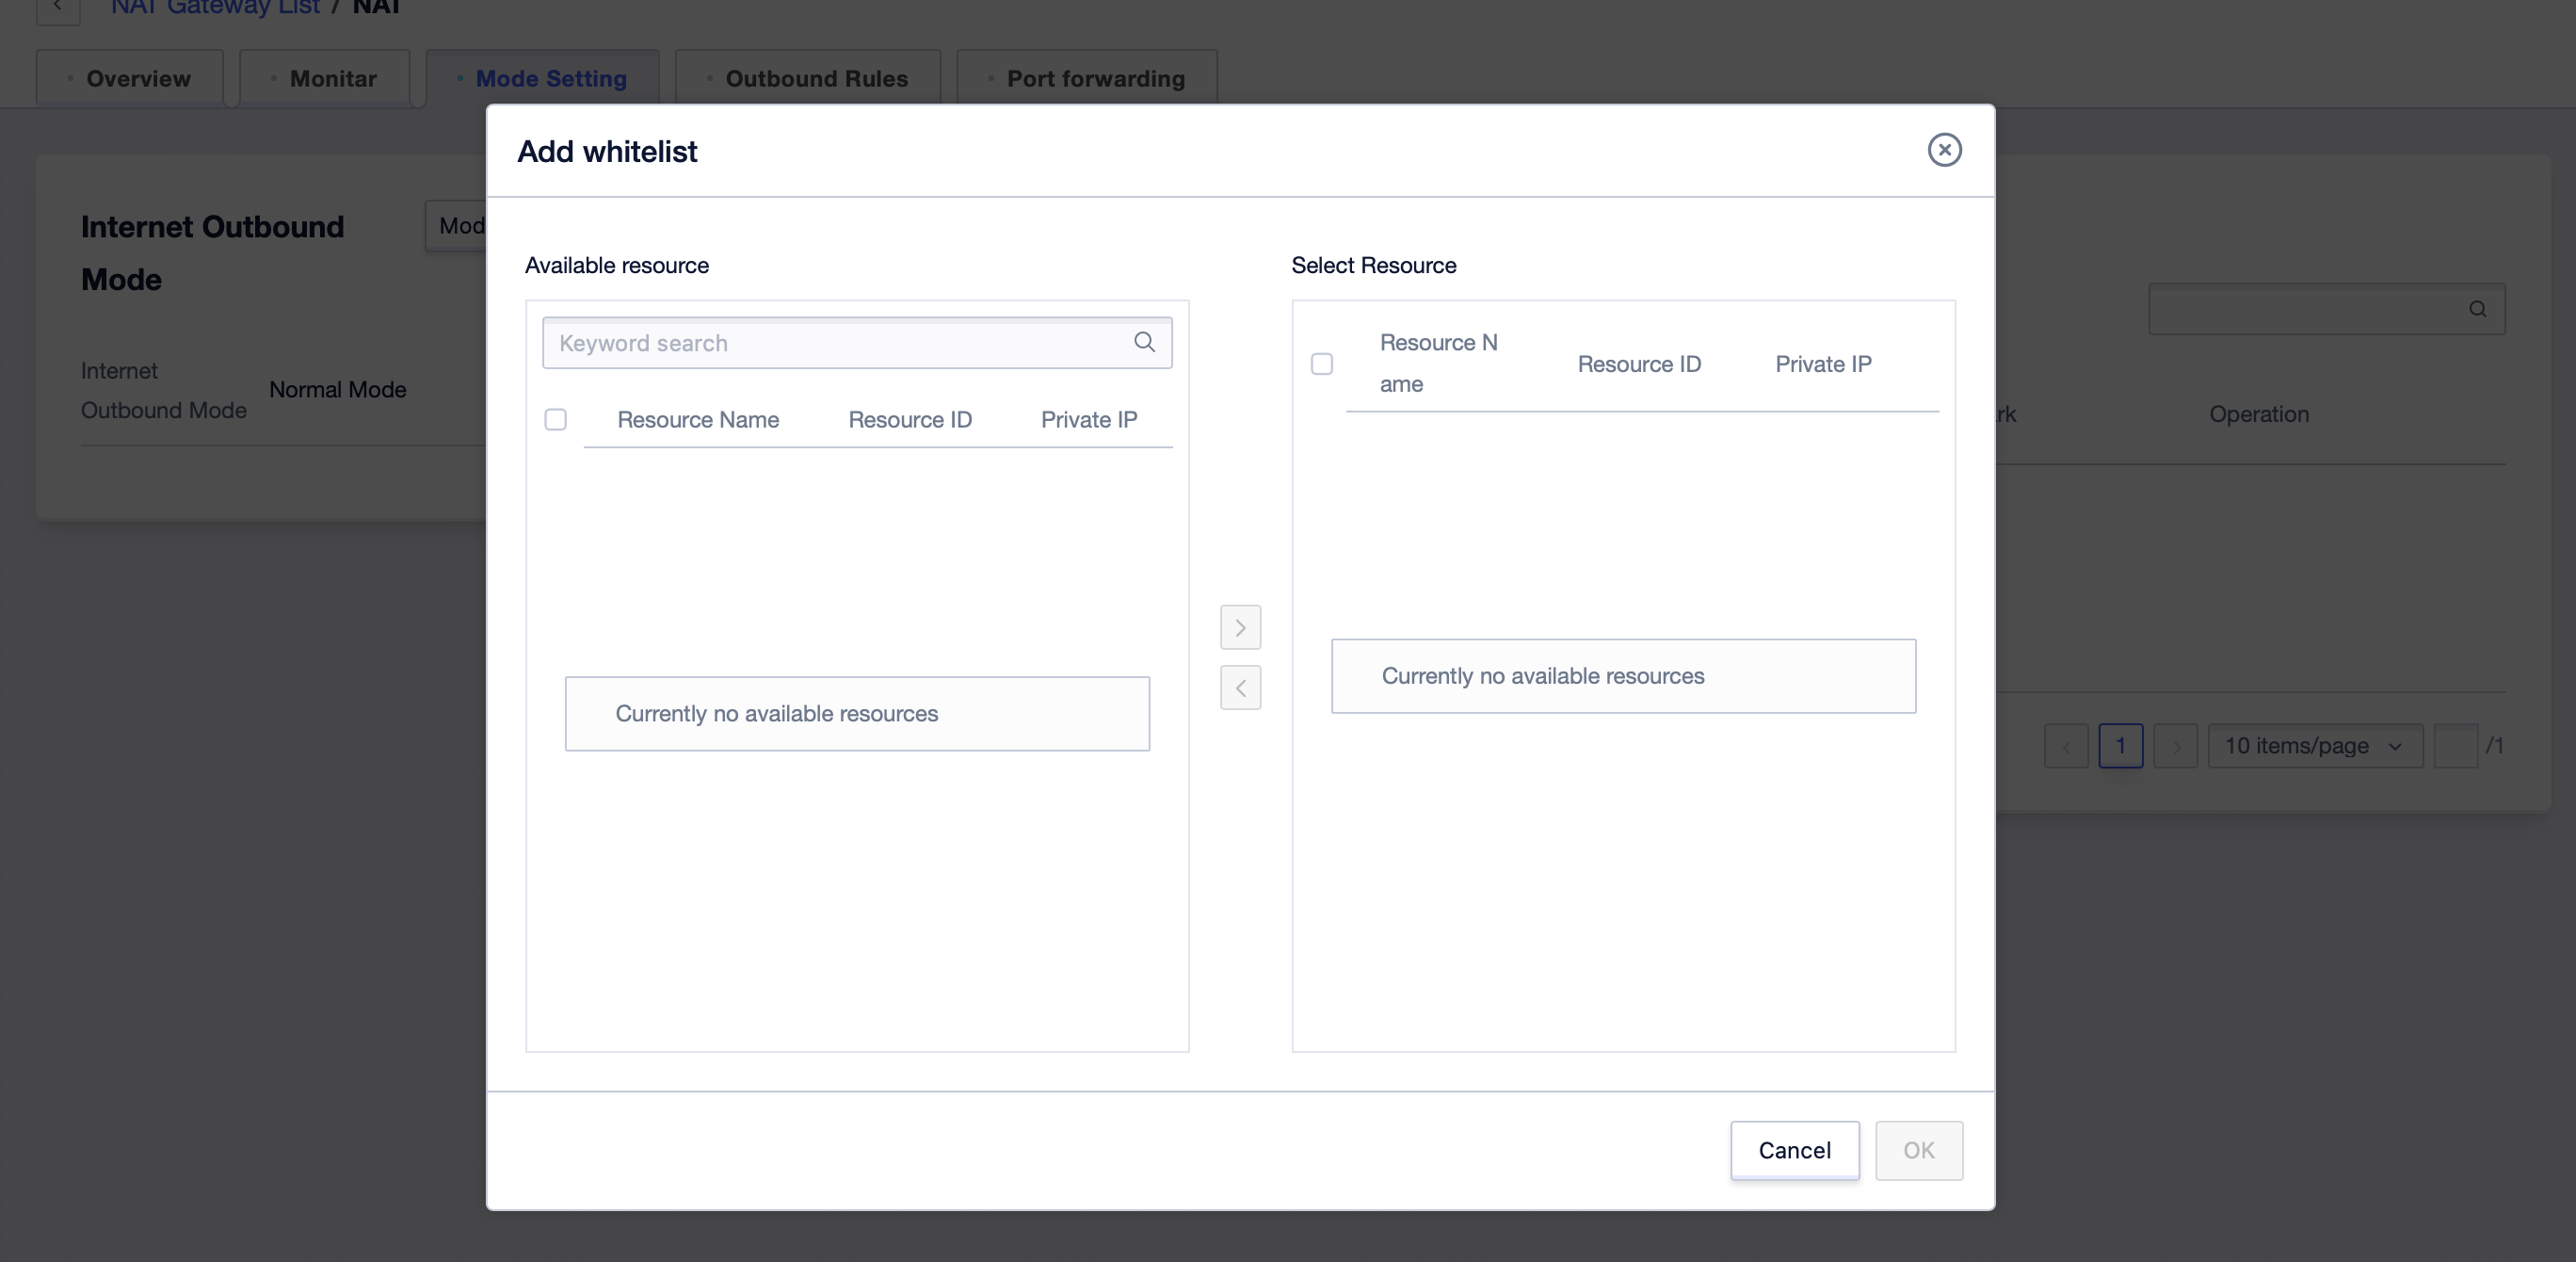
- After clicking ‘OK’, the whitelist takes effect and the cloud resources on the whitelist can access the external network.
## Port Forwarding
Configure port forwarding to allow a port of cloud resources to be accessed by the external network, so as to provide services or perform management.
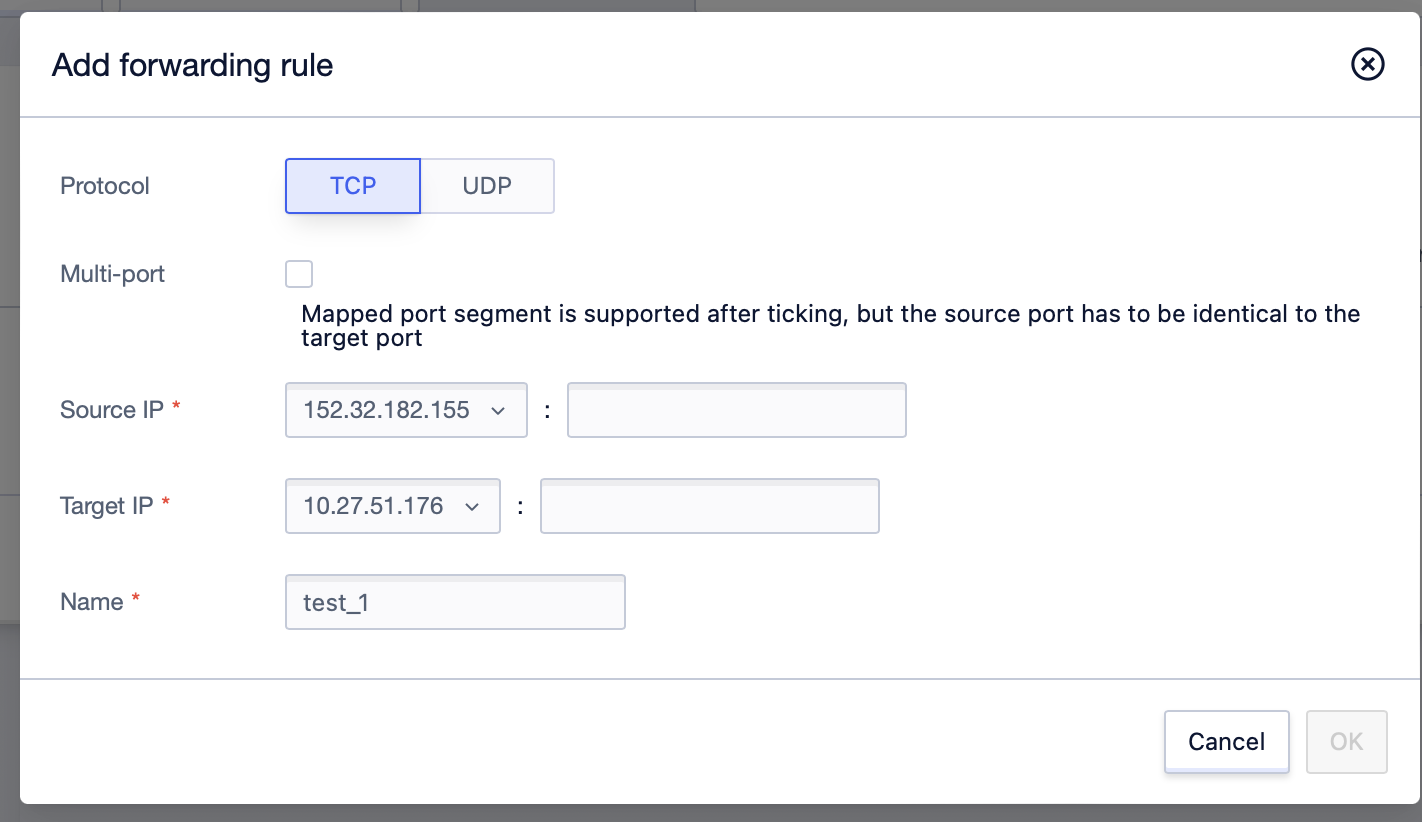
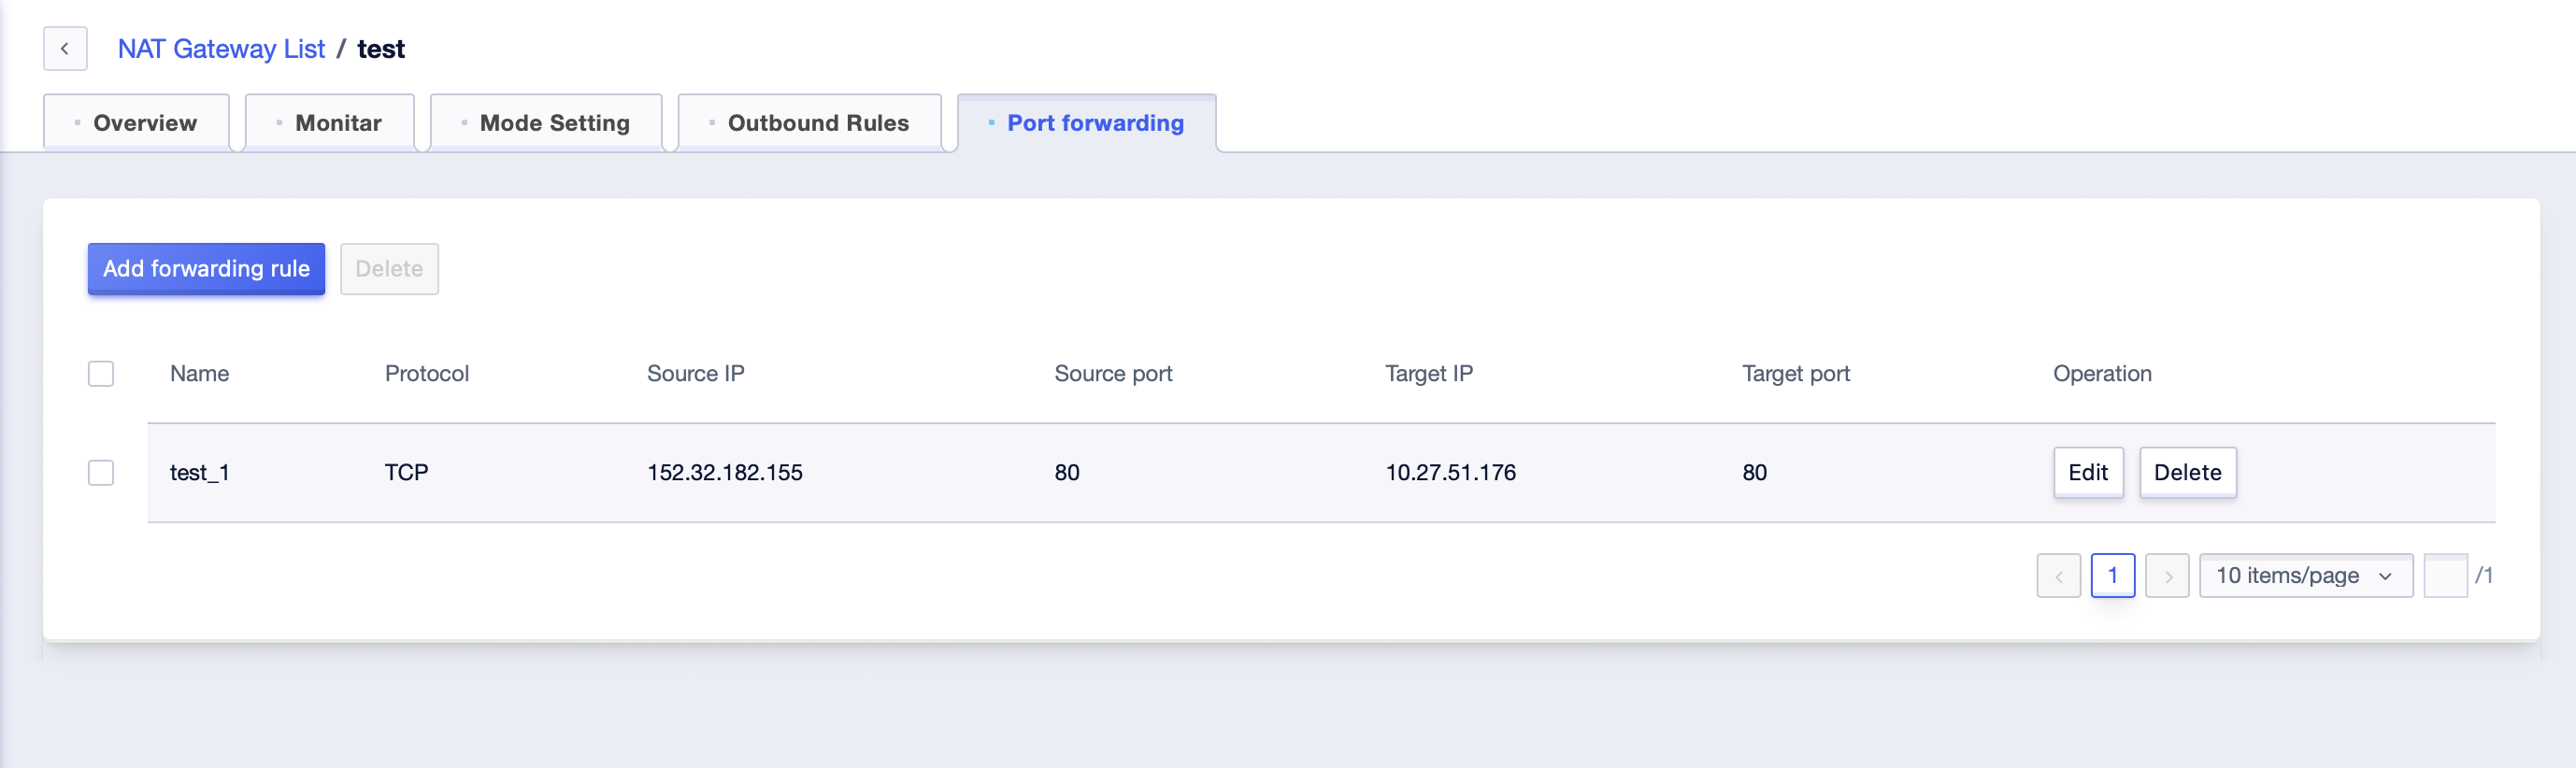
- On the NAT Gateway details page, switch to the 'Port forwarding' tab.

- Click 'Add forwarding rule' to add new rules.
- Click the 'Edit' button to modify existing rules.
- Click the 'Delete' button to delete existing rules.
## Outbound Rules
Configure the network exit. You can specify an EIP for a single cloud resource in the subnet designated for the NAT gateway to access the external network. You can also specify that all cloud resources access the external network through the load balancing method or a fixed EIP.
On the NAT Gateway details page, switch to the "Public EIP" tab. In the "Public EIP" module, you can manage the EIP bound to NAT Gateway.
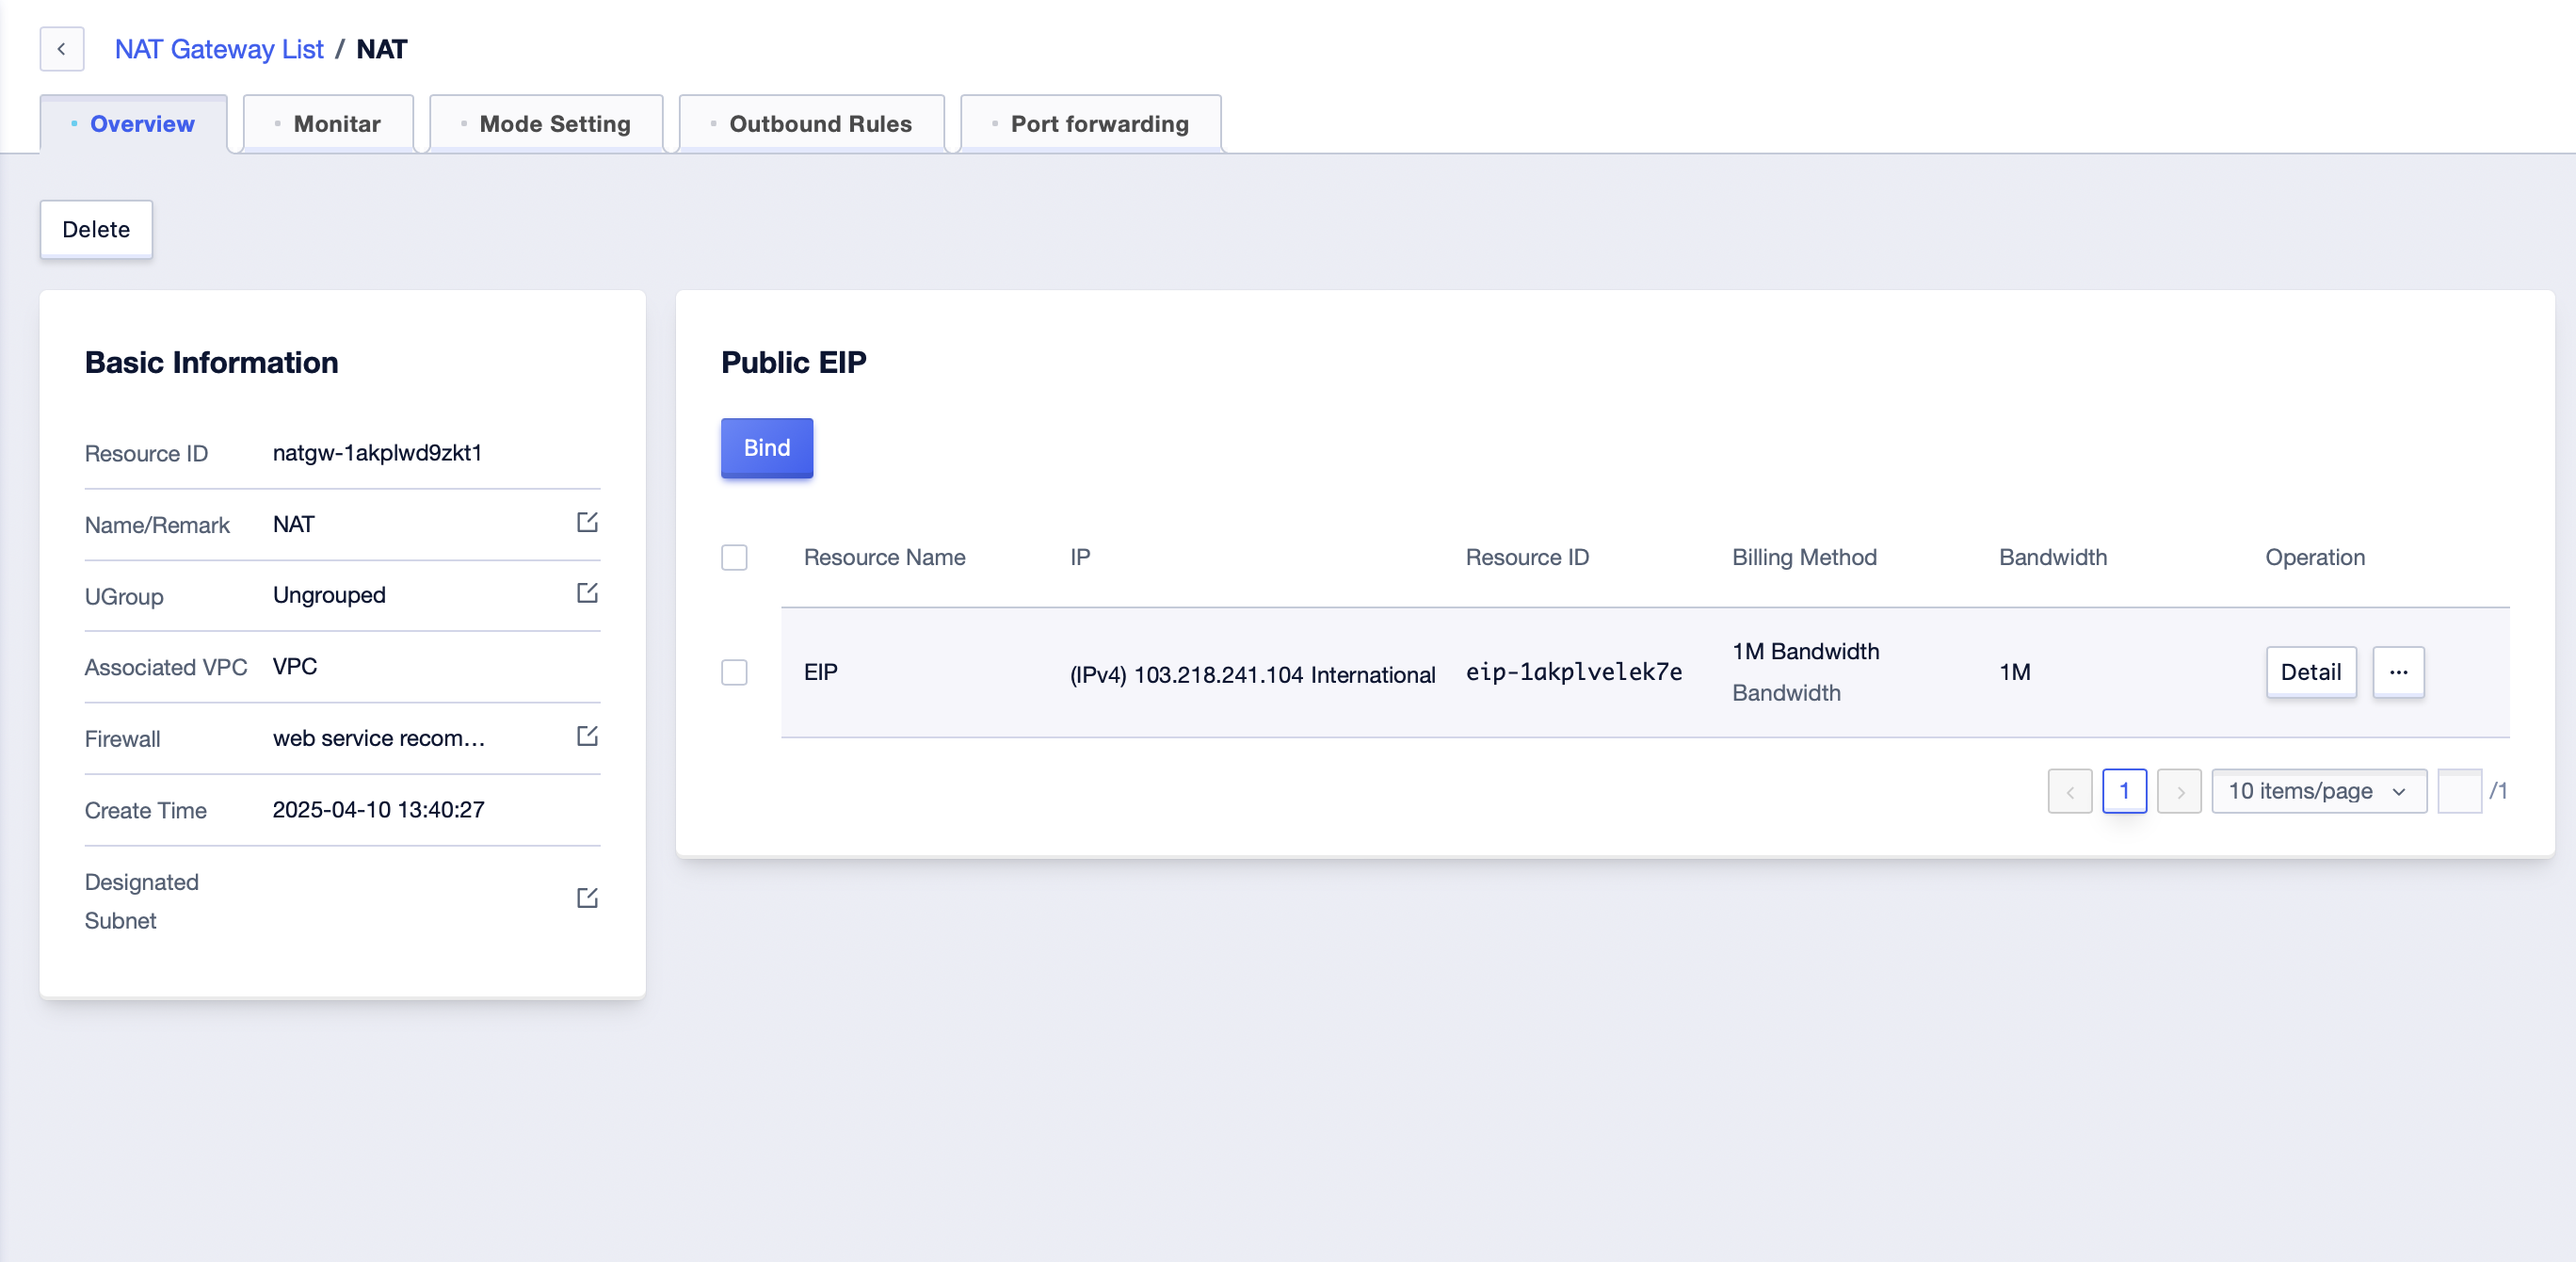
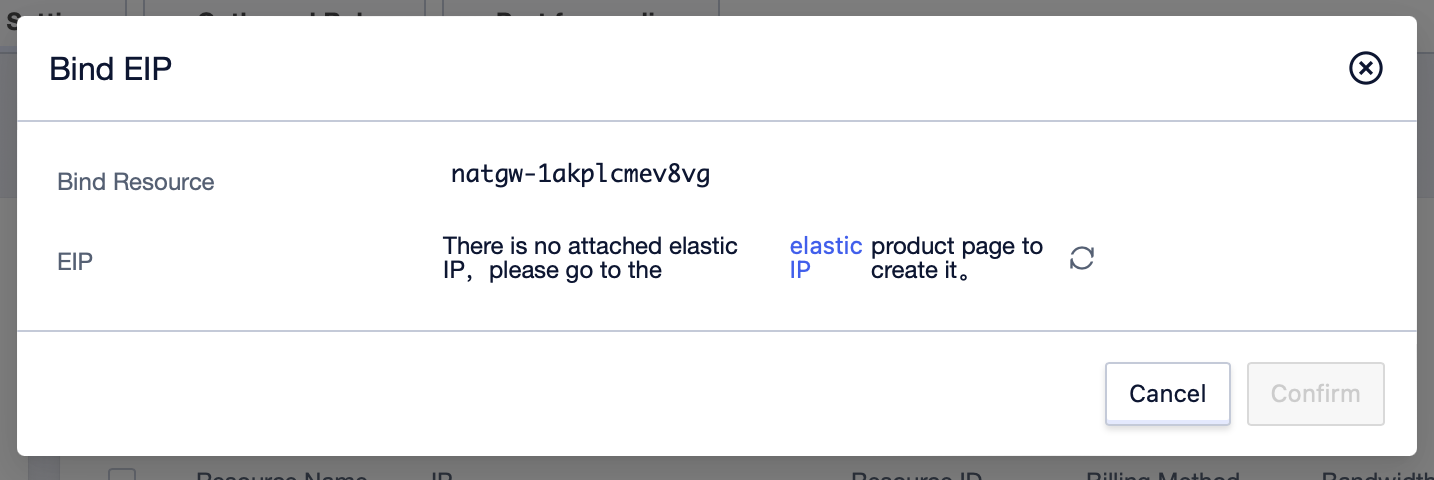
- Click the "Bind" button to choose to bind the EIP that has not been bound to this NAT Gateway.
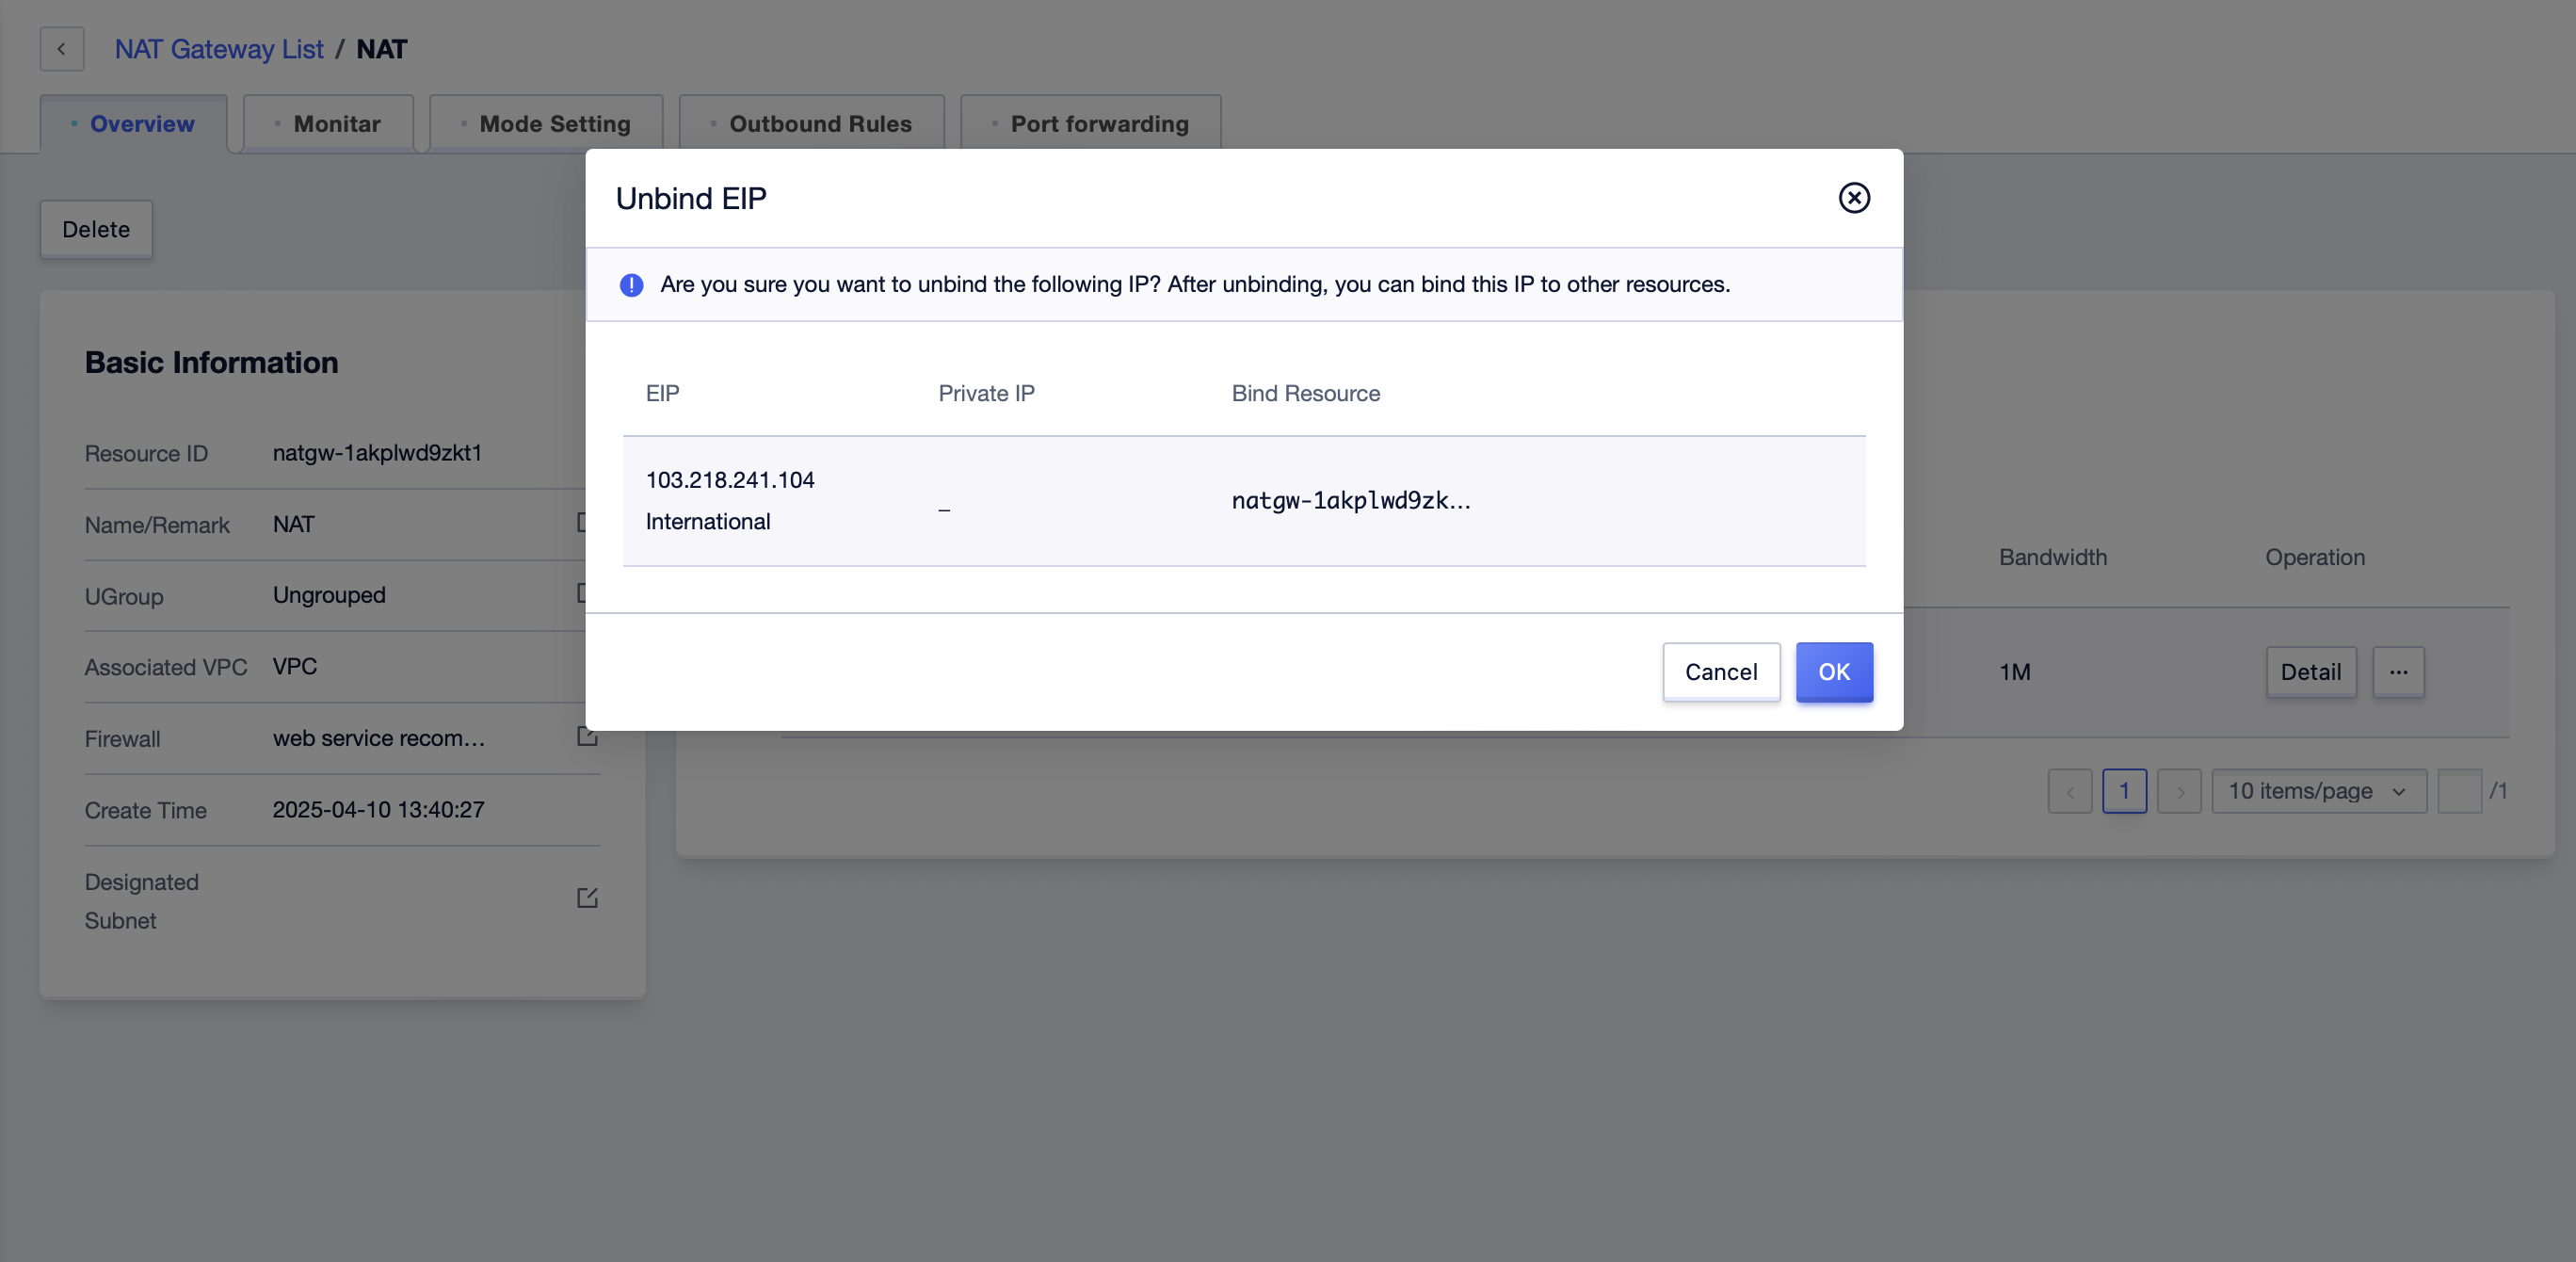
- Click the "Unbind" button to unbind the EIP currently bound to the NAT gateway.
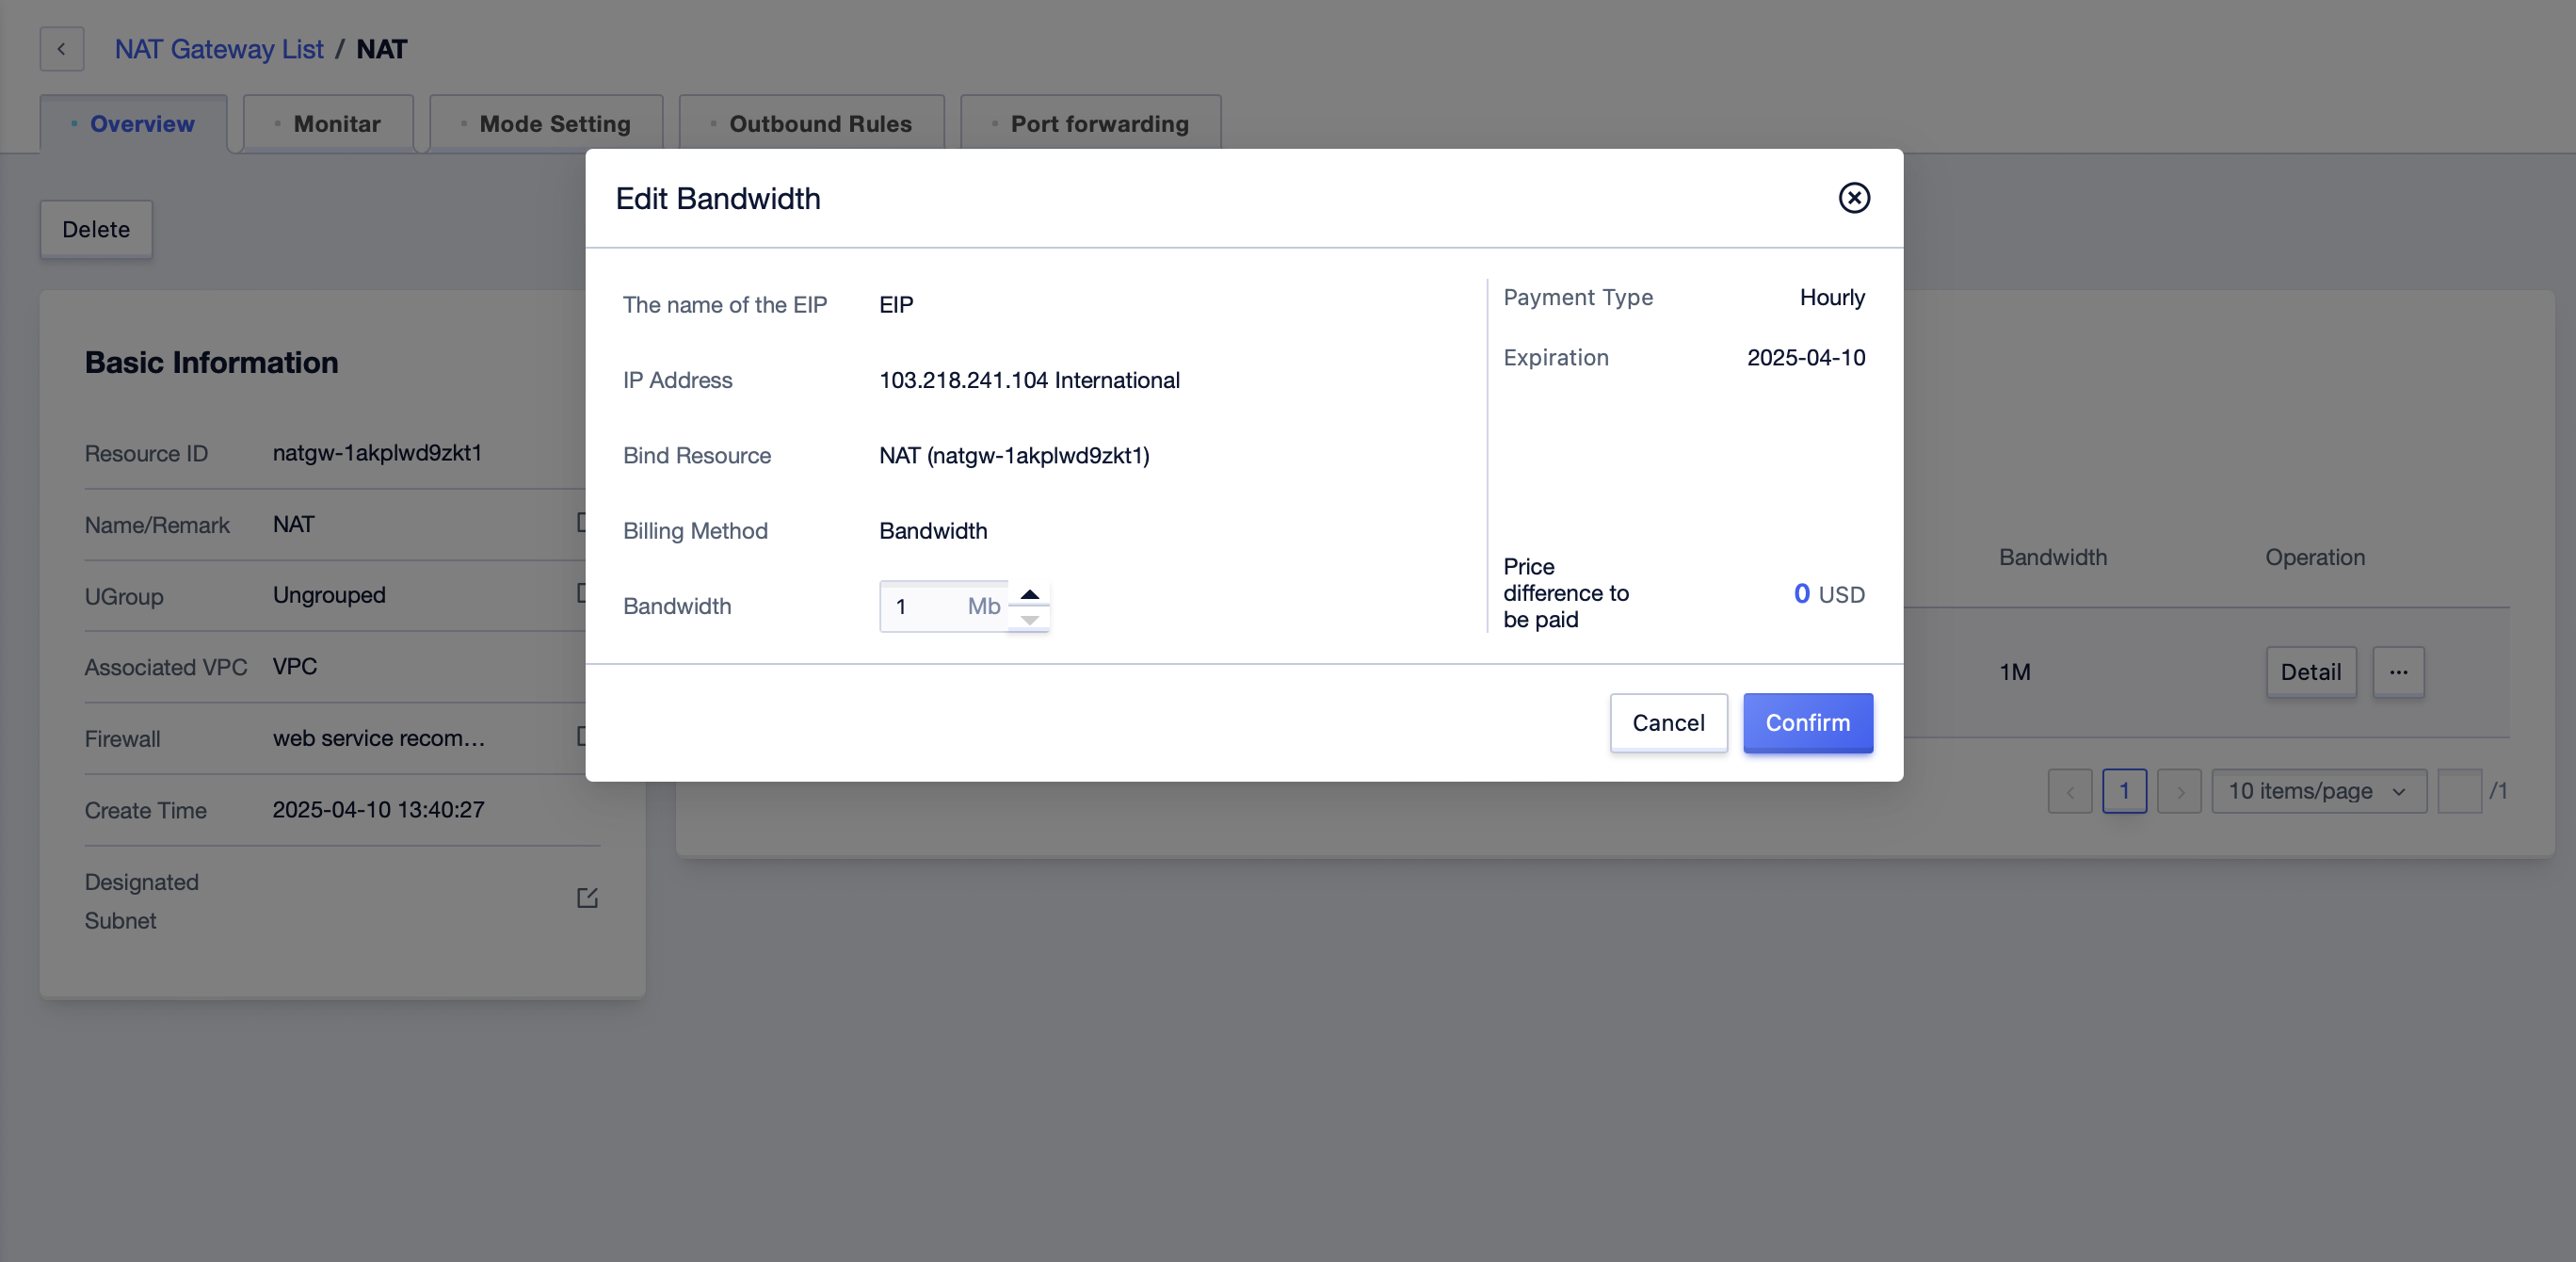
- Click the "Edit Bandwidth" button to adjust the bandwidth limit of the current EIP.
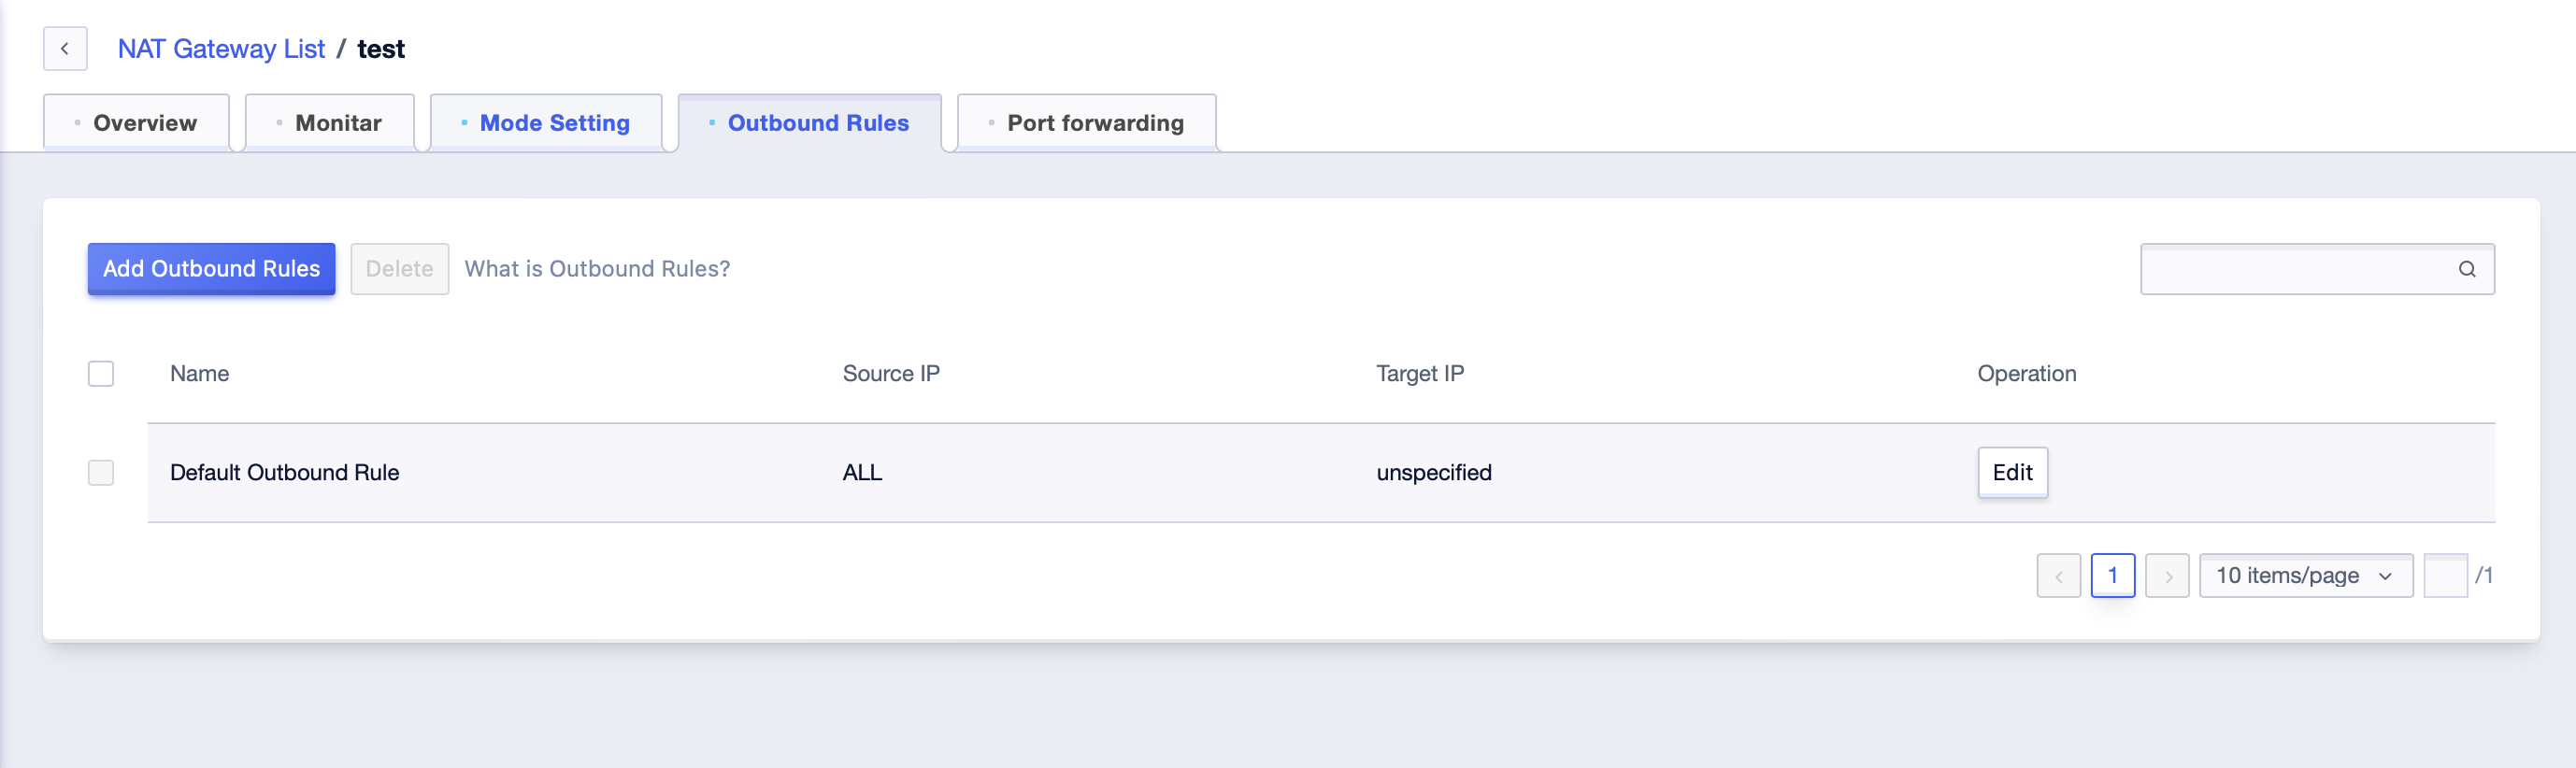
In the "Outbound Rules" module, you can manage the egress of the NAT Gateway.
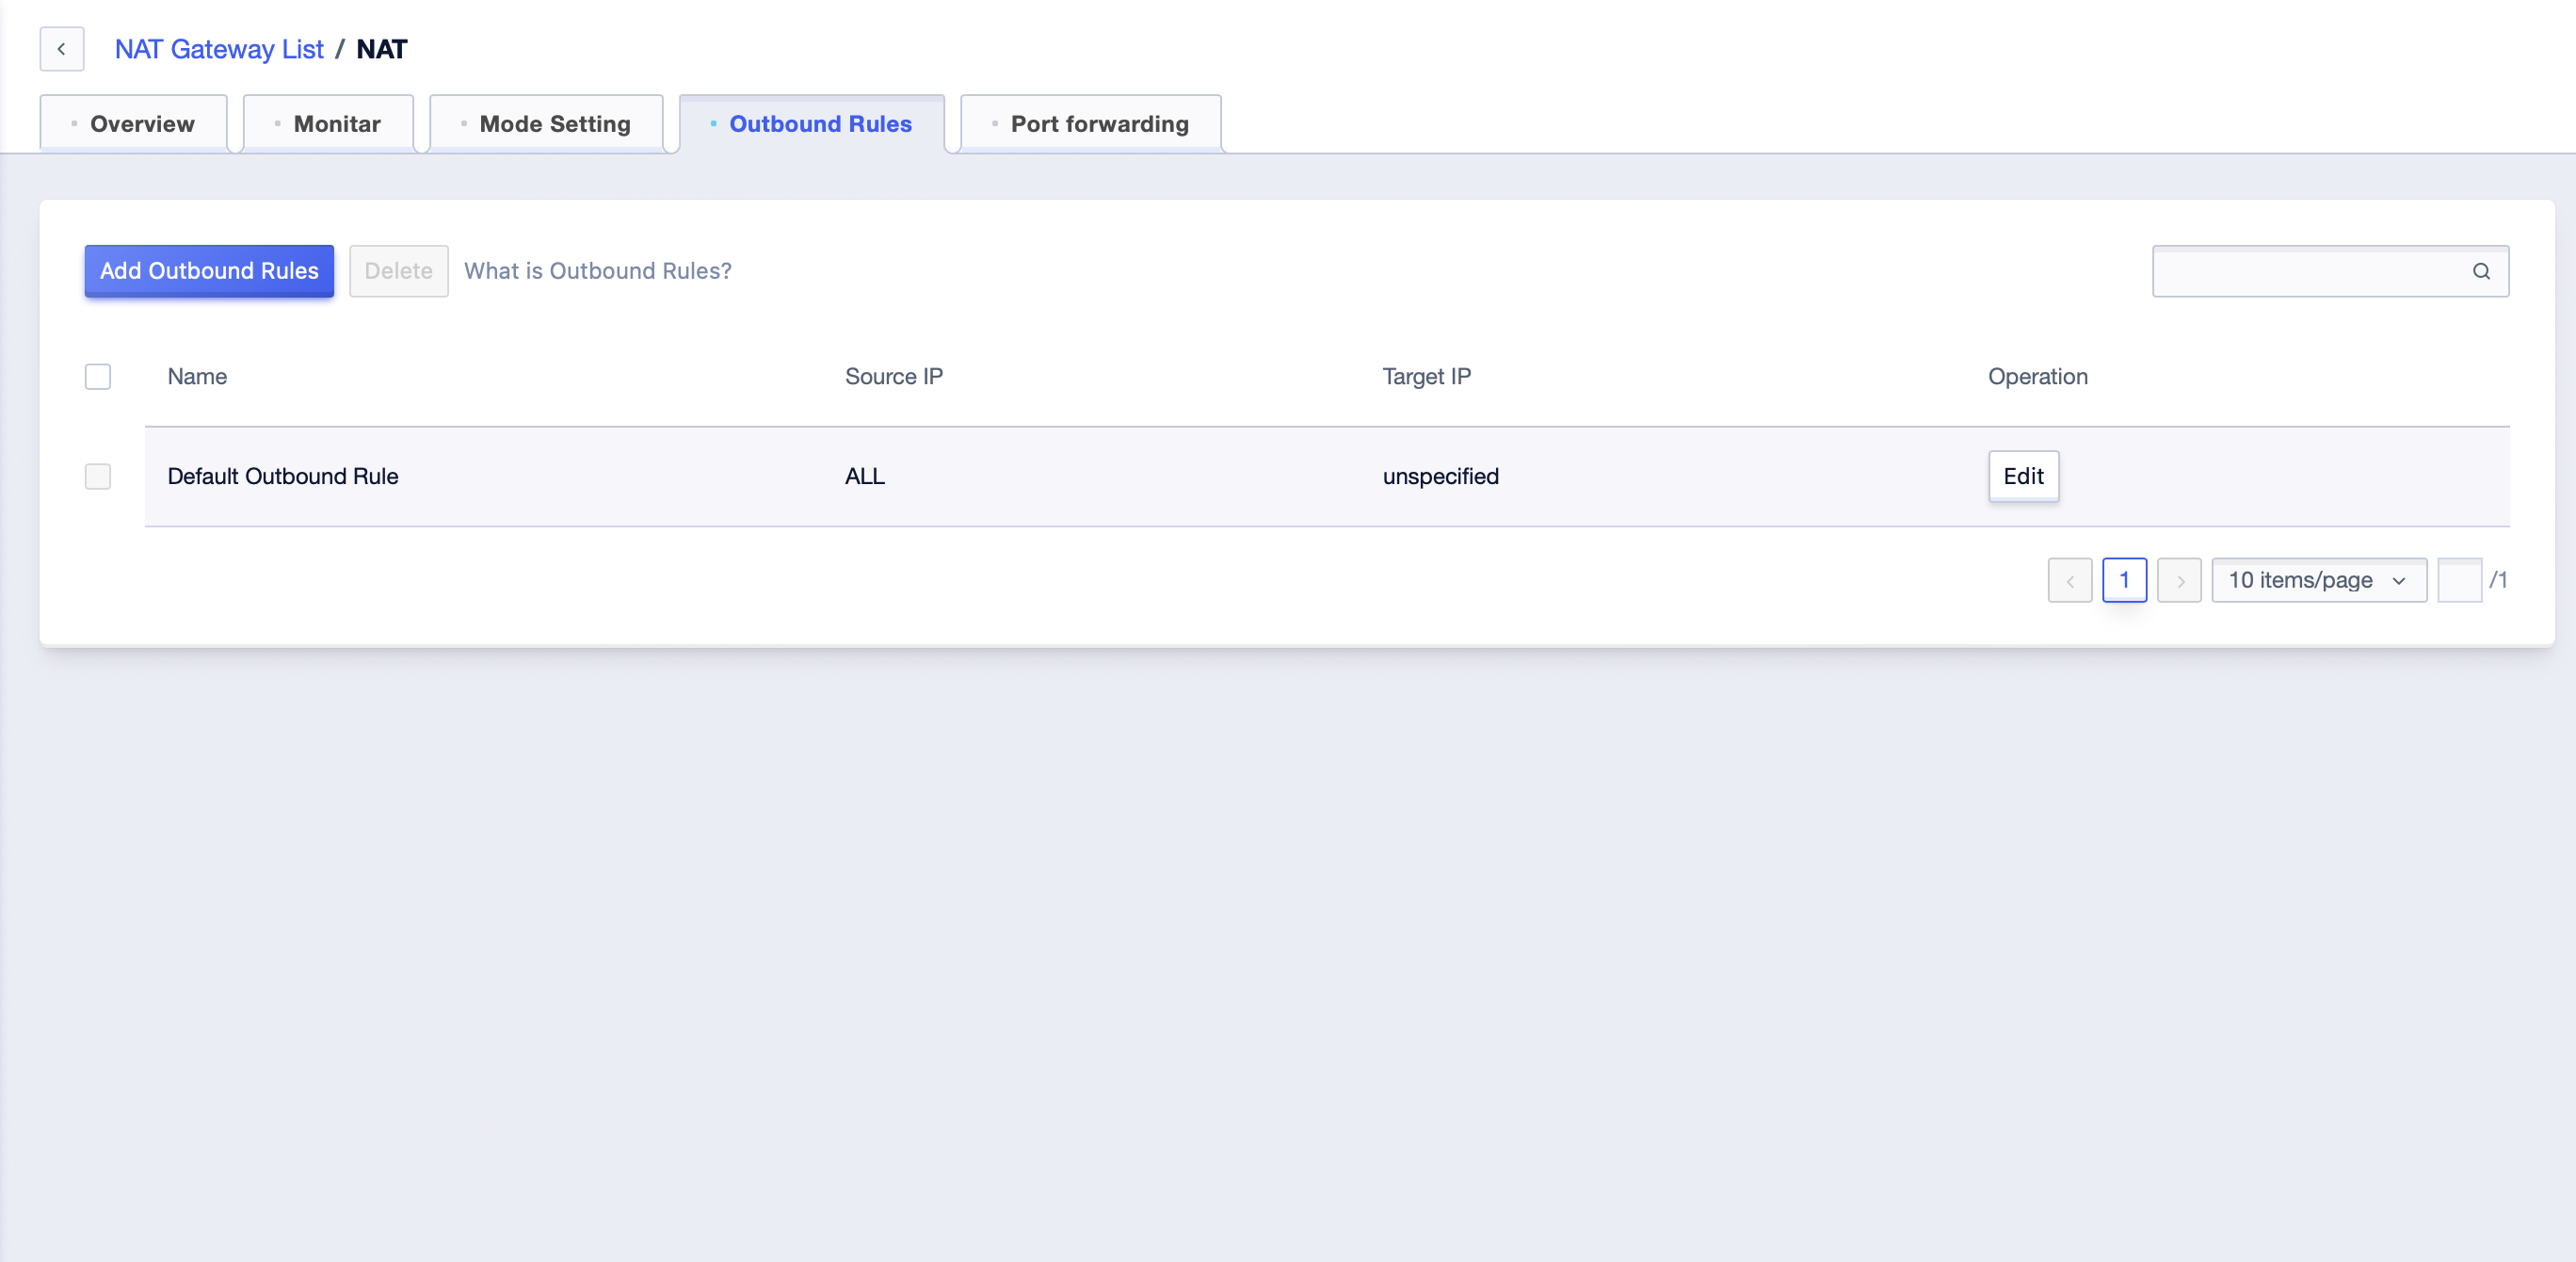
- There is a "default outbound rule" by default, which records the default egress of this NAT Gateway. It can be modified through the "Edit" button, but it cannot be deleted. The default outbound rules have the lowest priority.
- When setting the NAT's default outbound rule to the load balancing mode, the outbound traffic will be allocated according to the Hash Algorithm. The update of EIP will not affect the existing connections, and the new connections will be evenly distributed according to the current number of EIPs.
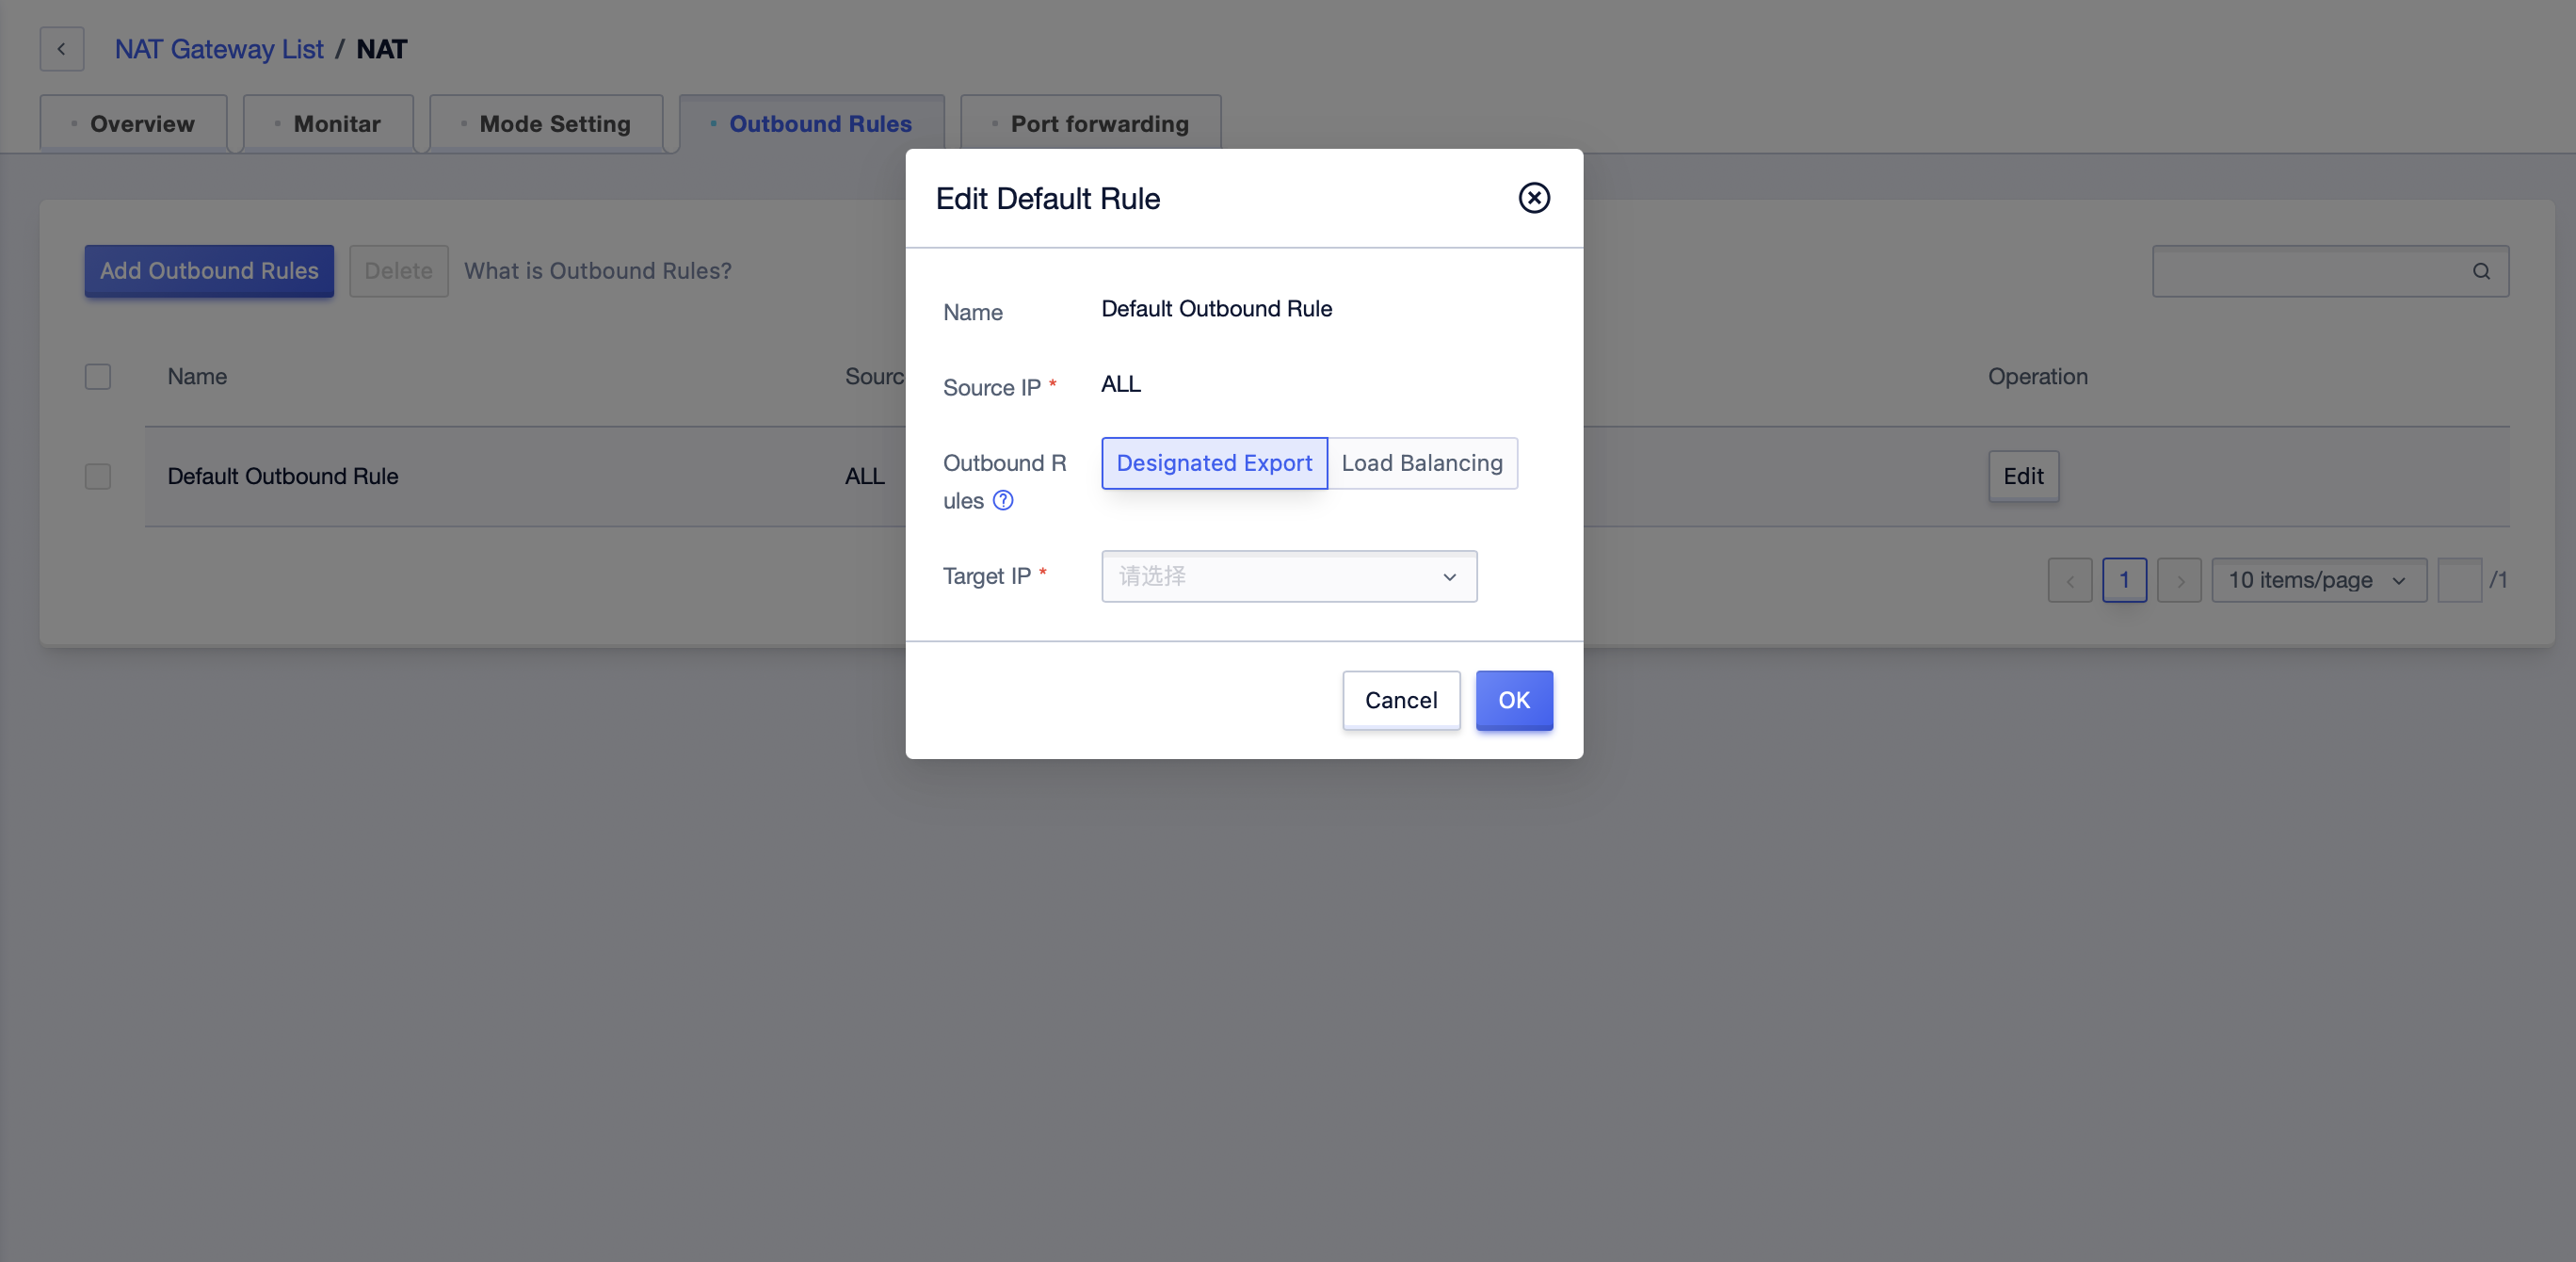
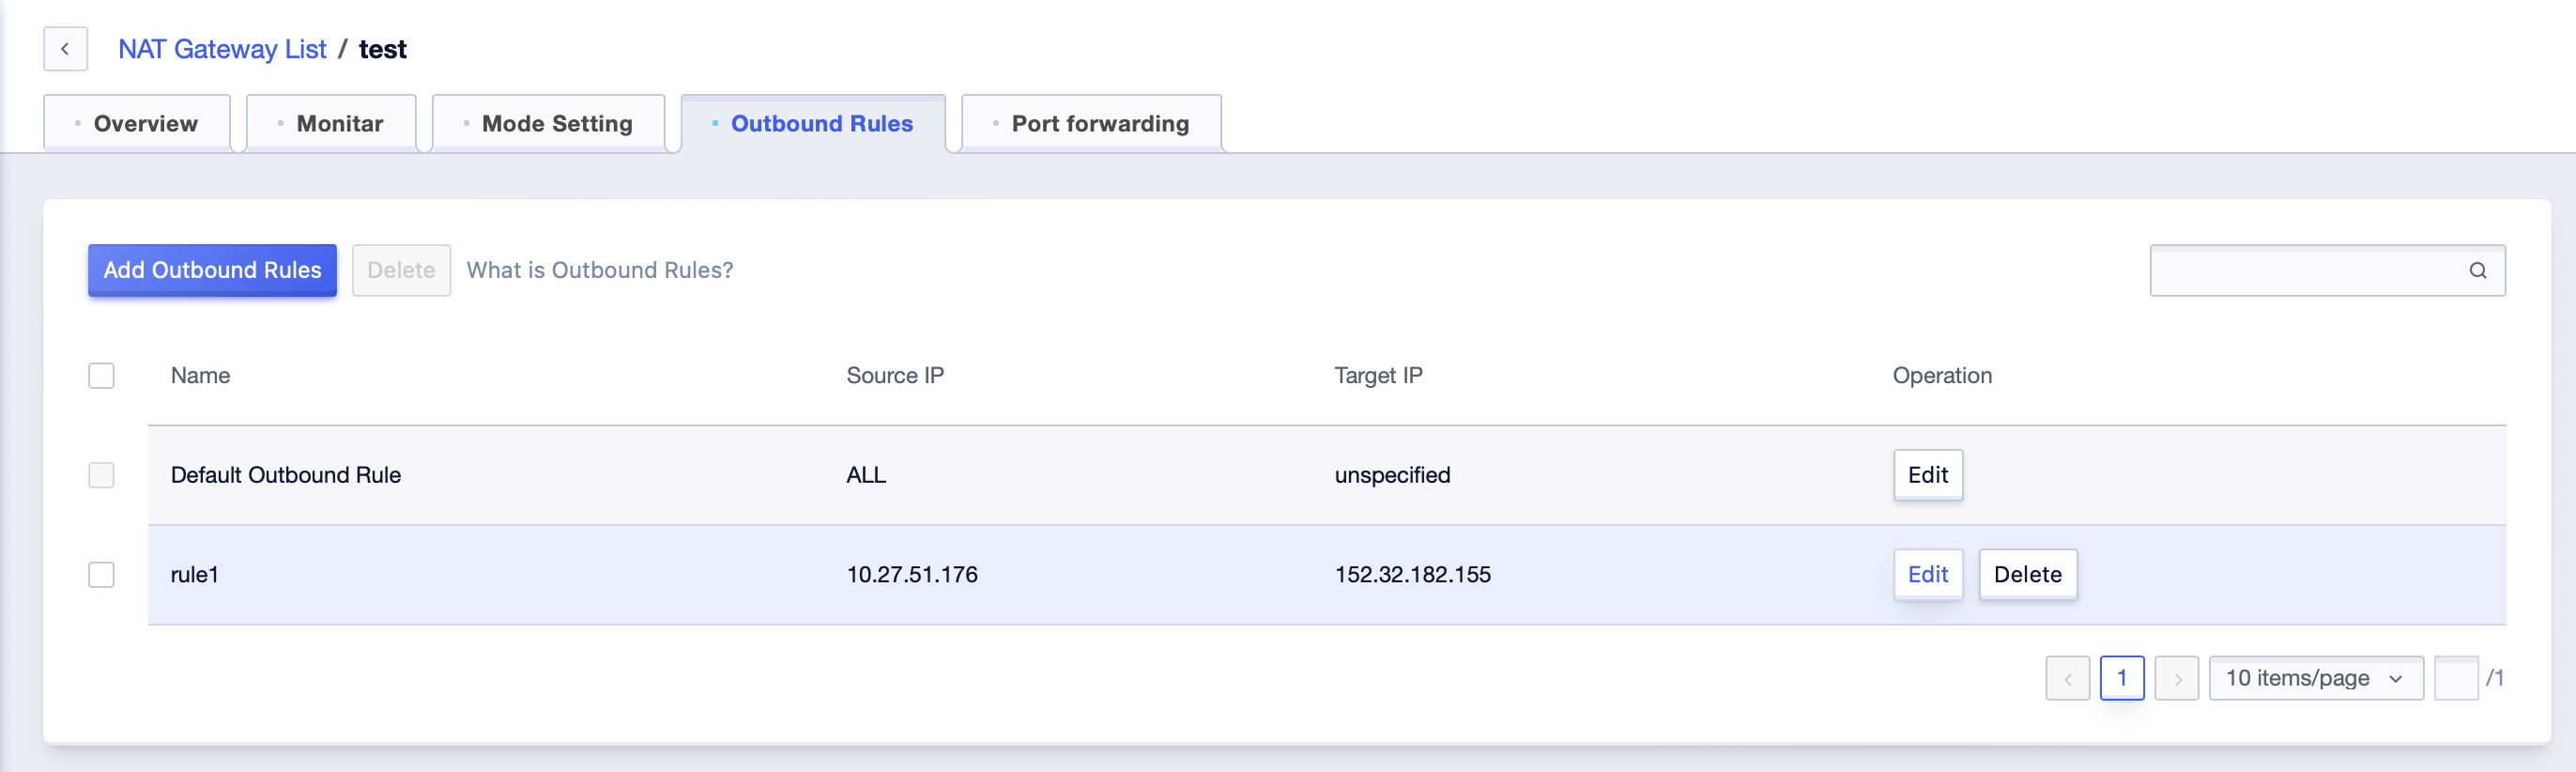
- Click the "Add Outbound Rules" button to add outbound rules, you can specify the egress for a single cloud resource.
- After successful addition, you can modify the rules. Among the default rules, you can modify the target IP, i.e., the egress IP. Among other egress rules, you can modify the name and the target IP.
## NAT Usage in Hybrid Cloud (Hosted Cloud)
The public network exit of the Hosted Cloud can only support either NAT or hosted external network IP. If you need to connect to the public network via NAT, the operation steps are as follows:
Step 1: The default route of the hosted machine points to the internal network CE.
Step 2: Contact [after-sales consultation](https://spt.ucloud.cn/) or the architect, and the DezaiCloud engineer will add routes to the internal network gateway and upgrade the hosted gateway to UXR (some gateways have been upgraded to UXR, and there will be a second-level jitter in the traffic between the Hosted and public clouds during the upgrade).
Step 3: Users create a NAT instance on the NAT page, and the corresponding VPC is "Hosted Cloud VPC".
> Currently, only North China One, Shanghai Two, Guangzhou, Hong Kong, and Singapore are supported.