# Quick Start
## Begin using UWAN Smart Connect
UWAN Smart Connect can help you implement intelligent networking and unified management of store networks and branch networks. Combined with UGN cloud networking, it can easily realize the interconnection of networks in different places and heterogenous networks.
### Step One: Apply for a UWAN Virtual Router
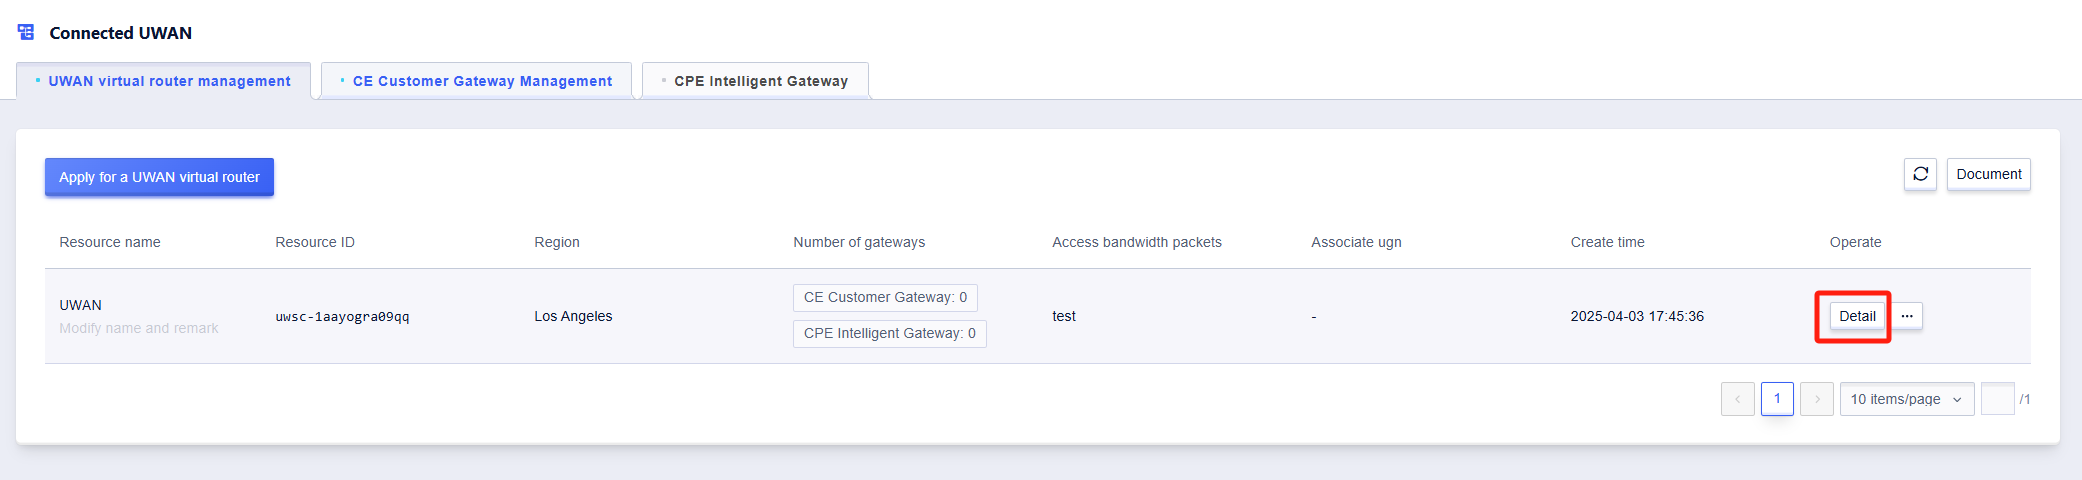
Click on [All Products]-- [Hybrid Network]-- [UWAN Smart Connect]-- [UWAN virtual router management] TAB page on the console to enter the UWAN virtual router management page:
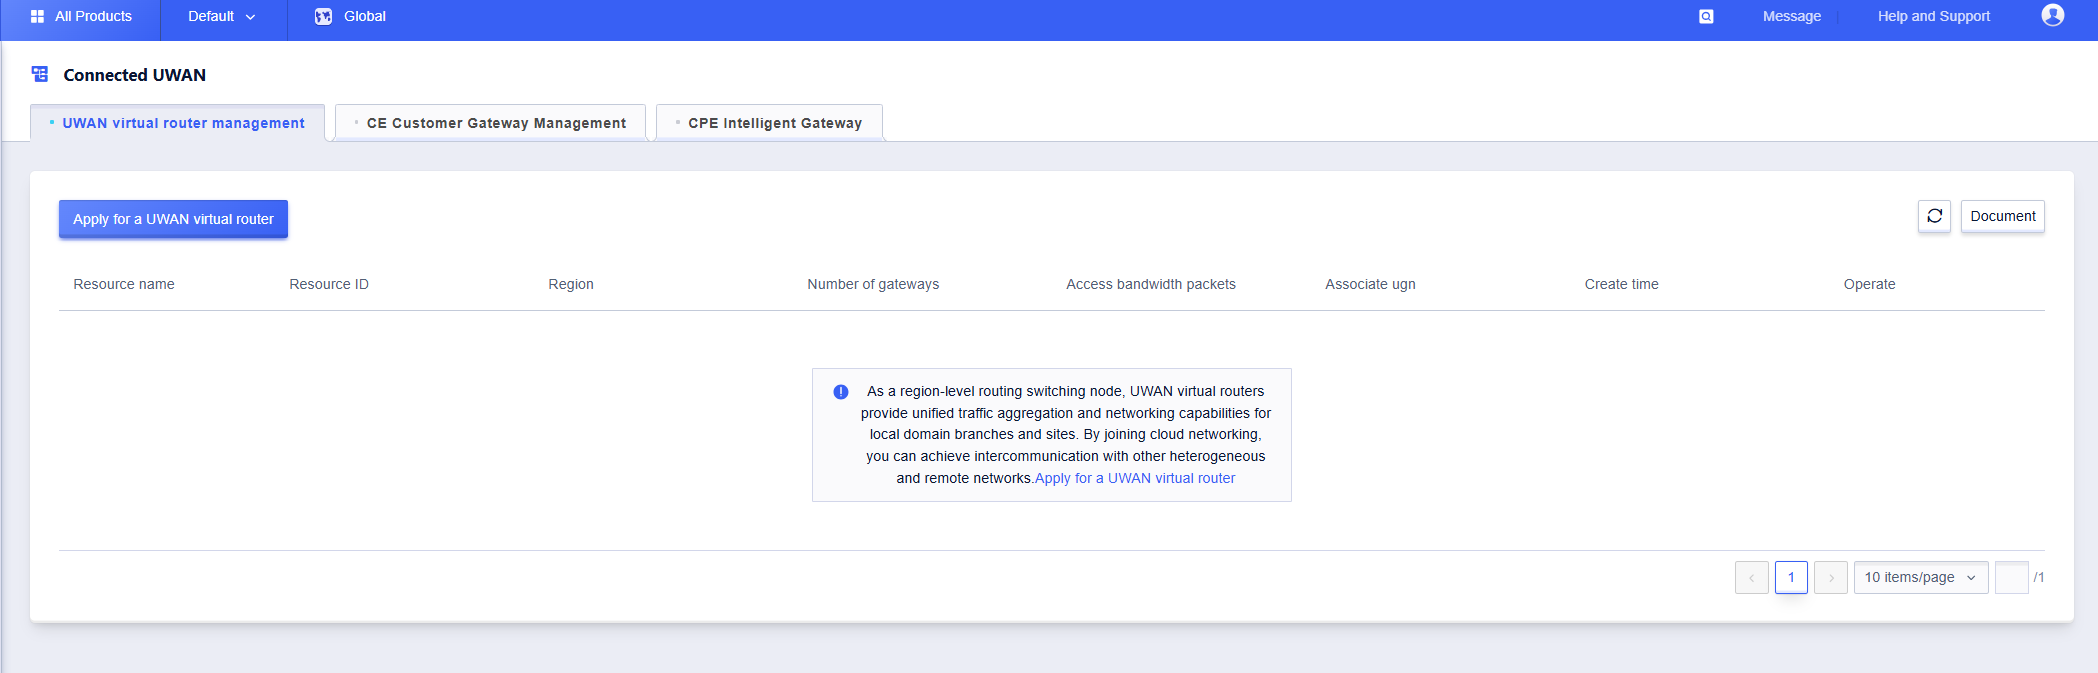
### Step Two: Click [Apply for a UWAN virtual router], choose the 'region', fill out the bandwidth package parameters, and configure the bandwidth package
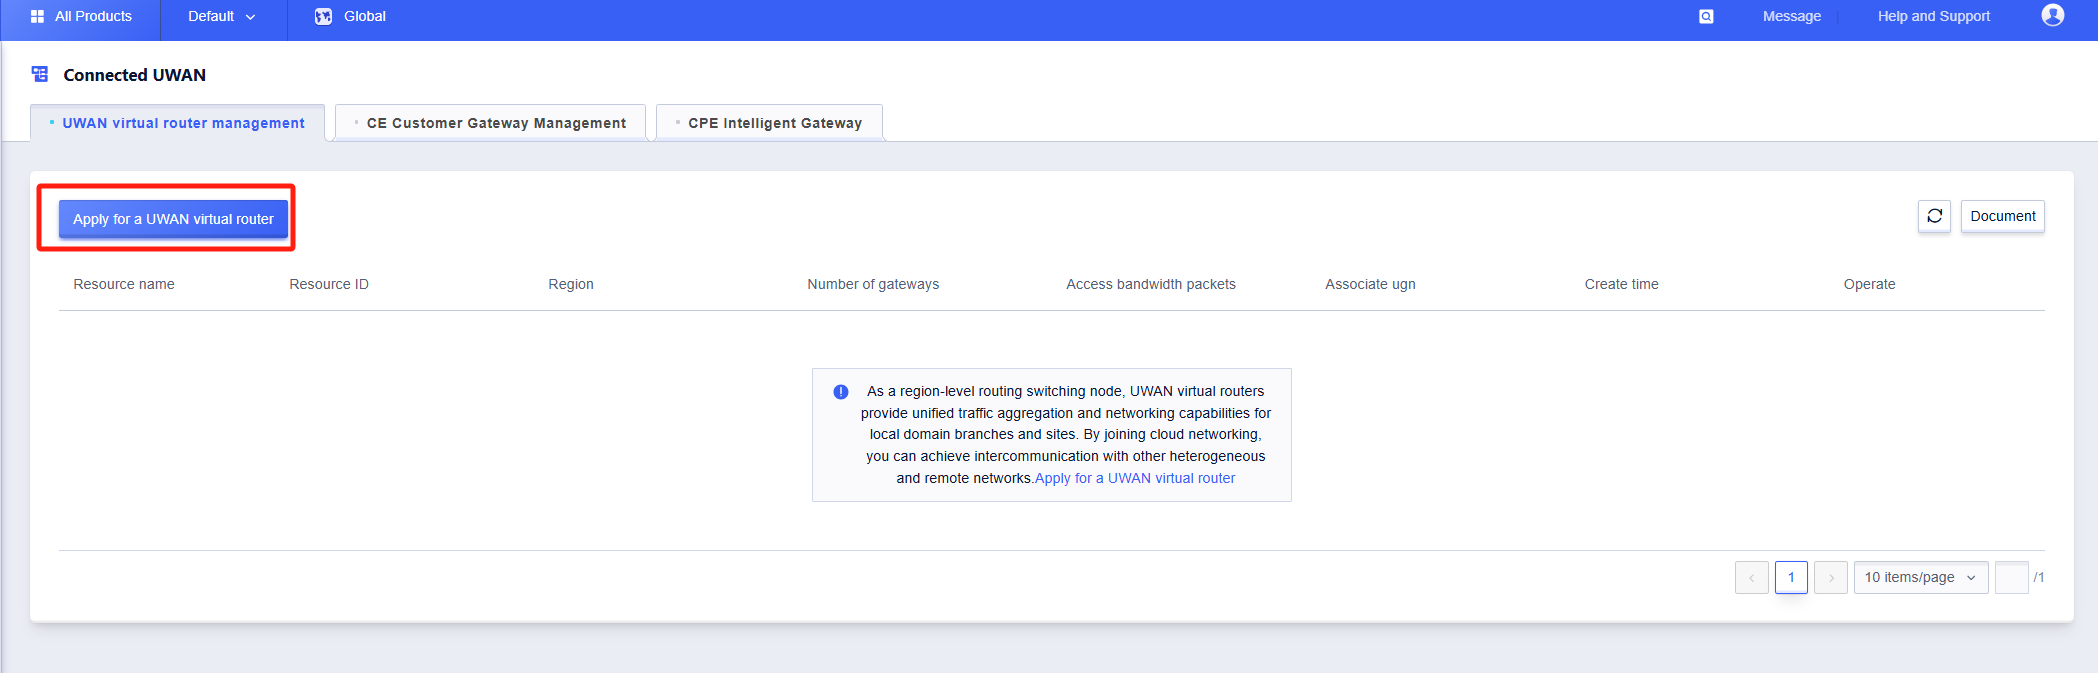
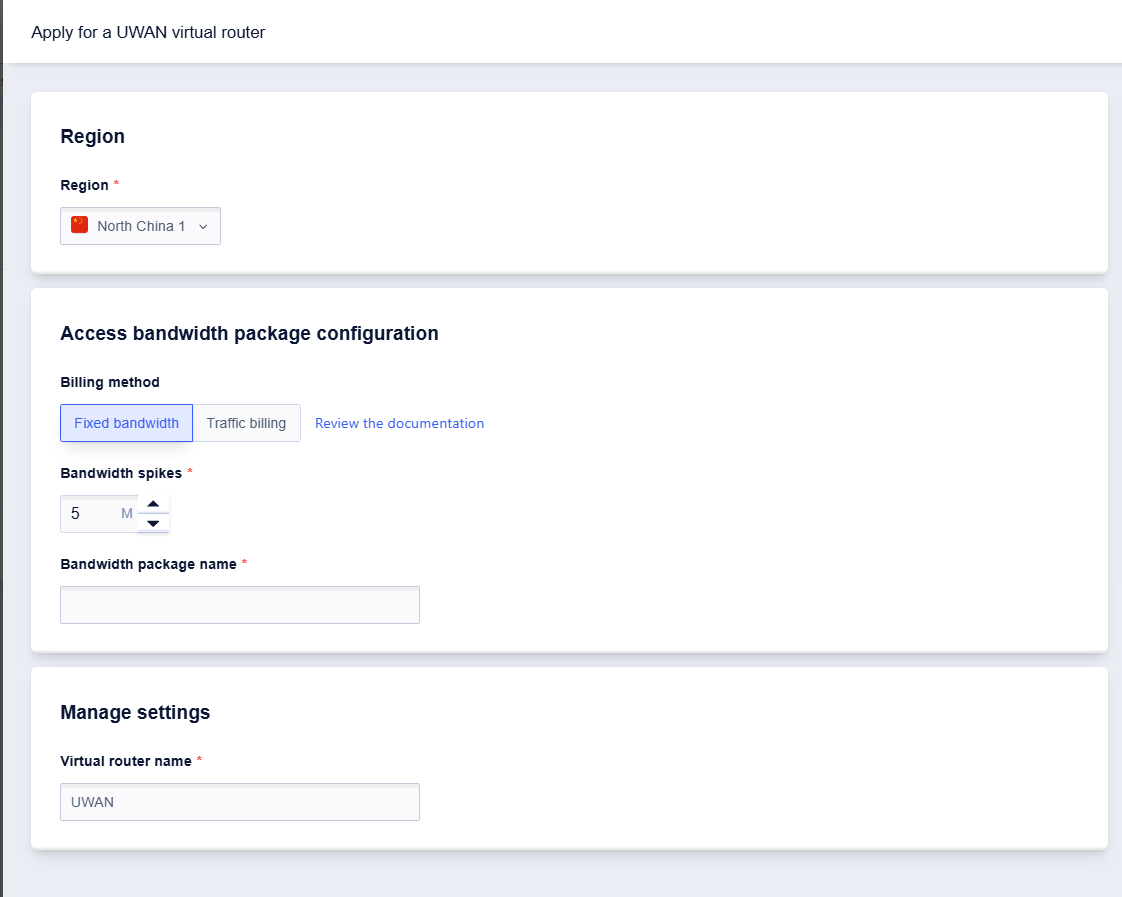
Click "Confirm" and the creation process is complete.
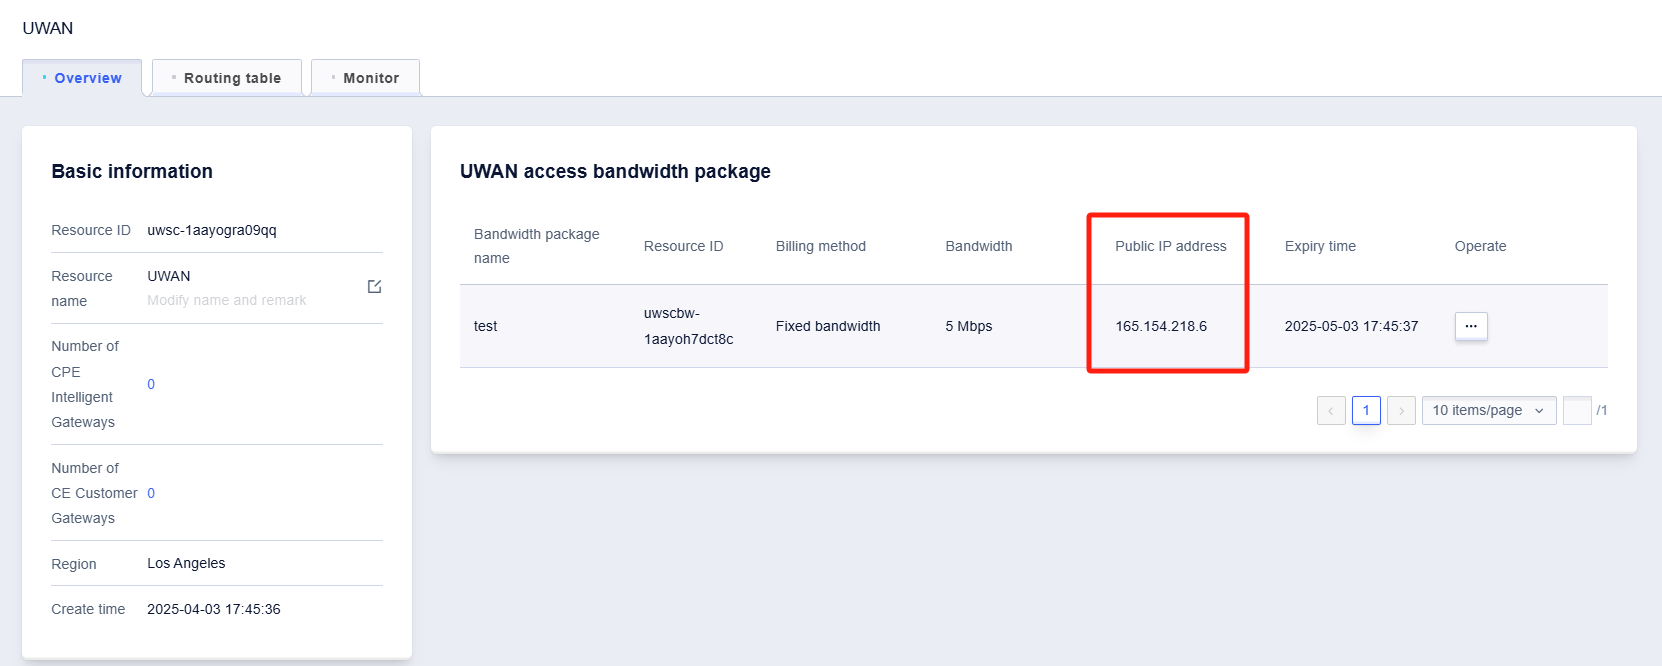
You can then check the automatically assigned public IP address on the 'Details' page.
This public IP address is the public IP address on the side of the UWAN virtual router, used to establish a public network connection with the CE side device.
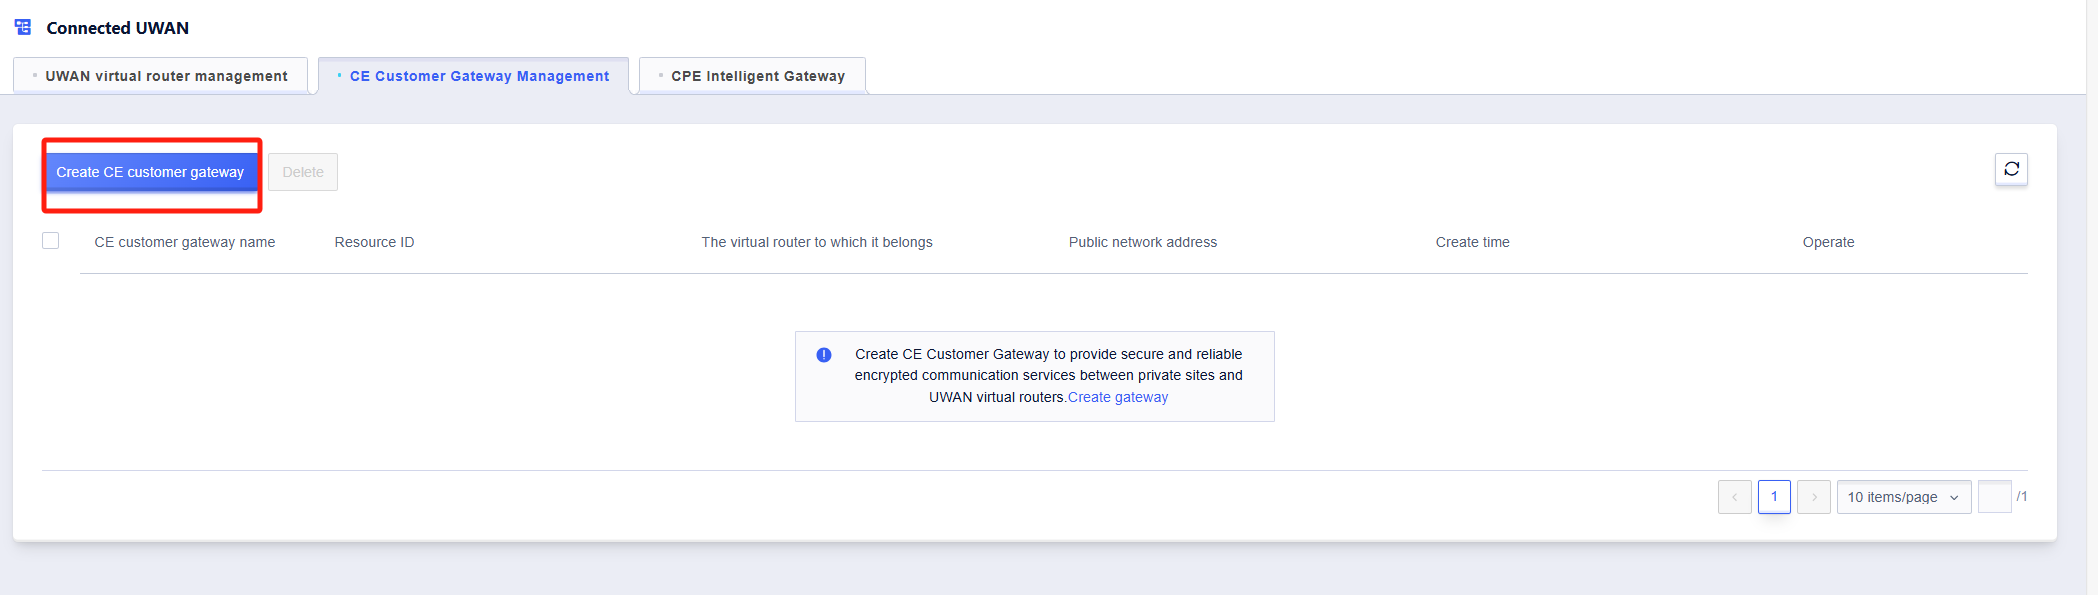
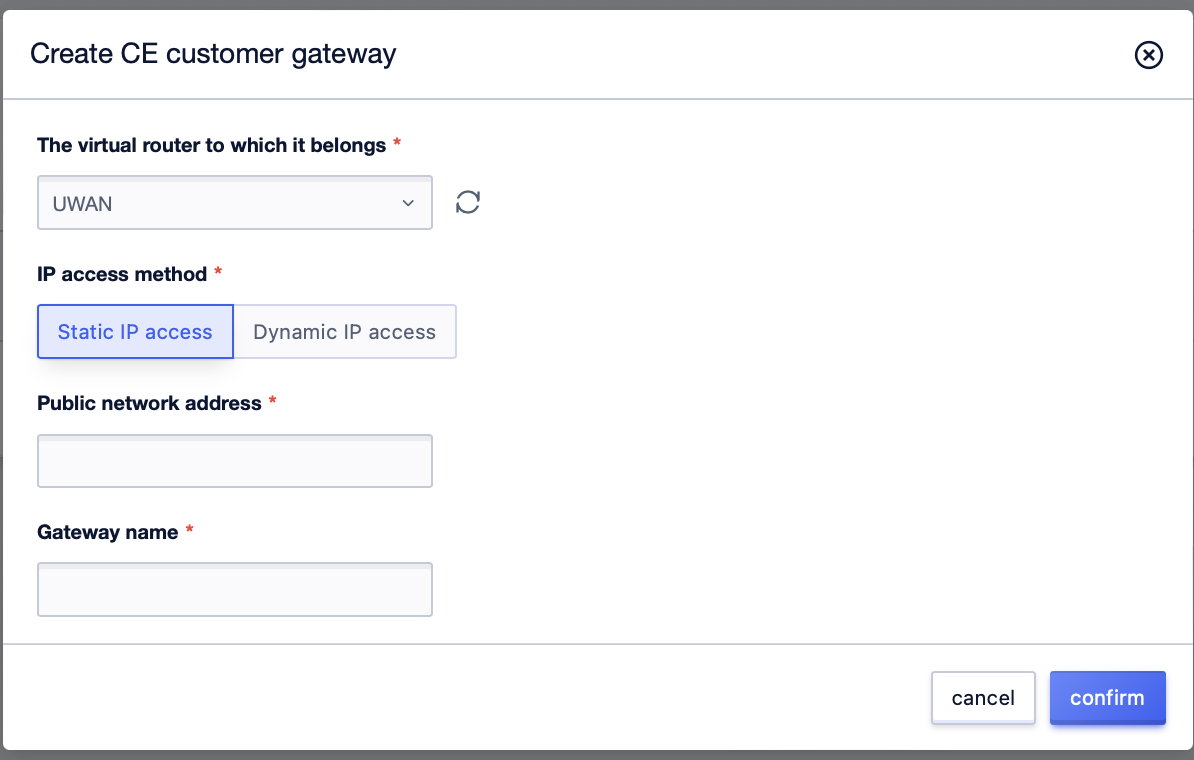
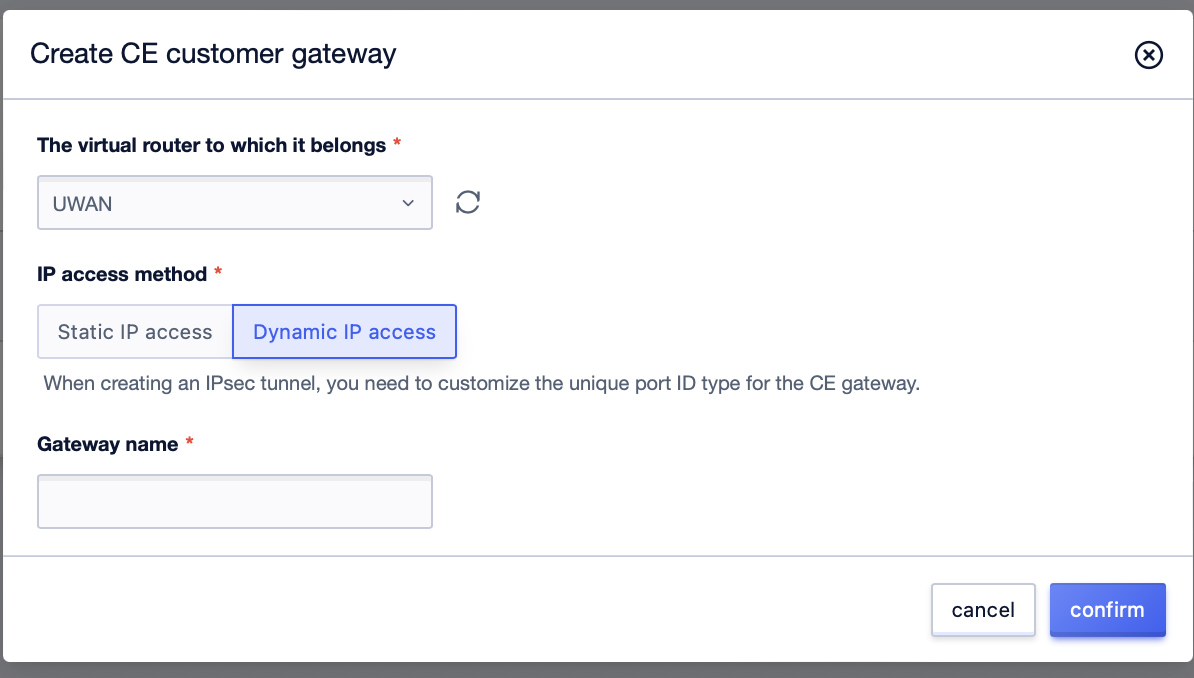
### Step Three: Create a CE customer gateway.
Fill out the public IP address on the CE side and the gateway name
The CE customer gateway is a virtual gateway instance, which is the projection of your local gateway on the DezaiCloud side. It is used to cover the access scenario where the node network egress device connects to the UWAN virtual router through a VPN connection.
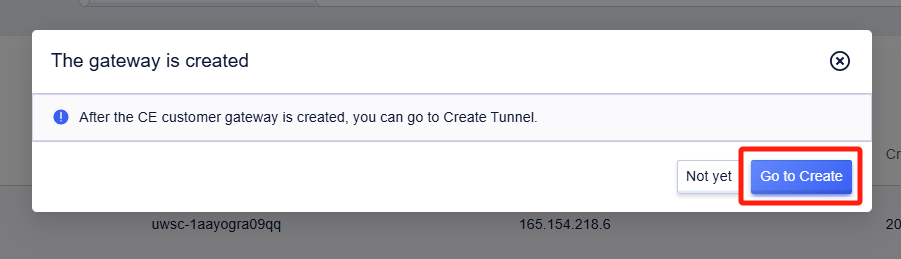
Once the gateway is created, you can click this to create a tunnel.
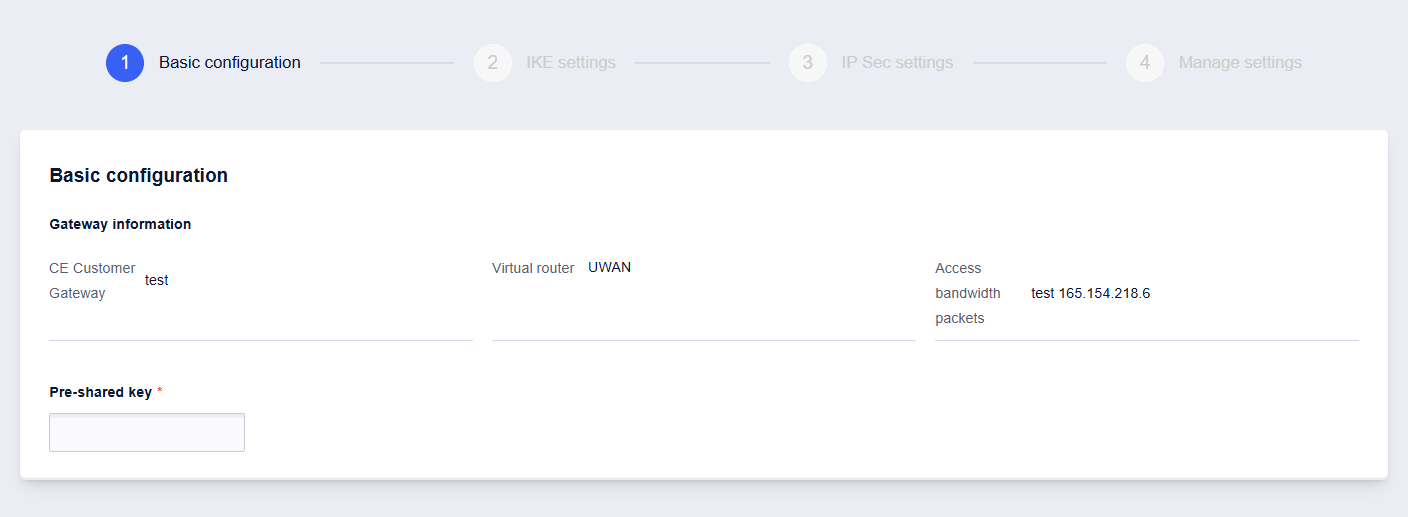
### Step Four: Configure the VPN Tunnel
Fill out basic configuration
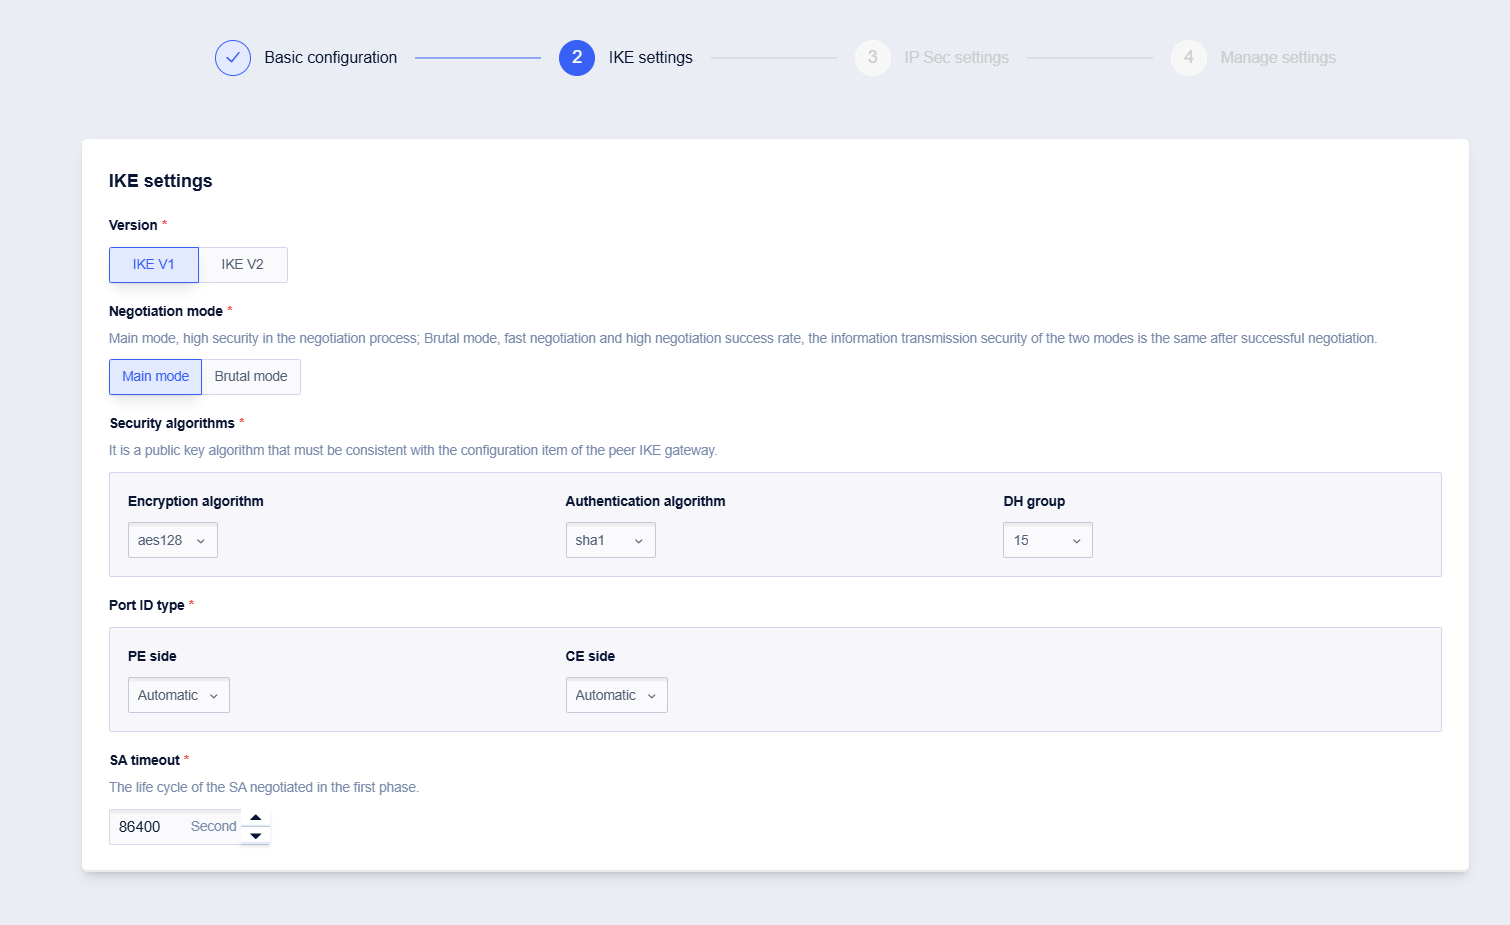
Perform the IKE settings. If the CE is accessed via a dynamic IP, the port ID type on the CE side cannot be automatically configured and needs to be filled in manually.
Carry out IPSec settings and select flow mode or BGP mode according to the actual situation.
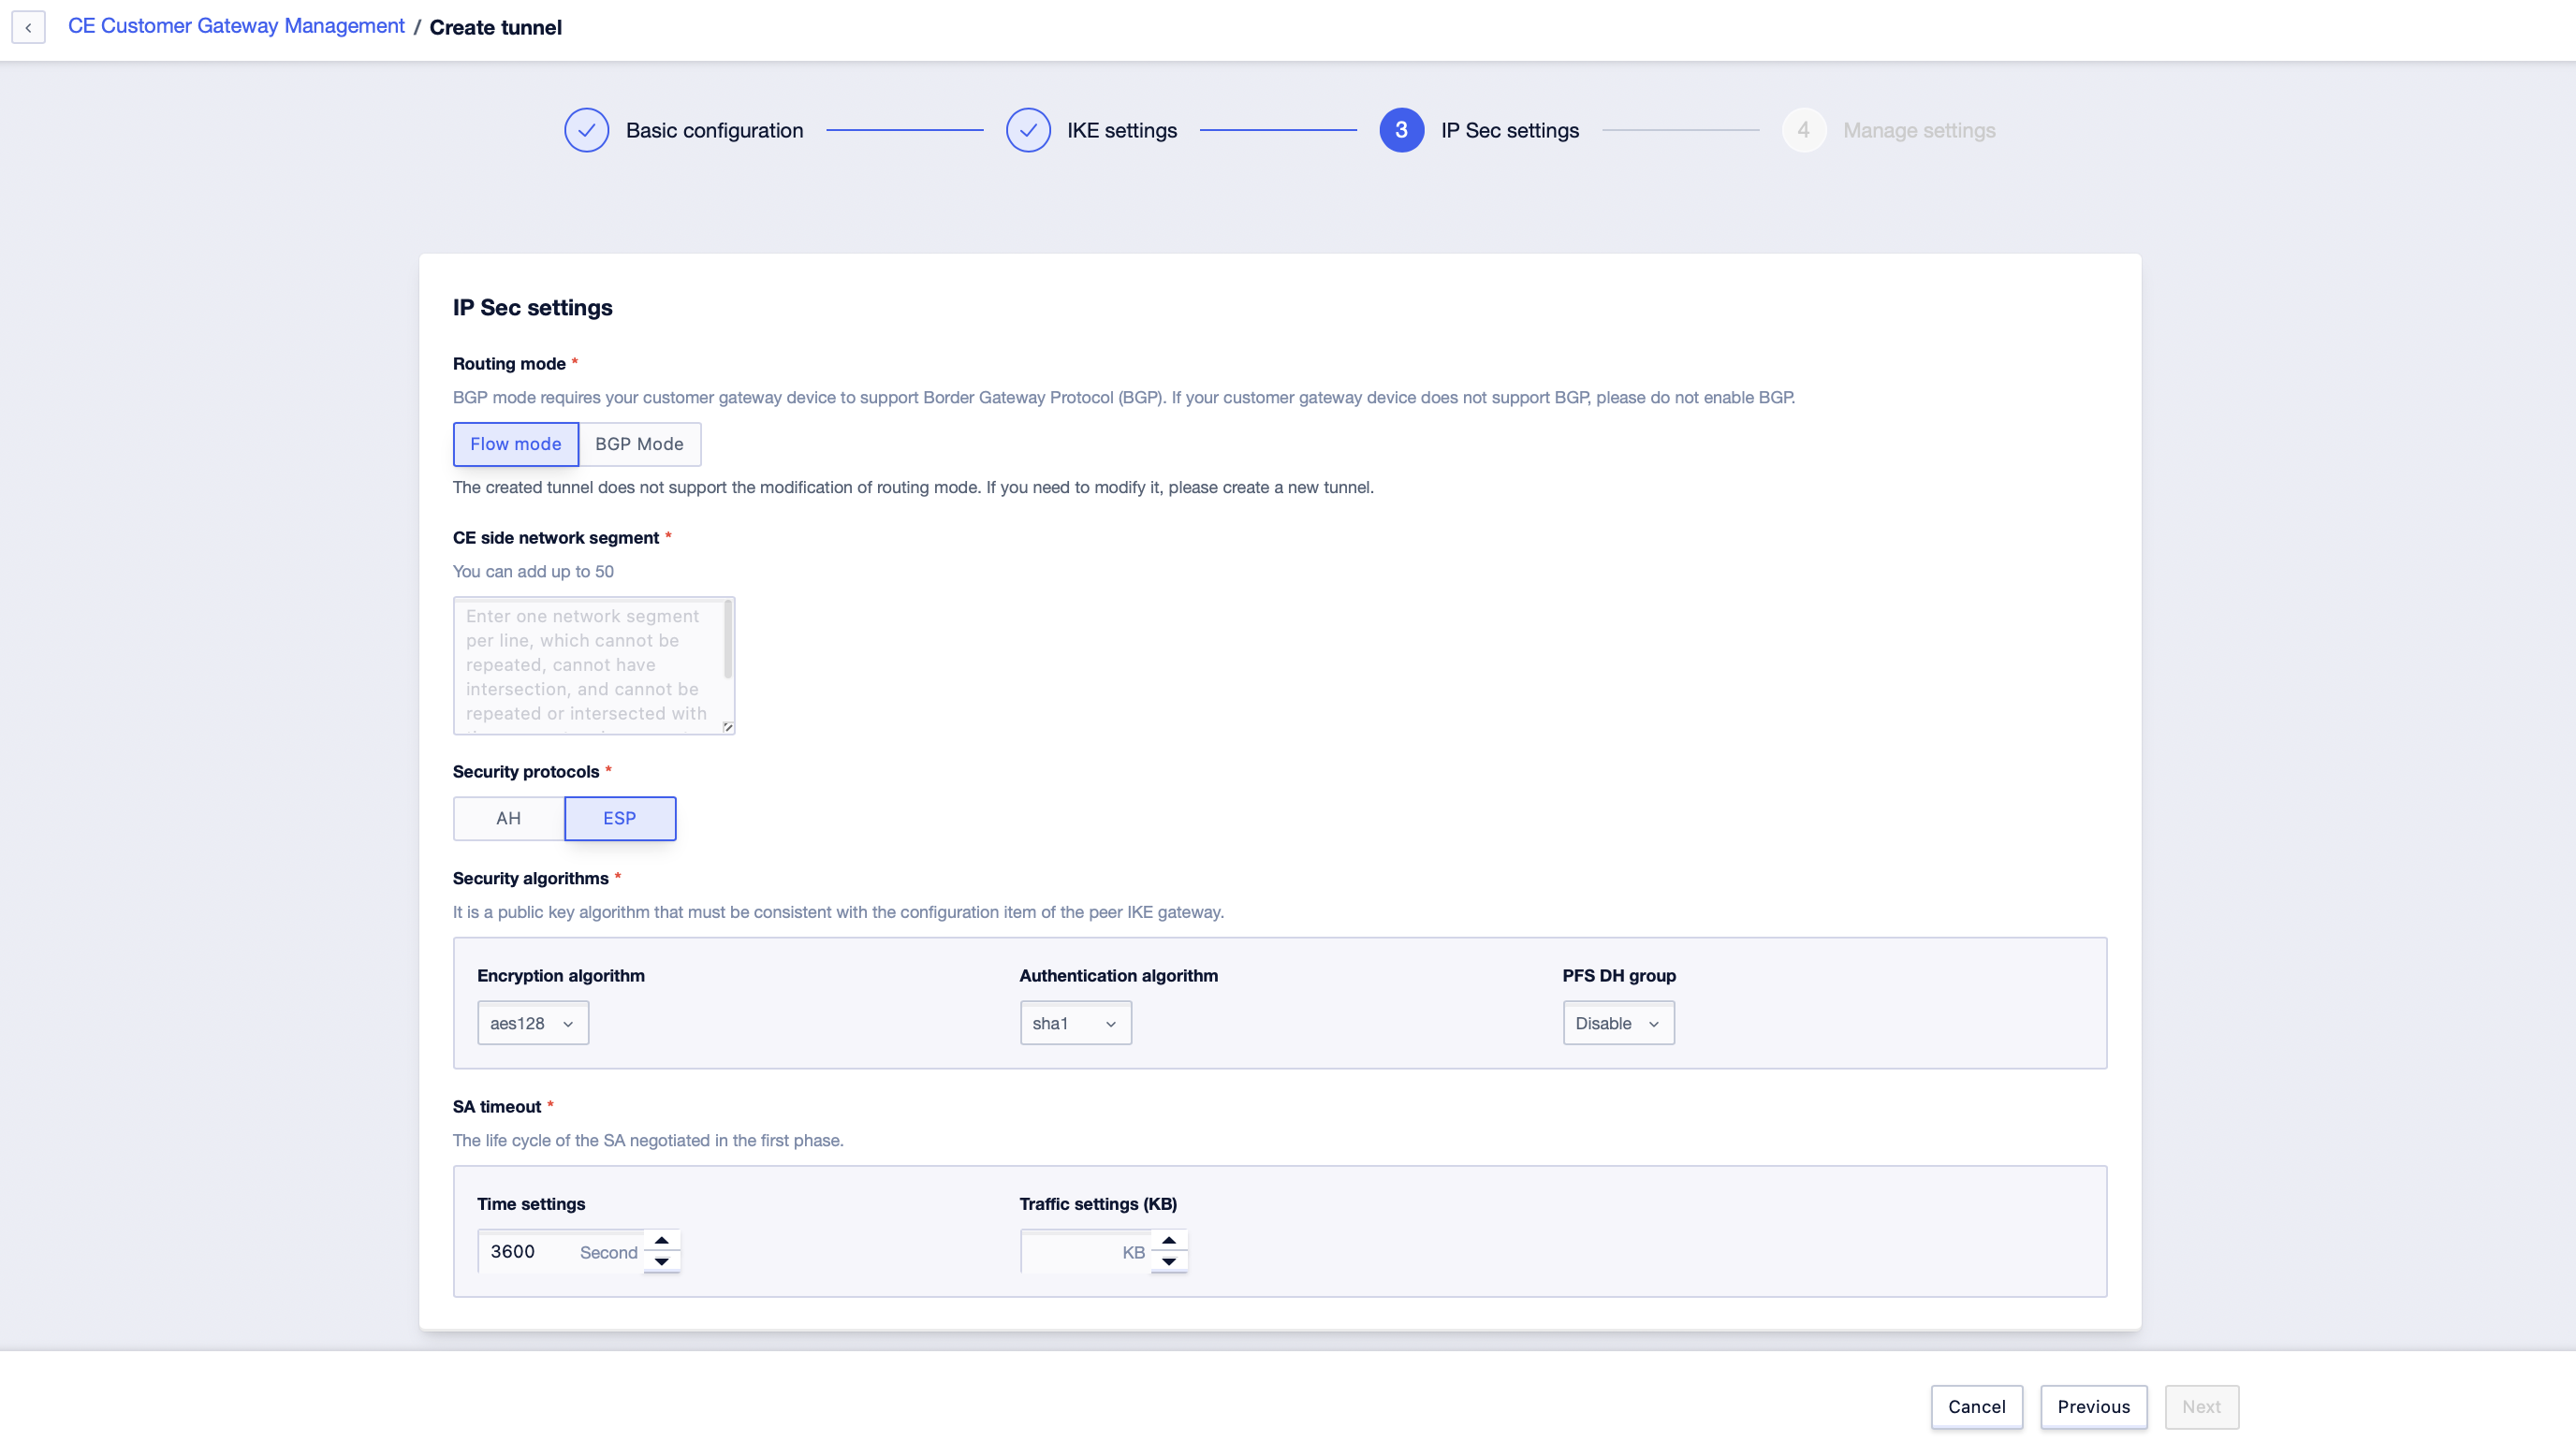
The BGP configuration needs to be filled in according to the actual situation.
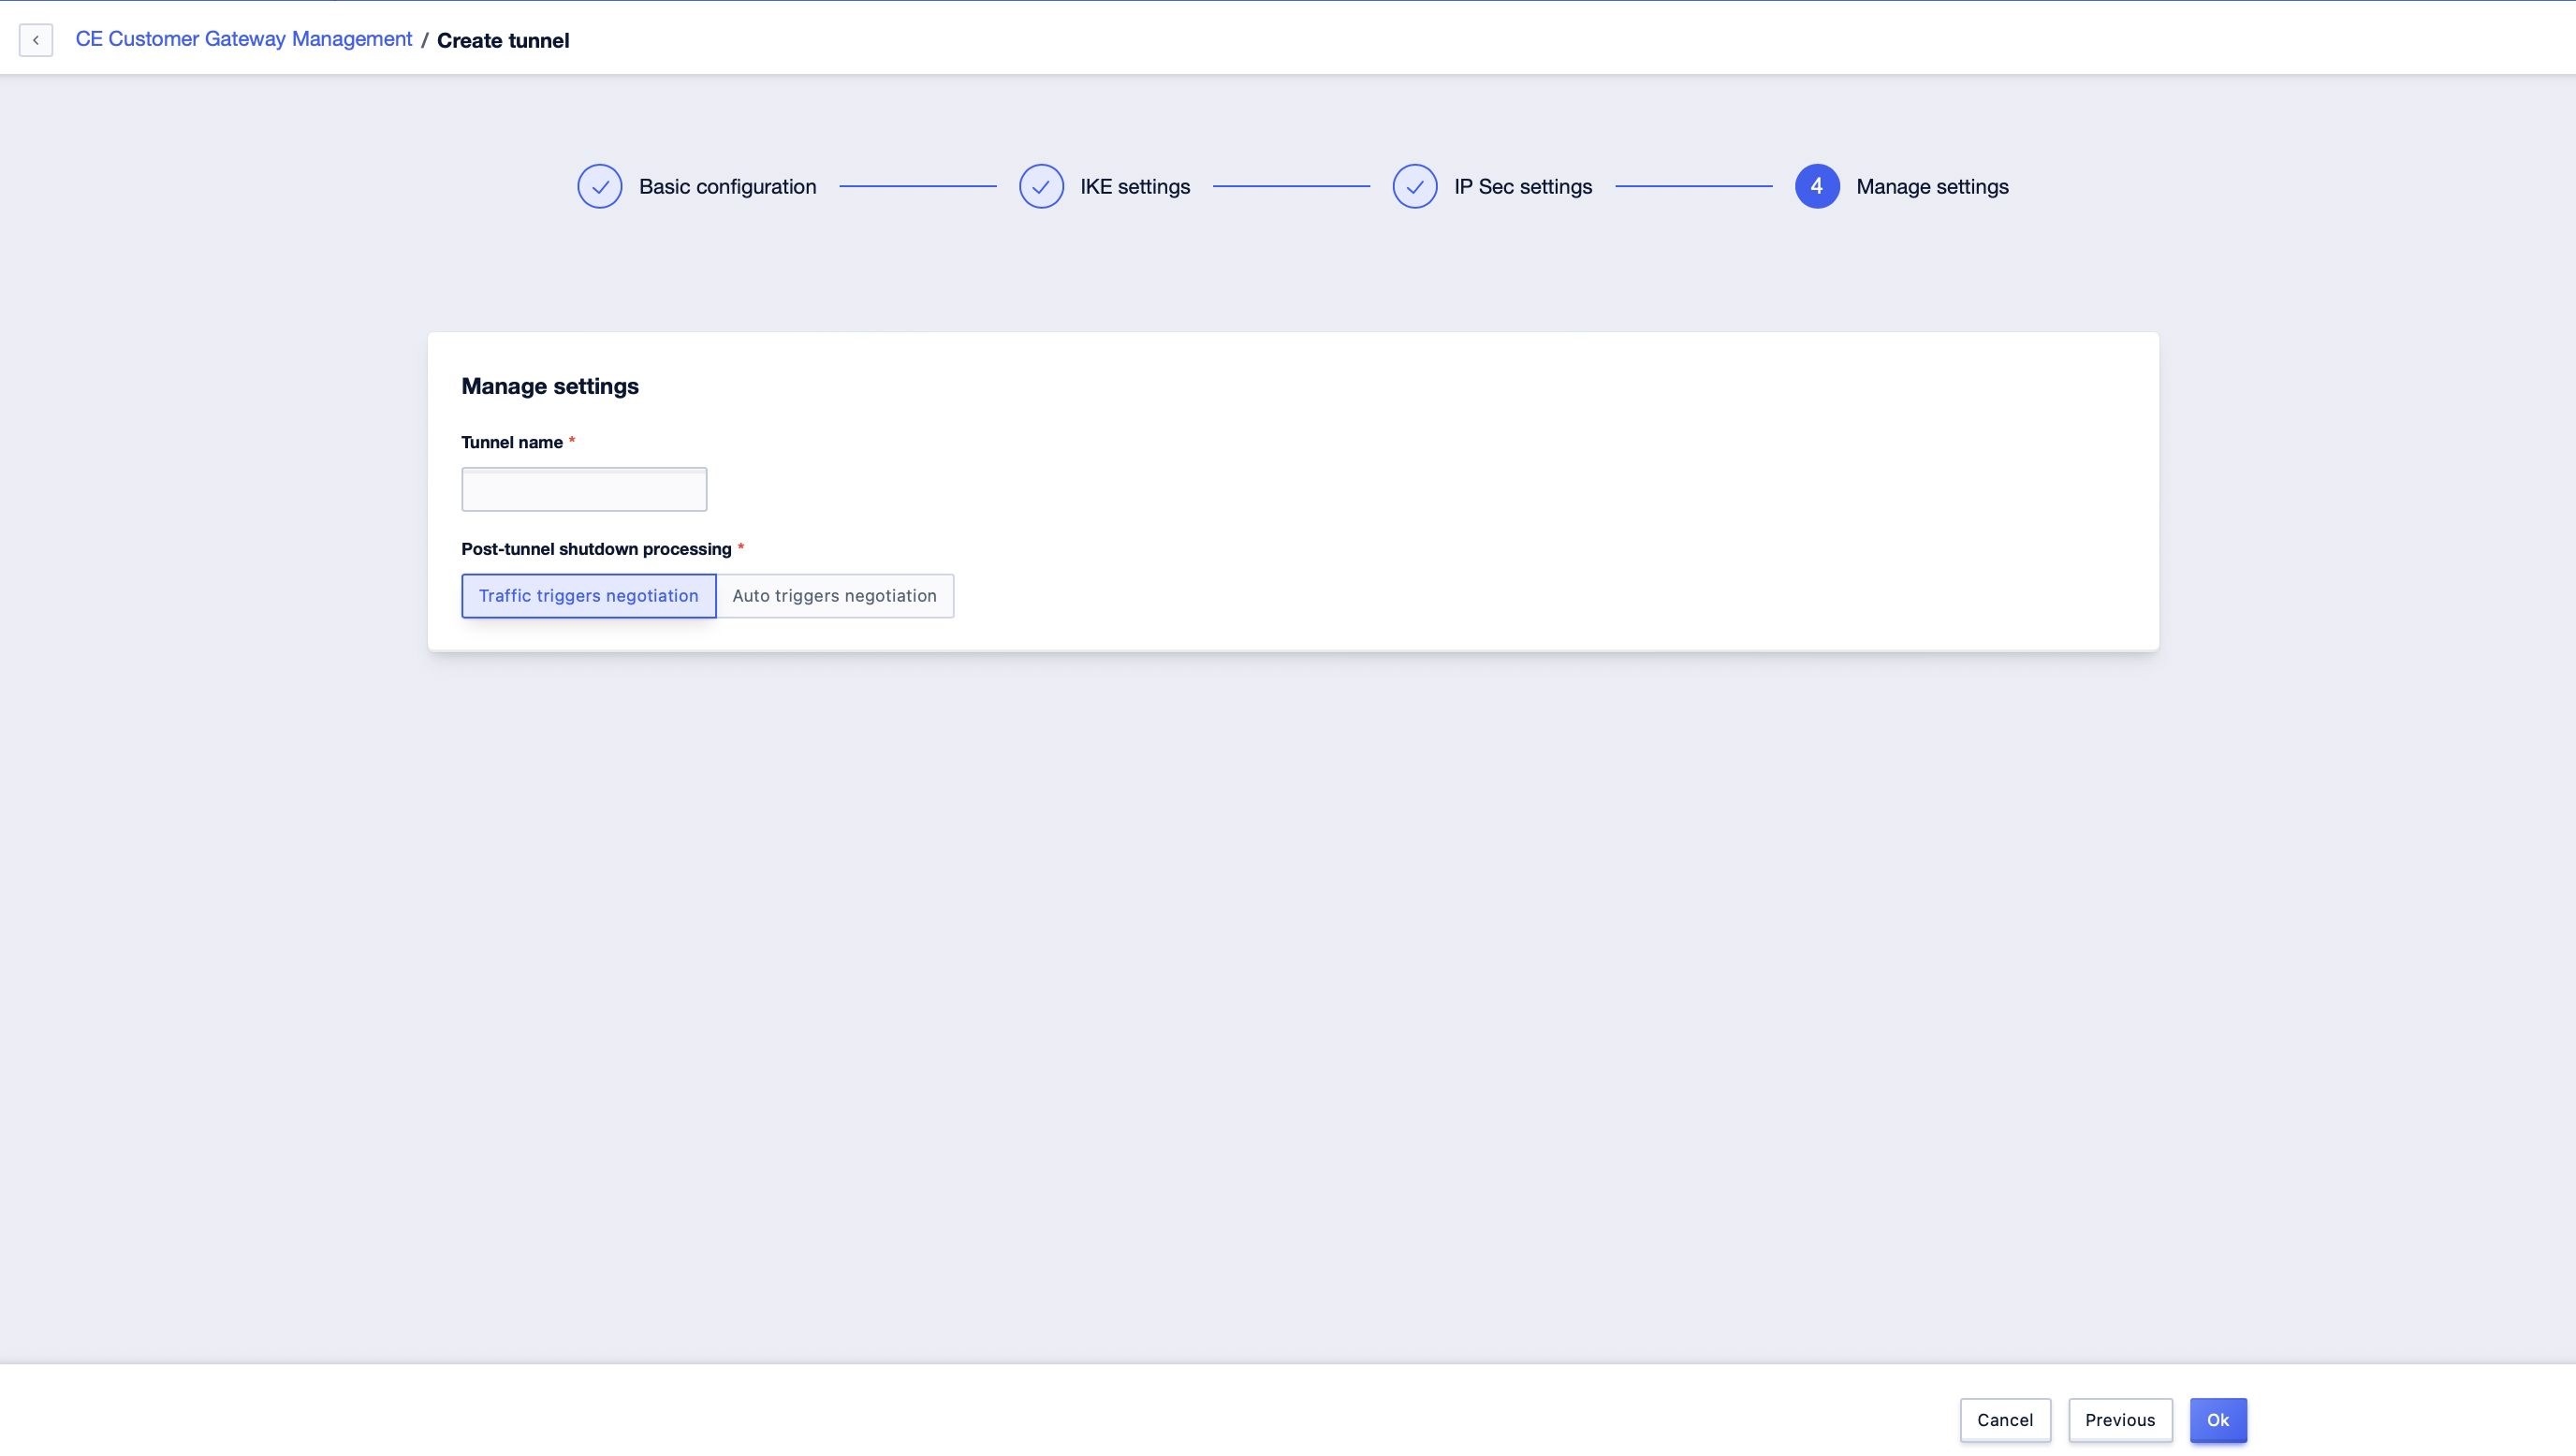
Perform management settings
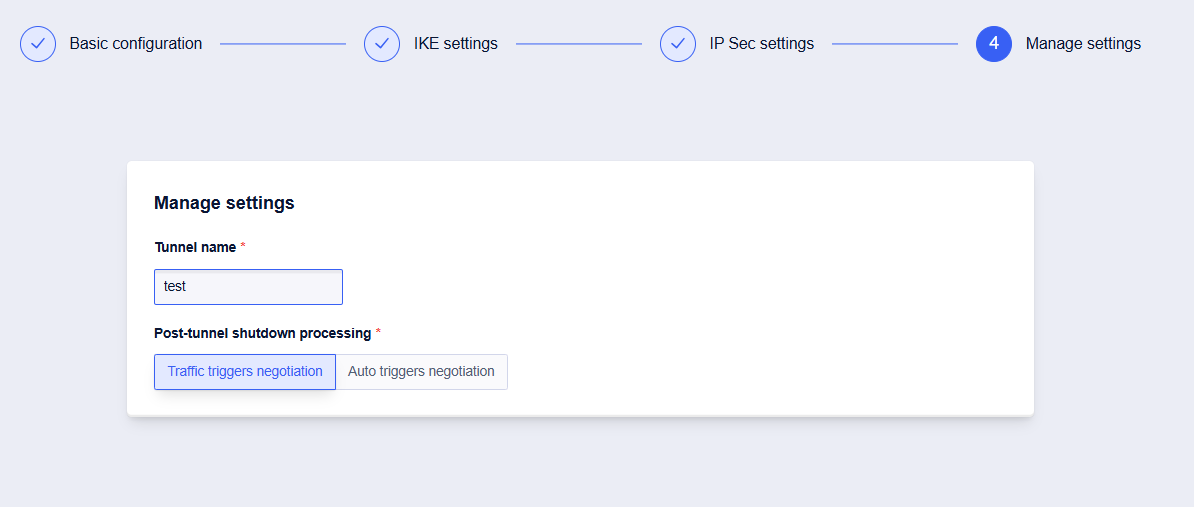
Click "Confirm" and your VPN settings on the side of the UWAN virtual router are complete.
You will need to complete the VPN configuration on the CE side yourself. After that, you can establish a network connection from the CE customer gateway to the UWAN virtual router.
Once you have connected multiple CE customer gateways to the same UWAN virtual router, the node networks under these multiple CE customer gateways can communicate with each other through the UWAN virtual router.
If you need to realize cross-regional intercommunication of multiple node networks, or network among different types of networks (for example, to interconnect office networks and public cloud VPC networks), you need to add UWAN virtual router to CloudNetworking, and realize the connection of different networks through UGN Cloud Networking.
### Step Five: Add the UWAN Virtual Router to Cloud Networking
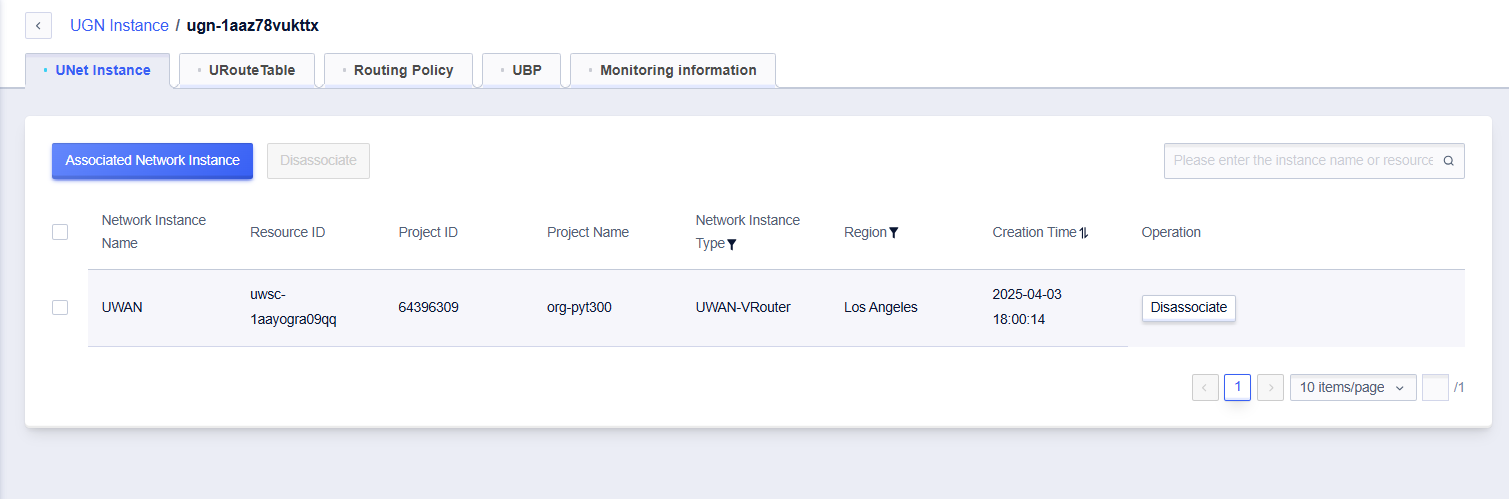
You can click [UWAN Virtual Router Management - Details - Overview] to check the cloud networking information associated with this UWAN virtual router:
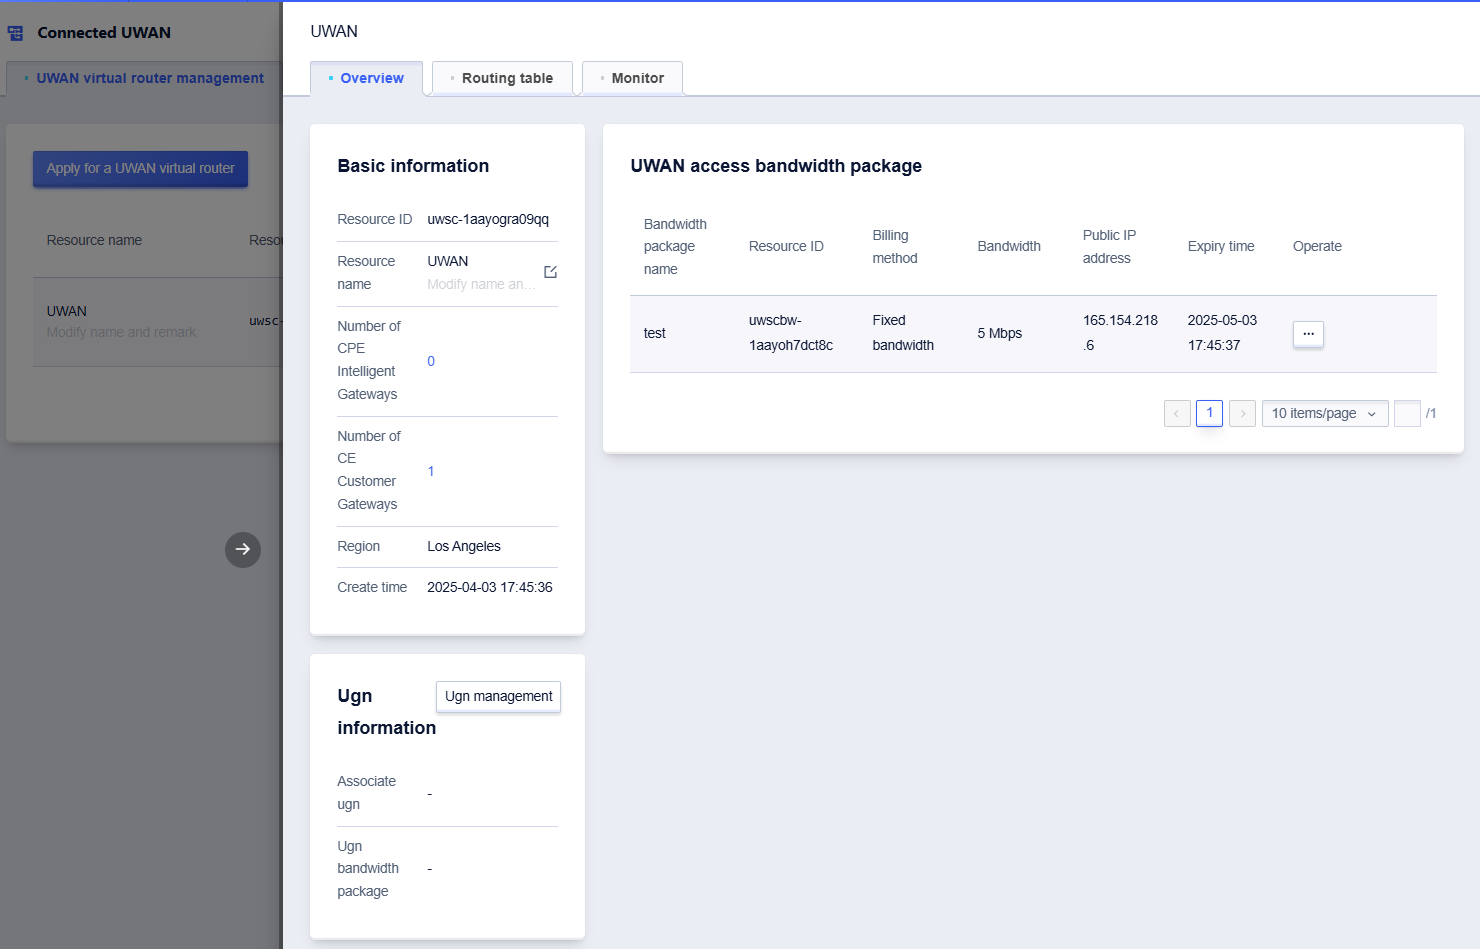
Click "UGN Management" to enter the UGN product page. On the UGN product page, you can create a UGN instance and add this UWAN virtual router to UGN.
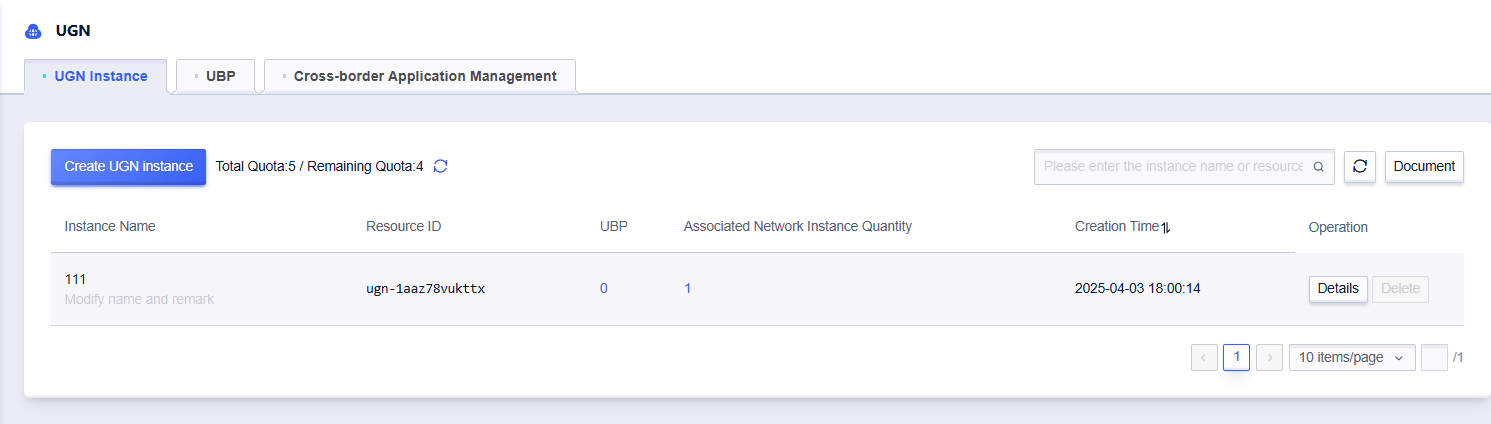
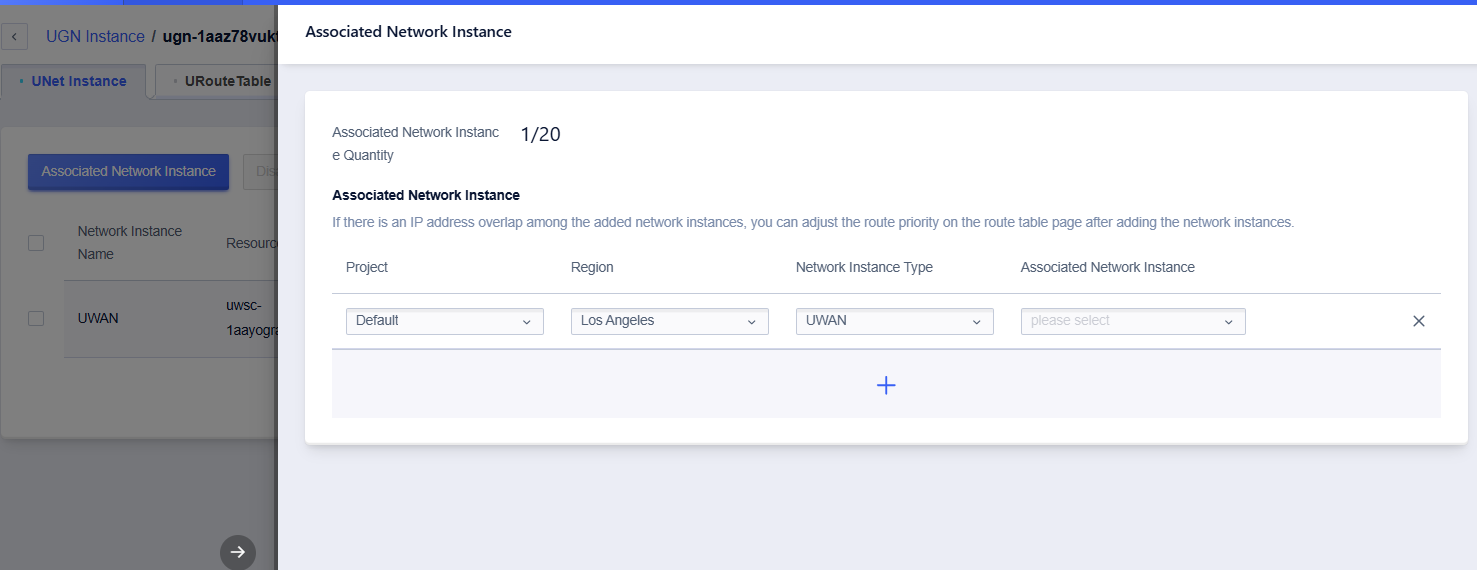
Click [Details] to enter the subpage. Click [Associate Network Instance]. In the pop-up window, select the UWAN virtual router that needs to be added to the Cloud Network. Click "Confirm" to complete the process.